EI5936SS specifications
The Broan EI5936SS is a high-performance range hood that combines elegant design with advanced functionality, making it a popular choice for modern kitchens. With its sleek stainless steel finish, the EI5936SS not only enhances the aesthetic appeal of your cooking space but also ensures durability and easy maintenance.One of the standout features of the Broan EI5936SS is its powerful ventilation system. It offers a robust air circulation capability, with a maximum airflow of 600 CFM. This ensures that smoke, steam, and cooking odors are efficiently removed from the kitchen, creating a pleasant environment for cooking and entertaining. The adjustable fan speed settings allow users to tailor the ventilation intensity according to their cooking needs.
The EI5936SS also incorporates advanced lighting technologies. It comes equipped with two integrated LED lights that provide bright, energy-efficient illumination over the cooktop. These lights are designed to enhance visibility while cooking, allowing users to focus on their culinary creations without straining their eyes. The LED bulbs have a long lifespan, reducing the need for frequent replacements.
In addition to its performance and lighting features, the Broan EI5936SS is designed for ease of use. The control panel is user-friendly, featuring simple touch controls that allow for quick adjustments to fan speed and lighting. The range hood is also designed for quiet operation, ensuring that it maintains a peaceful kitchen atmosphere while still delivering optimal performance.
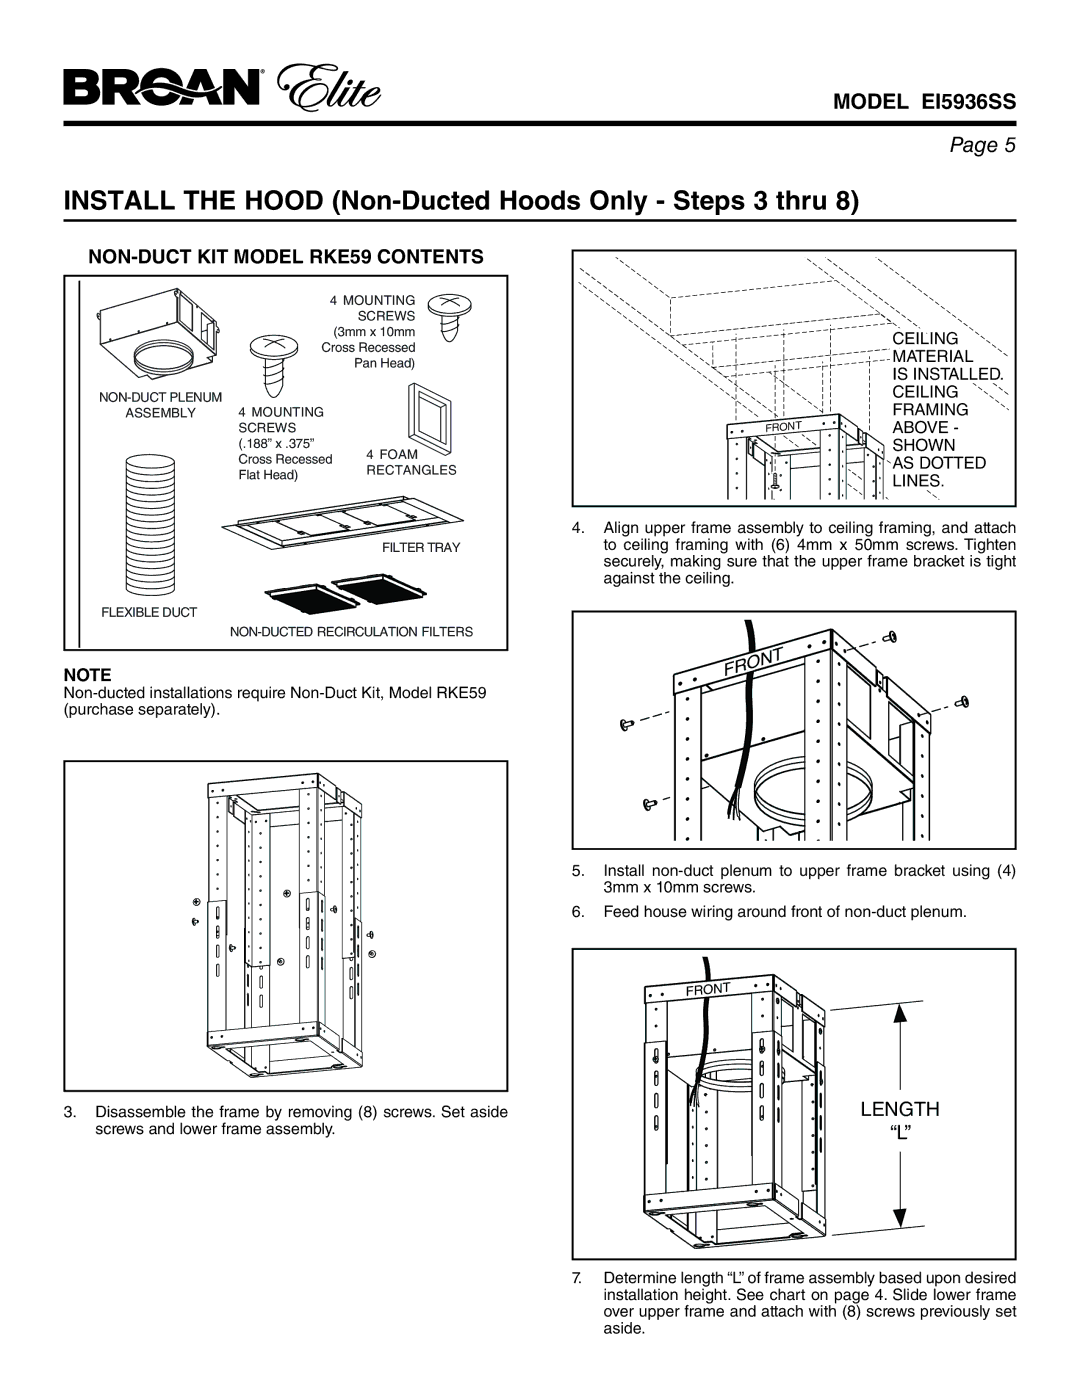
Another important characteristic of the EI5936SS is its versatile installation options. It can be installed as a ducted or ductless range hood, catering to various kitchen layouts and preferences. The versatile installation affords homeowners more flexibility in their design choices while ensuring effective ventilation regardless of the setup.
Finally, the Broan EI5936SS is built with a commitment to efficiency and performance. It features dishwasher-safe filters that are easy to clean, allowing for convenient maintenance. These filters effectively capture grease and particulates from the air, ensuring that the kitchen remains clean and free of lingering odors.
Overall, the Broan EI5936SS stands out as a top-tier range hood that balances style, power, and efficiency, making it an excellent addition to any contemporary kitchen.

