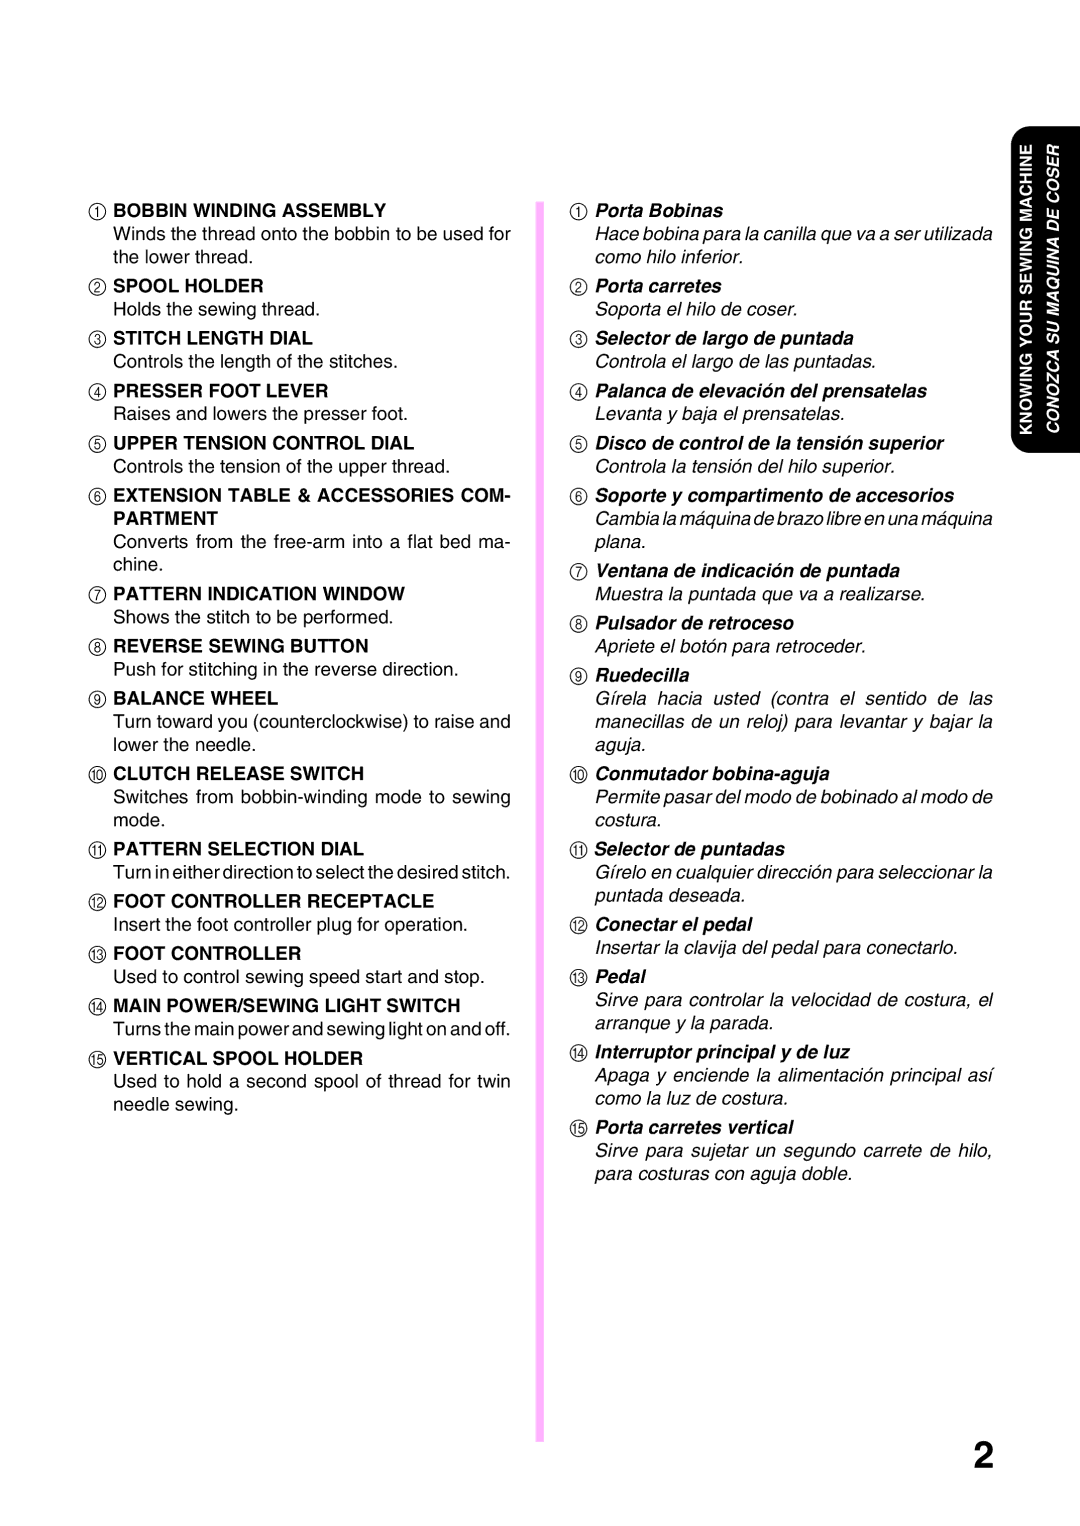
XL3022, XL 3010 specifications
The Brother XL 3010 and XL 3022 are two popular sewing machines that cater to both beginners and seasoned enthusiasts alike. These machines are celebrated for their user-friendly features and versatility, making them ideal companions for a variety of sewing projects.One of the standout features of both the XL 3010 and XL 3022 is the impressive selection of built-in stitches. The XL 3010 offers a total of 10 built-in stitches, while the XL 3022 boasts 22 stitches, including utility stitches, decorative stitches, and even a one-step buttonhole. This variety allows users to explore different sewing techniques and styles, adding creativity to their projects.
In terms of ease of use, both machines come with a simple threading system that makes setup a breeze. The quick-set bobbin feature ensures that even novice users can get started without frustration. Additionally, the automatic bobbin winding system allows for efficient preparation, minimizing downtime when switching threads or colors.
The Brother XL series is also known for its lightweight and compact design. Weighing approximately 12 pounds, these machines are portable enough for sewing classes or crafting circles. Their compact dimensions mean they easily fit on any workspace, from a dedicated sewing room to a small kitchen table.
Another important characteristic is the adjustable stitch width and length. This feature empowers users to customize their stitches according to the requirements of their projects. Whether sewing seams or decorative embellishments, controlling the stitch size enhances precision and ensures professional-looking results.
For those who regularly tackle different fabric types, both machines are equipped with a versatile feed dog system, allowing for smooth feeding of various materials, from lightweight fabrics to heavier ones like denim or canvas. This adaptability ensures that users can take on a wide range of sewing projects without worrying about fabric compatibility.
The Brother XL 3010 and XL 3022 also prioritize user comfort. They feature a bright LED work light that illuminates the sewing area, reducing eye strain during long sessions. Additionally, the free arm design allows for easy maneuverability, particularly when sewing cuffs, collars, and hems.
Overall, the Brother XL 3010 and XL 3022 exemplify the blend of functionality and convenience in home sewing machines. Their built-in features, user-friendly design, and portability make them a valuable addition to any sewer's toolkit, encouraging creativity and productivity in the world of sewing.

