
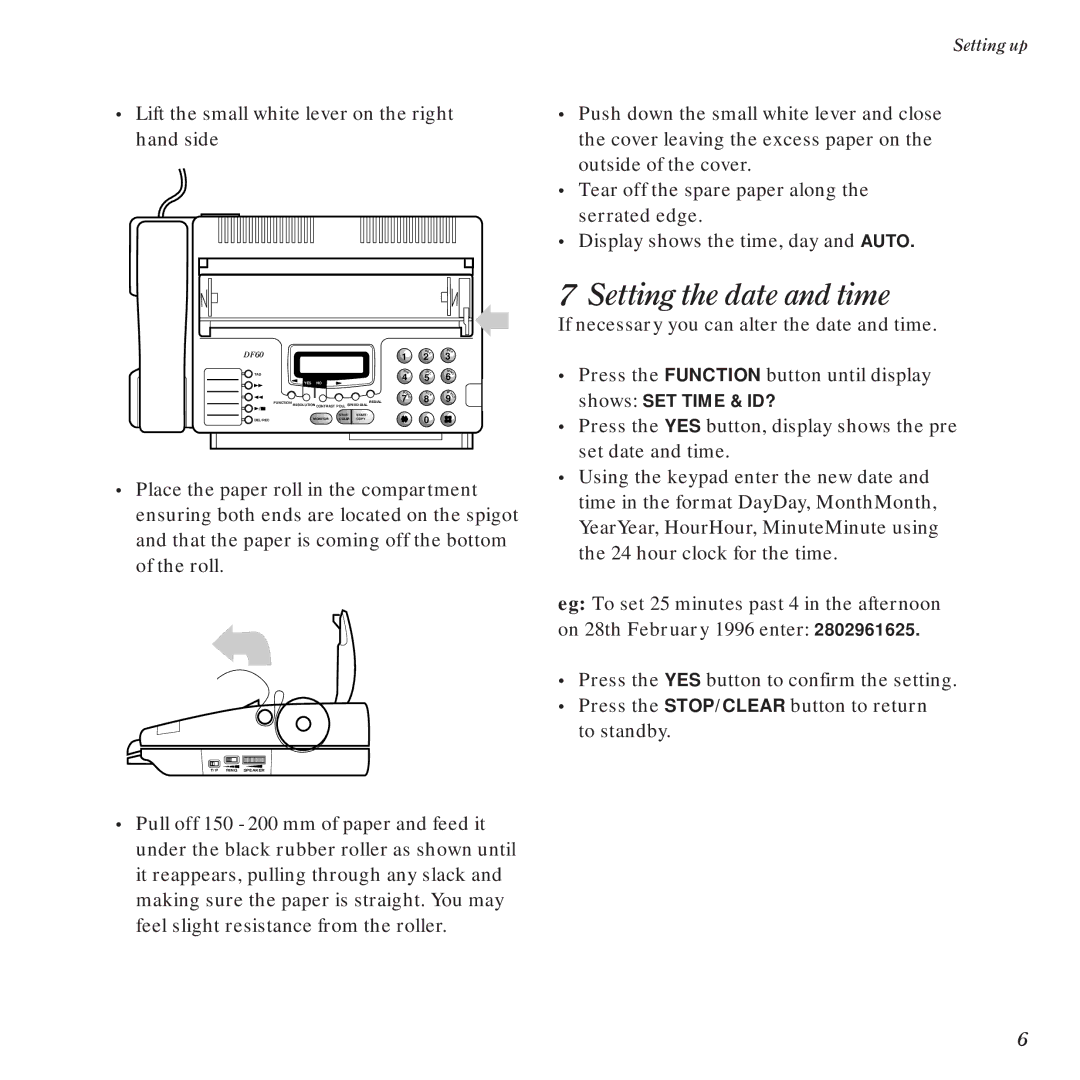
DF60 specifications
The BT DF60 is a robust and versatile electric reach truck developed by BT, a brand renowned for its innovative material handling solutions. This model stands out in the competitive lift truck market due to its advanced technological features and computational efficiency, catering primarily to the needs of warehouse operations where space and efficiency are paramount.One of the key features of the BT DF60 is its impressive lifting capacity. With the ability to lift loads of up to 6000 kilograms, this reach truck is designed to handle heavy-duty applications while ensuring safety and stability. Its ergonomic design promotes optimal operator comfort, reducing fatigue during long shifts. The adjustable steering column and control layout allow operators to maintain a natural posture, facilitating smooth and efficient operation.
The BT DF60 employs advanced AC drive technology, delivering high performance and reducing energy consumption compared to traditional DC systems. This technology enhances the truck's acceleration and maneuverability, making it suitable for navigating tight spaces in cluttered warehouses. Additionally, the system allows for regenerative braking, which contributes to overall energy efficiency and extends the operational life of the truck.
Equipped with BT's unique Soft Landing technology, the DF60 ensures a gentle and controlled lowering of loads, minimizing the risk of damage to both goods and the truck itself. The truck features a sophisticated stability system, providing exceptional load handling capabilities whether the truck is fully loaded or at maximum height.
Moreover, the BT DF60 incorporates smart diagnostics and maintenance alerts, which simplify the management of fleet operation. The truck is designed to optimize maintenance schedules, thereby reducing downtime and repair costs, allowing businesses to maximize productivity.
Safety is a top priority for the BT DF60. The truck features an operator presence detection system that ensures the truck does not operate unless an operator is present and ready to drive. Additionally, it is equipped with superior visibility through its mast design, allowing operators to clearly view their surroundings.
Overall, the BT DF60 is a cutting-edge electric reach truck that combines power, efficiency, and safety, making it an ideal choice for modern warehouse operations seeking to enhance their productivity and operational excellence. Its array of features and technologies exemplifies BT's commitment to innovation, reliability, and user-oriented design in the material handling sector.