OFF
CAMERA ![]() VCR
VCR
![]()
![]()
![]()
![]()
![]()
![]()
![]() POWER
POWER
AUDIO
DUB.
![]() AUDIO DUB.¥¥AUDIO IN
AUDIO DUB.¥¥AUDIO IN
(see p. 34)
1.Load your recorded tape into the camcorder.
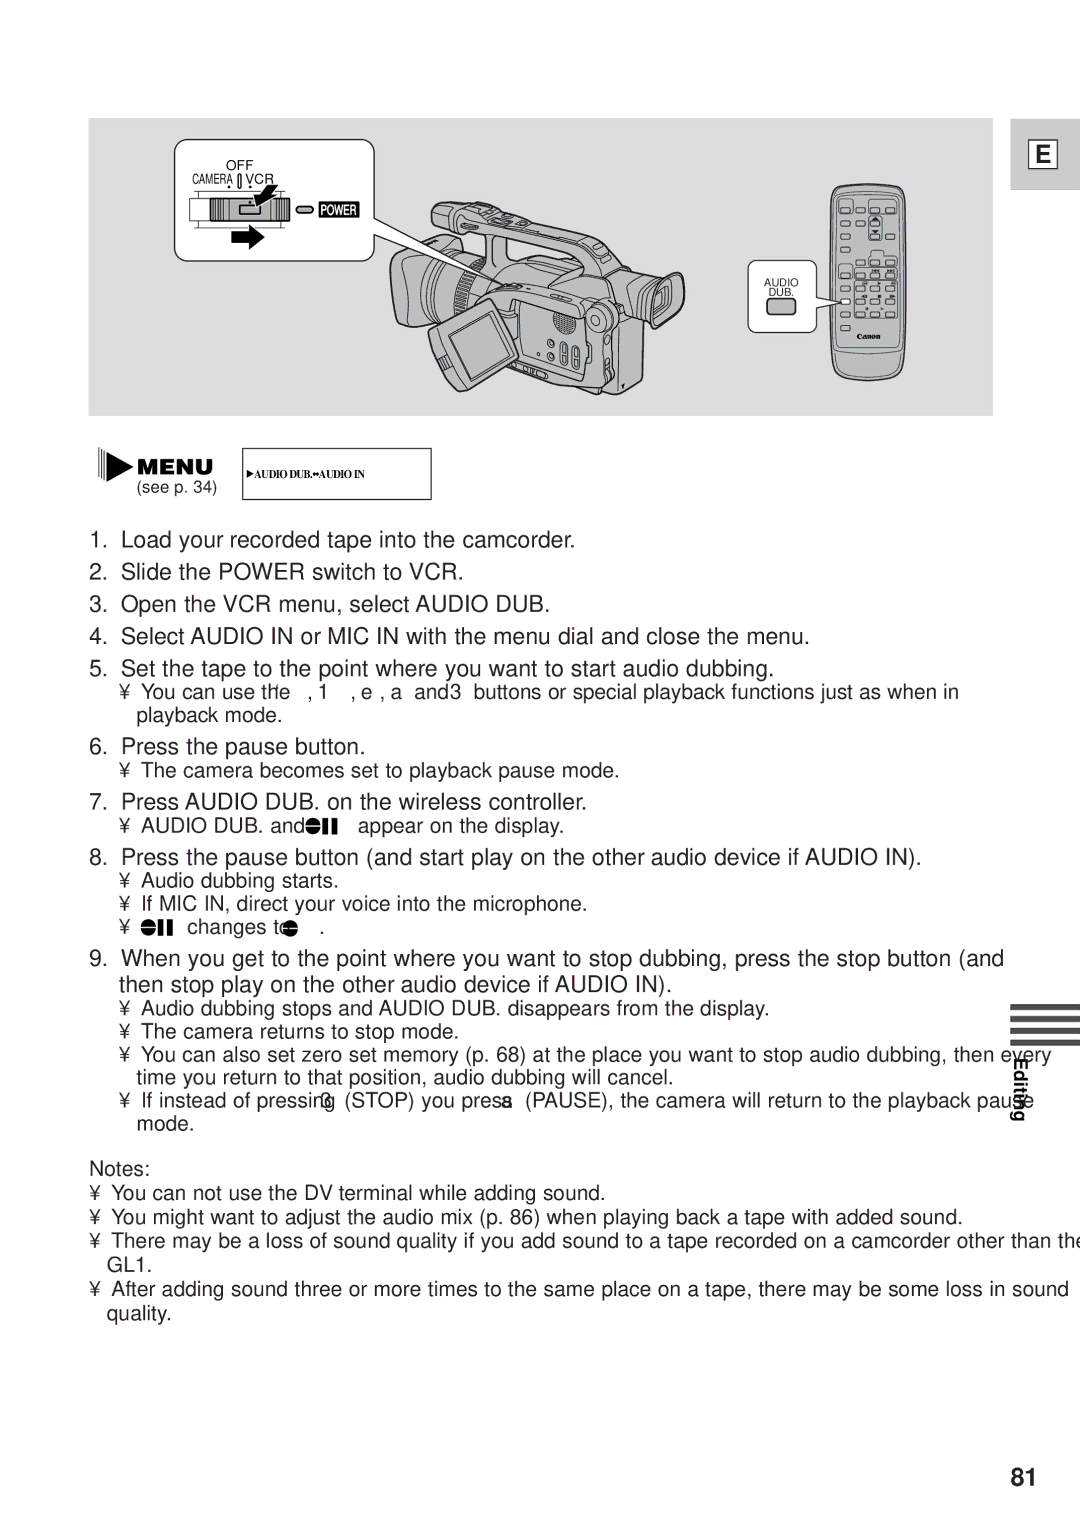
2.Slide the POWER switch to VCR.
3.Open the VCR menu, select AUDIO DUB.
4.Select AUDIO IN or MIC IN with the menu dial and close the menu.
5.Set the tape to the point where you want to start audio dubbing.
•You can use the `, 1, e, a and 3 buttons or special playback functions just as when in playback mode.
6.Press the pause button.
•The camera becomes set to playback pause mode.
7.Press AUDIO DUB. on the wireless controller.
•AUDIO DUB. and ![]()
![]() appear on the display.
appear on the display.
8.Press the pause button (and start play on the other audio device if AUDIO IN).
•Audio dubbing starts.
•If MIC IN, direct your voice into the microphone.
•![]()
![]() changes to
changes to ![]() .
.
9.When you get to the point where you want to stop dubbing, press the stop button (and then stop play on the other audio device if AUDIO IN).
•Audio dubbing stops and AUDIO DUB. disappears from the display.
•The camera returns to stop mode.
•You can also set zero set memory (p. 68) at the place you want to stop audio dubbing, then every time you return to that position, audio dubbing will cancel.
•If instead of pressing 3 (STOP) you press a (PAUSE), the camera will return to the playback pause mode.
Notes:
•You can not use the DV terminal while adding sound.
•You might want to adjust the audio mix (p. 86) when playing back a tape with added sound.
•There may be a loss of sound quality if you add sound to a tape recorded on a camcorder other than the GL1.
•After adding sound three or more times to the same place on a tape, there may be some loss in sound quality.
E
Editing
81
