Canon Digital Camera Basic Setup – Micro-Photography
Using the Light Source of
The White Balance is set to Day Light Mode (5000~6000°K) in accordance with the 6000°K light source of
If using light sources other than
The image of a partial subject in
In
Please set the Compression to Fine. (Altering this setting would change the image file size.)
Set the Recording Pixels value according to the output media. For instance, choosing higher Recording Pixels value if the picture is for printing. (Altering this setting would change the image file size.)
Canon Digital Camera Basic Setup – Micro-Photography
Note: Turn OFF the flash light for
Please keep in mind that the flash light is easily turned ON while the position shown here is accidentally pressed by the thumb.
Single shooting is the default setting. (IXUS 800IS/955IS is equipped with image stabilization function) In a circumstance where stable posture is hard to maintain or the subject is moving or trembling, please choose Continuous Shooting Mode to take more pictures to get better results.
Canon IXUS series is not compatible with the shutter cable release. To reduce the influence of vibration during shooting, please use
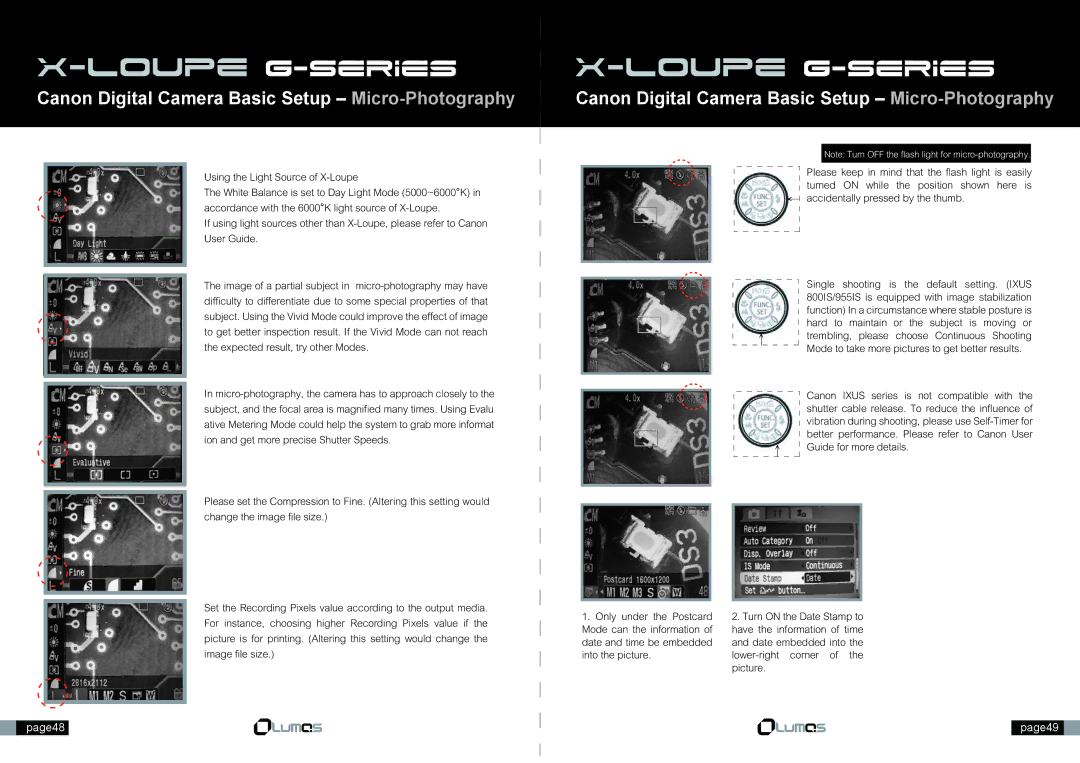
1. Only under the Postcard | 2. Turn ON the Date Stamp to |
Mode can the information of | have the information of time |
date and time be embedded | and date embedded into the |
into the picture. | |
| picture. |
| page48 |
| page49 |
|
