Mode d’emploi
Important Usage Instructions
Important Safety Instructions
Lightning For added protection of this
Contents
Getting started
Thank you for Choosing a Canon
Introducing the ZR10
Quick Overview
Finding Your Way Around the ZR10
2ZR10E07-33 3/10/00 1819 Page 9 1,1
2ZR10E07-33 3/10/00 1819 Page 10 1,1
Powering Your Camcorder
Connecting the camera to an AC outlet
Provide power from an AC outlet or Charge a battery pack
Set the Power switch to OFF Attach the battery to the camera
Attaching and charging the battery packs
CA-560 Compact Power Adapter
Using the Charge Adapter CR-560 Kit optional
Operate the camera with power from your car battery
Loading a Cassette
Loading and unloading
Load or unload the cassette
Protecting tapes from accidental erasure
Handling cassettes
Cassette Memory
Load a cassette
Basic Recording
Before you start recording
To record
Slide the program selector to
When you have finished recording
Widescreen TV recording
Changing the recording mode SP/LP
Confirmation/Warning beeps
Zooming
10⋅ optical zoom
40⋅ /200⋅ digital zoom
Using the LCD Screen
Open the LCD screen
Changing the angle of the LCD screen
About the LCD Screen
Adjusting the LCD screen
Allowing the subject to monitor recording
Built-in speaker and headphone terminal
Attach a power source and turn the Power switch to VCR
Playing Back a Cassette
Load the cassette Press the e play button to start playback
Rewind playback
Other playback modes
Playback pause
Fast forward playback
Special playback
If your TV or VCR has an S S1 -video input terminal
Connections for Playback on a TV Screen
Video
If your TV or VCR has audio/video input terminals
Composition
Using a tripod
Tips for Making Better Videos
Holding the camera
Camera moves
Picture angle
Turning the Image Stabilizer Off
Selecting from the Menus
Press the Menu button to close the menu
VCR menu
3ZR10E34-72 3/9/00 756 PM Page 37 1,1
Inserting batteries
Using the Wireless Controller
Setting the remote sensor mode
Choose Offb and close the menu
Choose a 1 or a 2 and close the menu
If your wireless controller isn’t working
Press the Menu button
Setting the Date and Time
Setting the time zone/daylight saving time
Set the camera to record pause mode
3ZR10E34-72 3/9/00 756 PM Page 42 1,1
Date and time display
Setting the clock
Press the Photo button halfway down and hold it
Taking Still Pictures
Press the Photo button fully down to take the still picture
Transferring Still Pictures to a PC with the FR-100 optional
Searching and Reviewing While Recording
Record search
Record review
Availability of functions in each recording program
Using the Various Recording Programs
Press the start/stop button to begin recording
Setting the program AE mode
Portrait
Easy Recording
Auto
Sports
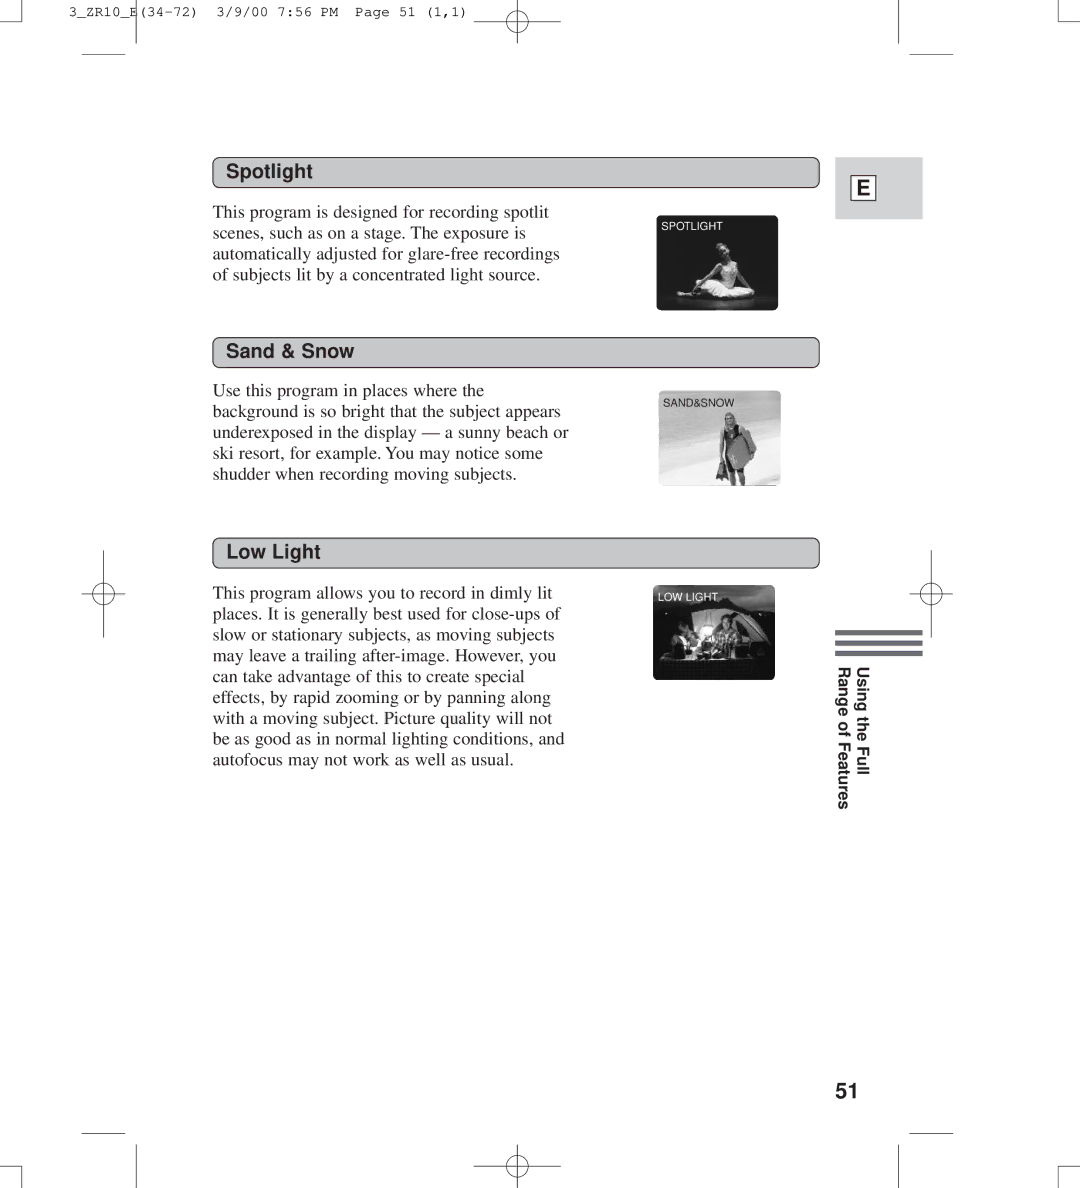
Spotlight
Sand & Snow
Low Light
Availability of digital effects in Camera mode
Using Digital Effects
Effects Faders
Availability of digital effects in VCR playback modes
Horizontal Wipe Wipe
Faders
Fade Trigger FADE-T
Vertical Wipe Wipe
Sepia Sepia
Effects
Art ART
Black and White BLK & WHT
Press the Digital Effects button
If you’re in VCR mode Fade in- Press the e play button
Operating faders
Turn the selector dial
Operating effects
Selecting the audio mode
Audio Recording
External microphone
Wind screen
Setting the Self-Timer
Press the start/stop button
Press the start/stop button to end recording
3ZR10E34-72 3/9/00 756 PM Page 61 1,1
Adjusting Exposure Manually
Exposure adjustment
Exposure lock
Close the menu
Shutter speed
Guidelines for shooting using high shutter speeds
Recommended shutter speeds when shooting
Concerning shooting in fluorescent lighting
Adjusting Focus Manually
Focus lock
Manual focus
Setting the White Balance
3ZR10E34-72 3/9/00 756 PM Page 67 1,1
Press the Data Code button on the wireless controller
Displaying Date, Time and Camera Data Data Code
Selecting date/time
Select Data Code from the VCR menu
Setting the data code
Six-second auto date
Searching the Tape Photo Search/Date Search
Returning to a Pre-Marked Position
Prepare the TV and VCR
Editing to a VCR
Preparations
Connect the camera to the VCR
Dubbing with Digital Video Equipment
Connect the camera and the other digital device
Prepare the other device
Copyright signal
Dubbing
Stop playback on the other device
Recording from a VCR,TV or Analog Camcorder Analog Line-in
You can monitor the picture in the viewfinder or LCD
Insert start point
Recording Over Existing Scenes A/V Insert Editing
Tape in the camera
Playback tape
Connect the camera to the VCR/TV Prepare the TV and VCR
Press the A/V Insert button
To stop inserting, press the Stop button on the camera
Stop playback on the VCR
Audio Dubbing
To connect other audio equipment
To connect an external microphone
Press Audio DUB
4ZR10E73-85 3/9/00 759 PM Page 83 1,1
Turn the Power switch to VCR Choose the output
Setting the Audio Mix
Selecting audio output channels
Fasten the grip belt
Adjust the viewfinder
Preparing the Camera
Prepare the lens cap
Attach the shoulder strap
Charging and recording times
How much power is left?
Storing the battery pack
When to recharge
Taking care of the battery pack
Keep the terminals clean
Treat the battery pack with care
Installing the backup battery
Maintenance
Camera body and lens
Maintenance
Storage
Viewfinder
Using the camera abroad
Power sources
TV playback
What you should do
What happens when condensation is detected
Condensation
Protecting the camera from condensation
Recording/Playback
Troubleshooting
Cause and/or what to do about it
Recording/Playback Contd
Miscellaneous
ZR10 System Diagram Availability differs from area to area
SR-30.5/46 Step-up Ring
Optional Accessories
BP-500 Series Battery Packs
CR-560 Charge Adapter/Car Battery Cable Kit
FS-46 Filter Set
VL-10Li Battery Video Light
100
WD-46 Wide-converter
101
WS-20 Wrist Strap
SC-1000 Soft Carrying Case
SC-A50 Soft Carrying Case
102
Screen Displays
103
Turning off the LCD screen displays
104
105
106
Time Code
Recording reminder
Refer to p.17
107
ZR10
Specifications
BP-511 Battery Pack
108
109
Index
110
111
Canon ZR10 Digital Video Camcorder Limited Warranty
112
Canada
Canon INC

