Send documentation comments to
Step 3 Use the switch setup utility that appears on the console connection.
Step 4 Use the switch setup utility to do the following:
a.Set the admin password for the switch.
Caution Make sure that you configure a strong password. Short,
b.Assign an IP address and a netmask to the switch, as shown in Example 1.
Example 1 IP Address Step in the Setup Utility
Continue with
Mgmt0 IPV4 address: 209.165.200.225
Mgmt0 IPV4 netmask: 255.255.255.224
c.Set up the default gateway.
Note The switch is now ready to be managed via the Mgmt port using Telnet or Device Manager or Fabric Manager.
7Connecting Devices
To connect devices, follow these steps:
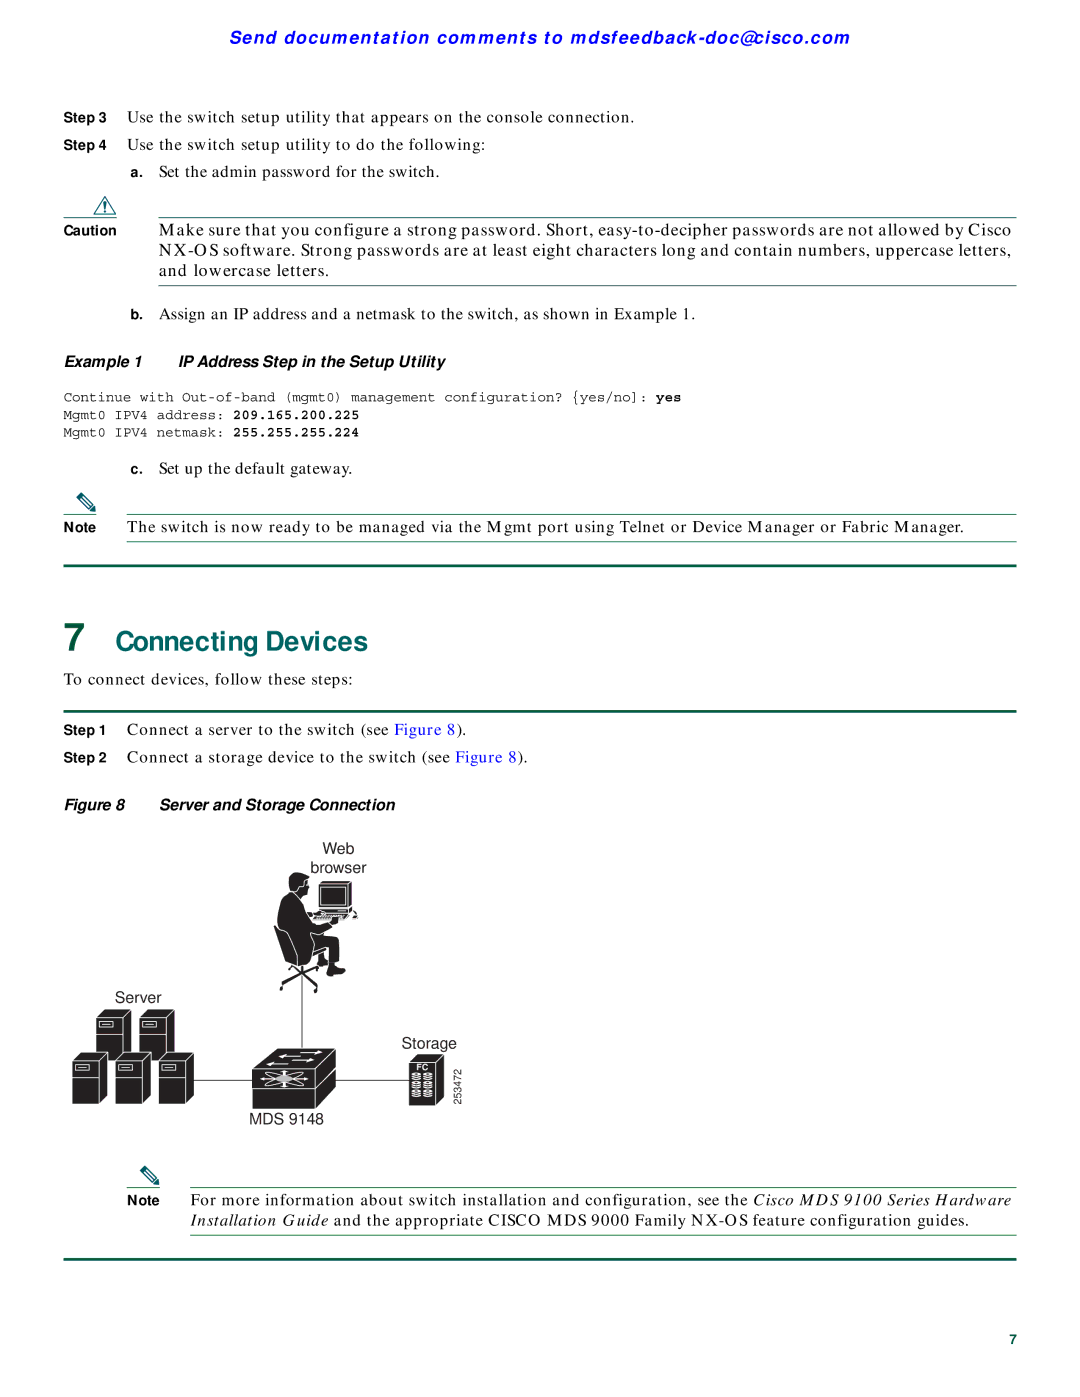
Step 1 Connect a server to the switch (see Figure 8).
Step 2 Connect a storage device to the switch (see Figure 8).
Figure 8 Server and Storage Connection
Web
browser
Server
Storage
FC | 253472 |
|
MDS 9148
Note For more information about switch installation and configuration, see the Cisco MDS 9100 Series Hardware Installation Guide and the appropriate CISCO MDS 9000 Family
7