Send documentation comments to
9Using the Quick Config Wizard
To enable ports and assign zone memberships, follow these steps:
Step 1 Click the Device Manager icon on your desktop to log in.
Step 2 Enter a password in the Password field (see Figure 10).
Step 3 Click Open (see Figure 10).
Figure 10 Device Manager Login
Step 4 Click FC, and then choose Quick Config.
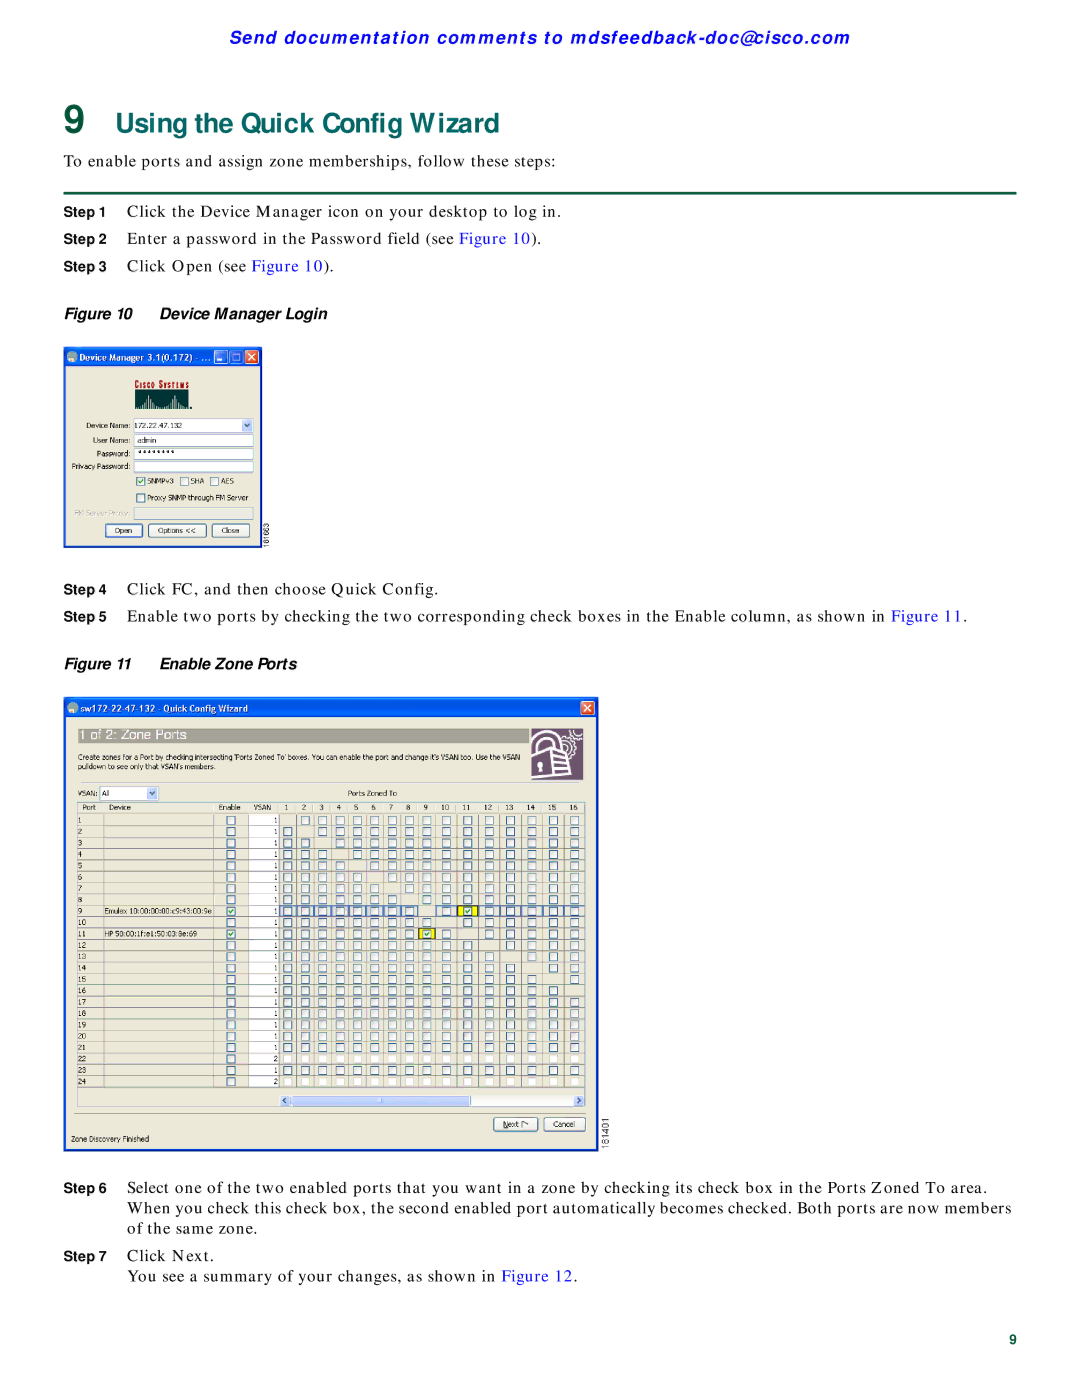
Step 5 Enable two ports by checking the two corresponding check boxes in the Enable column, as shown in Figure 11.
Figure 11 Enable Zone Ports
Step 6 Select one of the two enabled ports that you want in a zone by checking its check box in the Ports Zoned To area. When you check this check box, the second enabled port automatically becomes checked. Both ports are now members of the same zone.
Step 7 Click Next.
You see a summary of your changes, as shown in Figure 12.
9
