10 |
|
| B U T T O N S |
|
|
|
|
What Do The Buttons Do?
WHITE BUTTON
The white button on the back of the Receiver performs a variety of functions. To start the slide show, press down on the button until the message “You can let go now to start the slide show” is displayed on the screen. If you have new photos you want to view right away and don’t want to wait until the next day, simply press down on the button until the message,“You can let go now, I’m connecting” is displayed on the screen.
To stop the slide show on your favorite picture, simply press the button once when the picture you are looking for is displayed.This will also display the picture sender’s information on the screen for a moment.Your Receiver has been set to automatically return to the slide show mode after 2 minutes.This setting may be turned off or adjusted at the CEIVATM website.
BLACK BUTTON
The black button on the back of the CEIVATM Receiver adjusts the brightness setting of your screen. Pressing the black button will display a“brightness bar” on the left side of the Receiver’s screen. Press and release the black button to advance to the next setting, or to turn your CEIVATM Receiver off. Pressing the button once, after the screen is dark, will turn the screen back on. Holding down the black button will allow you to scroll through the brightness settings.
Advanced Features of the CEIVA Digital Photo ReceiverTM
So far we have discussed some of the basic features and functions of the CEIVA Digital Photo ReceiverTM, however, it can do a lot more! To learn about the advanced features of your CEIVATM Receiver, read on!
F A Q ’ S |
|
| 23 |
|
|
|
|
ABOUT YOUR CEIVA Digital Photo ReceiverTM AND DIALING
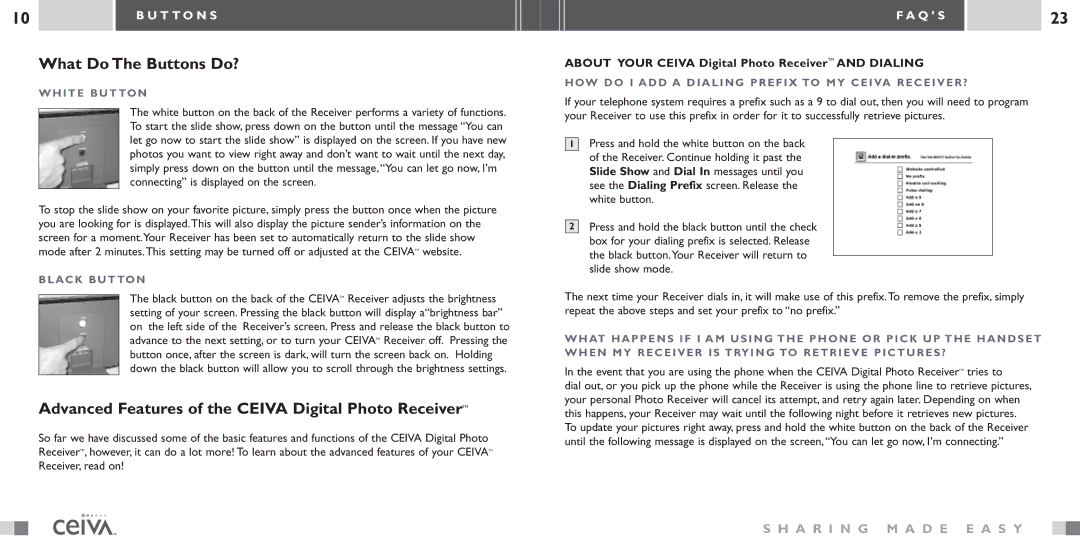
HOW DO I ADD A DIALING PREFIX TO MY CEIVA RECEIVER?
If your telephone system requires a prefix such as a 9 to dial out, then you will need to program your Receiver to use this prefix in order for it to successfully retrieve pictures.
1Press and hold the white button on the back of the Receiver. Continue holding it past the Slide Show and Dial In messages until you see the Dialing Prefix screen. Release the white button.
2Press and hold the black button until the check box for your dialing prefix is selected. Release the black button.Your Receiver will return to slide show mode.
The next time your Receiver dials in, it will make use of this prefix.To remove the prefix, simply repeat the above steps and set your prefix to “no prefix.”
WHAT HAPPENS IF I AM USING THE PHONE OR PICK UP THE HANDSET WHEN MY RECEIVER IS TRYING TO RETRIEVE PICTURES?
In the event that you are using the phone when the CEIVA Digital Photo ReceiverTM tries to
dial out, or you pick up the phone while the Receiver is using the phone line to retrieve pictures, your personal Photo Receiver will cancel its attempt, and retry again later. Depending on when this happens, your Receiver may wait until the following night before it retrieves new pictures. To update your pictures right away, press and hold the white button on the back of the Receiver until the following message is displayed on the screen,“You can let go now, I’m connecting.”
S H A R I N G M A D E E A S Y