Charnwood Grosvenor Installation Instructions
Notes to the Installation Engineer: Please make sure the customer is familiar with the initial lighting and operating procedures before leaving the site and that this instruction booklet is left with them when the final commissioning is complete.
Please check that the following components are included before you start on the assembly.
The following stove components are delivered in 2 boxes:
Box 1: 1 Stove Body inc. baffle and flue diverter.
Box 2: 1 Burner Unit and coal set.
Assembly
IMPORTANT: ENSURE THAT THE CONCEALED DOOR LOCK IS REMOVED BEFORE ATTEMPTING TO OPEN THE GLASS DOOR USING THE HANDLE .
*Remove spinwheel from the bottom centre of door.
*Remove the lower bolt, using a 13mm spanner or socket, and retain.
*Open door using handle and remove contents packed inside stove, including front fire bar, noting location for reassembly.
*Fit draught diverter to rear of stove using nuts and bolts provided.
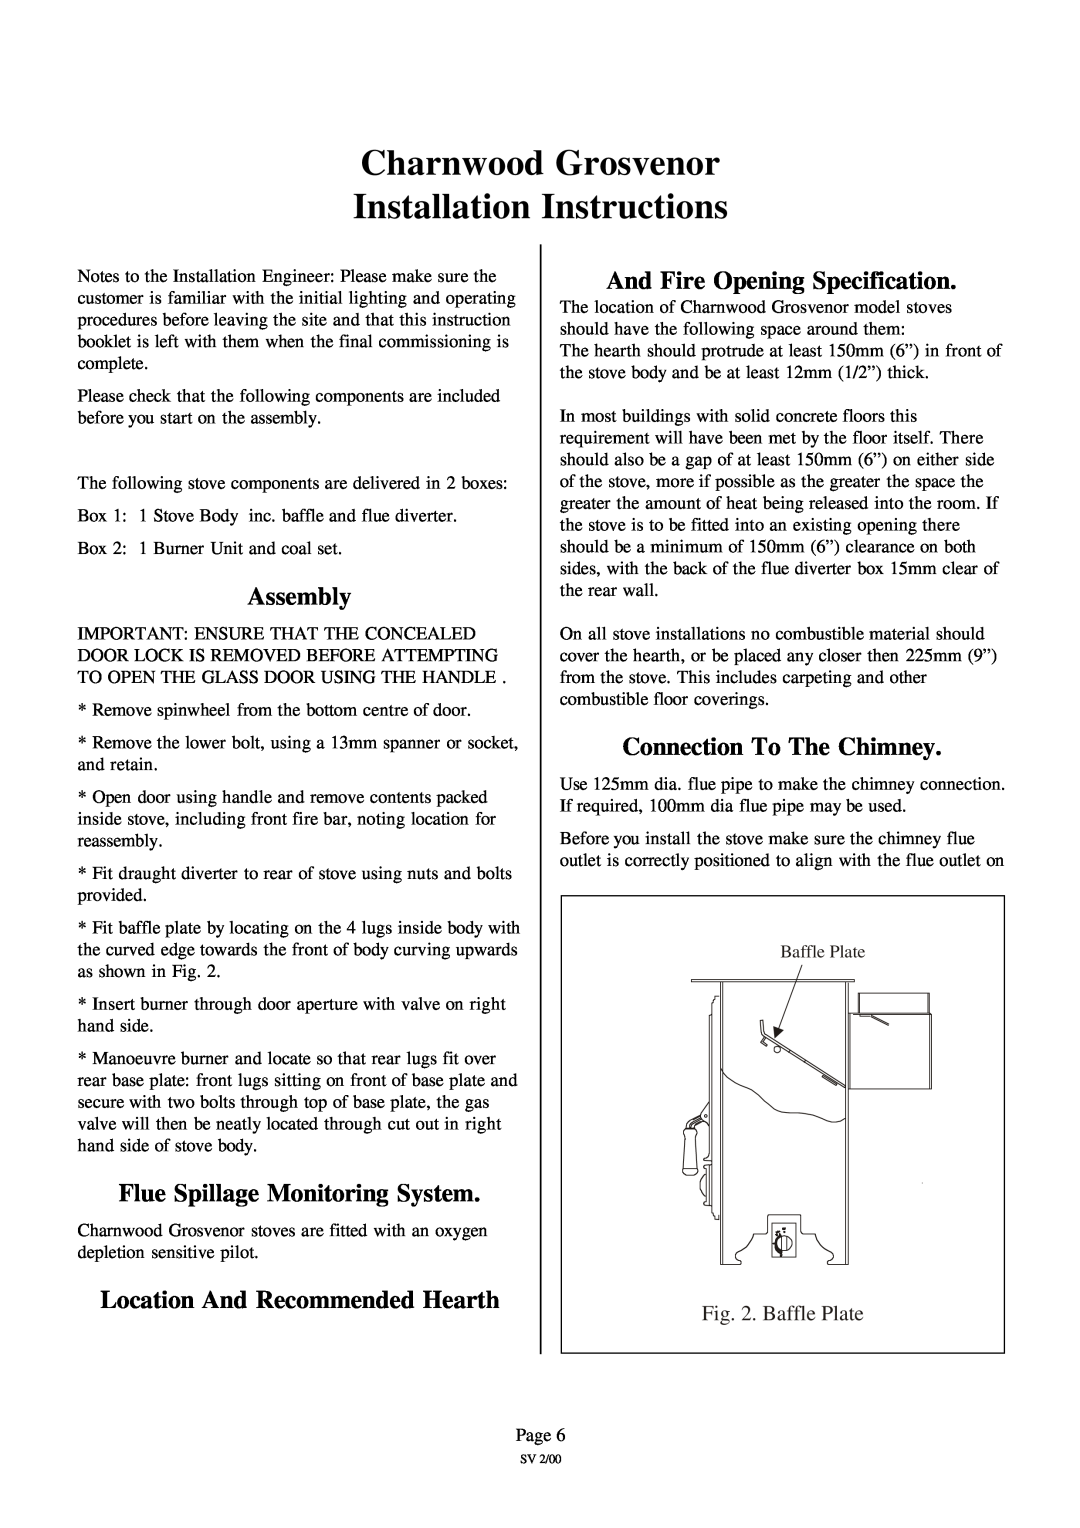
*Fit baffle plate by locating on the 4 lugs inside body with the curved edge towards the front of body curving upwards as shown in Fig. 2.
*Insert burner through door aperture with valve on right hand side.
*Manoeuvre burner and locate so that rear lugs fit over rear base plate: front lugs sitting on front of base plate and secure with two bolts through top of base plate, the gas valve will then be neatly located through cut out in right hand side of stove body.
Flue Spillage Monitoring System.
Charnwood Grosvenor stoves are fitted with an oxygen depletion sensitive pilot.
Location And Recommended Hearth
And Fire Opening Specification.
The location of Charnwood Grosvenor model stoves should have the following space around them:
The hearth should protrude at least 150mm (6”) in front of the stove body and be at least 12mm (1/2”) thick.
In most buildings with solid concrete floors this requirement will have been met by the floor itself. There should also be a gap of at least 150mm (6”) on either side of the stove, more if possible as the greater the space the greater the amount of heat being released into the room. If the stove is to be fitted into an existing opening there should be a minimum of 150mm (6”) clearance on both sides, with the back of the flue diverter box 15mm clear of the rear wall.
On all stove installations no combustible material should cover the hearth, or be placed any closer then 225mm (9”) from the stove. This includes carpeting and other combustible floor coverings.
Connection To The Chimney.
Use 125mm dia. flue pipe to make the chimney connection. If required, 100mm dia flue pipe may be used.
Before you install the stove make sure the chimney flue outlet is correctly positioned to align with the flue outlet on
Baffle Plate
Fig. 2. Baffle Plate
Page 6
SV 2/00