SAFETY
SETUP
OPERATION
MAINTENANCE
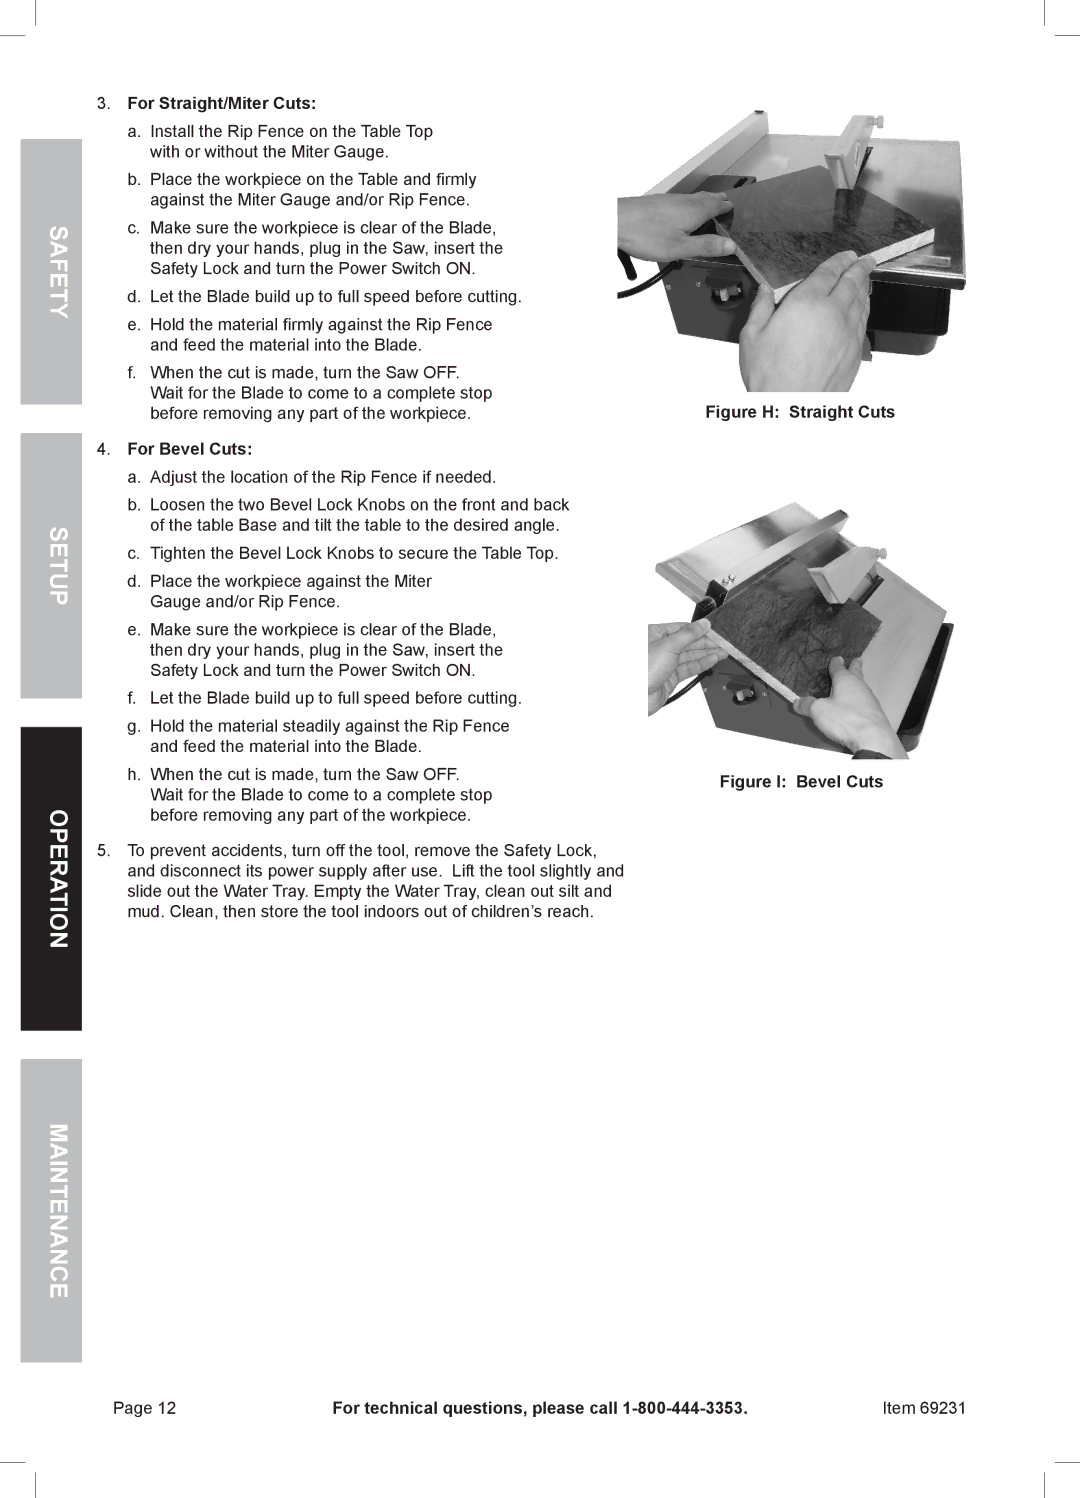
3.For Straight/Miter Cuts:
a.Install the Rip Fence on the Table Top with or without the Miter Gauge.
b.Place the workpiece on the Table and firmly against the Miter Gauge and/or Rip Fence.
c.Make sure the workpiece is clear of the Blade, then dry your hands, plug in the Saw, insert the Safety Lock and turn the Power Switch ON.
d.Let the Blade build up to full speed before cutting.
e.Hold the material firmly against the Rip Fence and feed the material into the Blade.
f.When the cut is made, turn the Saw OFF. Wait for the Blade to come to a complete stop before removing any part of the workpiece.
4.For Bevel Cuts:
a.Adjust the location of the Rip Fence if needed.
b.Loosen the two Bevel Lock Knobs on the front and back of the table Base and tilt the table to the desired angle.
c.Tighten the Bevel Lock Knobs to secure the Table Top.
d.Place the workpiece against the Miter Gauge and/or Rip Fence.
e.Make sure the workpiece is clear of the Blade, then dry your hands, plug in the Saw, insert the Safety Lock and turn the Power Switch ON.
f.Let the Blade build up to full speed before cutting.
g.Hold the material steadily against the Rip Fence and feed the material into the Blade.
h.When the cut is made, turn the Saw OFF. Wait for the Blade to come to a complete stop before removing any part of the workpiece.
5.To prevent accidents, turn off the tool, remove the Safety Lock, and disconnect its power supply after use. Lift the tool slightly and slide out the Water Tray. Empty the Water Tray, clean out silt and mud. Clean, then store the tool indoors out of children’s reach.
Figure H: Straight Cuts
Figure I: Bevel Cuts
Page 12 | For technical questions, please call | Item 69231 |