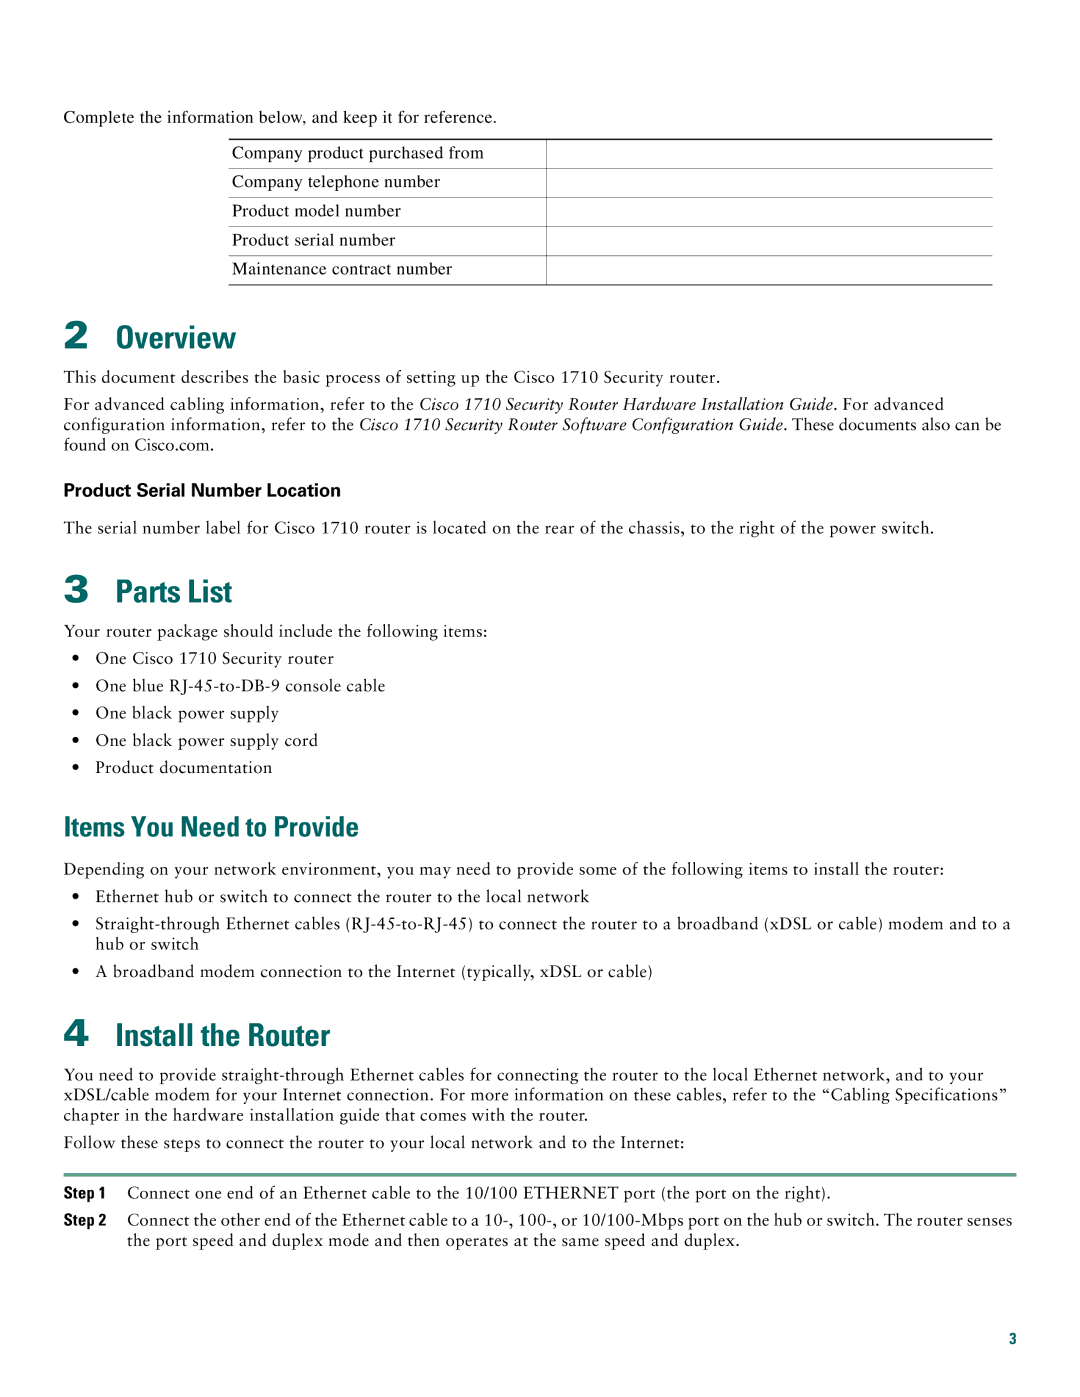
Complete the information below, and keep it for reference.
Company product purchased from
Company telephone number
Product model number
Product serial number
Maintenance contract number
2Overview
This document describes the basic process of setting up the Cisco 1710 Security router.
For advanced cabling information, refer to the Cisco 1710 Security Router Hardware Installation Guide. For advanced configuration information, refer to the Cisco 1710 Security Router Software Configuration Guide. These documents also can be found on Cisco.com.
Product Serial Number Location
The serial number label for Cisco 1710 router is located on the rear of the chassis, to the right of the power switch.
3Parts List
Your router package should include the following items:
•One Cisco 1710 Security router
•One blue
•One black power supply
•One black power supply cord
•Product documentation
Items You Need to Provide
Depending on your network environment, you may need to provide some of the following items to install the router:
•Ethernet hub or switch to connect the router to the local network
•
•A broadband modem connection to the Internet (typically, xDSL or cable)
4Install the Router
You need to provide
Follow these steps to connect the router to your local network and to the Internet:
Step 1 Connect one end of an Ethernet cable to the 10/100 ETHERNET port (the port on the right).
Step 2 Connect the other end of the Ethernet cable to a
3
