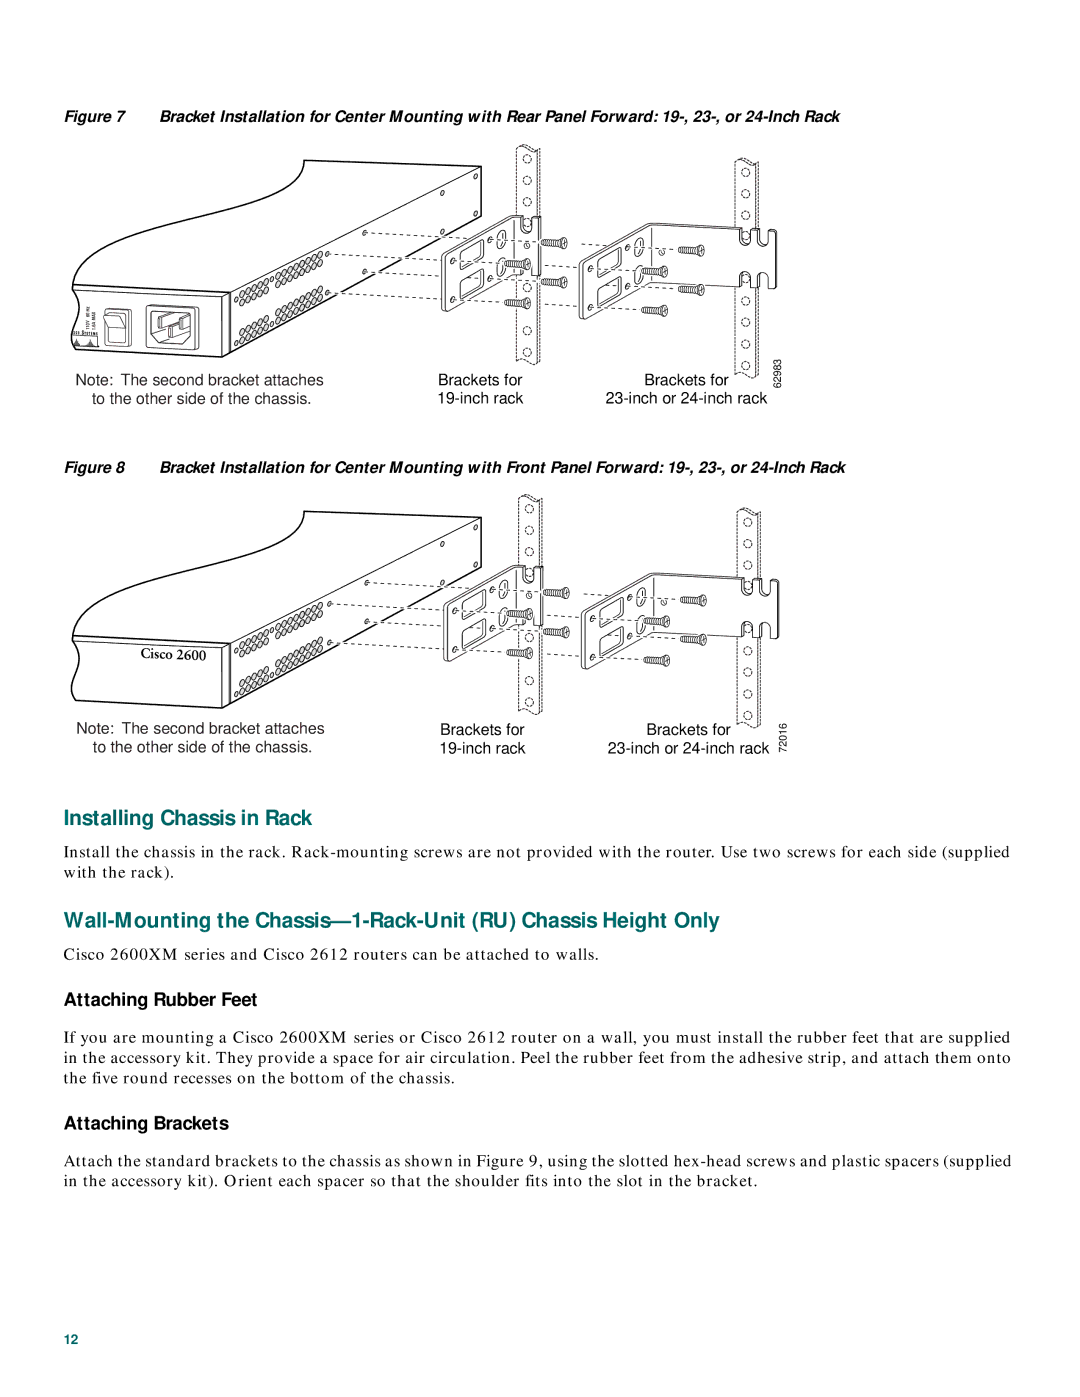
Figure 7 Bracket Installation for Center Mounting with Rear Panel Forward: 19-, 23-, or 24-Inch Rack
110V 60 Hz 1.6A MAX
Note: The second bracket attaches | Brackets for |
to the other side of the chassis. |
Brackets for
62983
Figure 8 Bracket Installation for Center Mounting with Front Panel Forward: 19-, 23-, or 24-Inch Rack
Note: The second bracket attaches | Brackets for |
to the other side of the chassis. |
Brackets for
72016
Installing Chassis in Rack
Install the chassis in the rack.
Cisco 2600XM series and Cisco 2612 routers can be attached to walls.
Attaching Rubber Feet
If you are mounting a Cisco 2600XM series or Cisco 2612 router on a wall, you must install the rubber feet that are supplied in the accessory kit. They provide a space for air circulation. Peel the rubber feet from the adhesive strip, and attach them onto the five round recesses on the bottom of the chassis.
Attaching Brackets
Attach the standard brackets to the chassis as shown in Figure 9, using the slotted
12