Installation - Subtended Network 8 |
8.2.3 Installing the DS3 Subtend Module
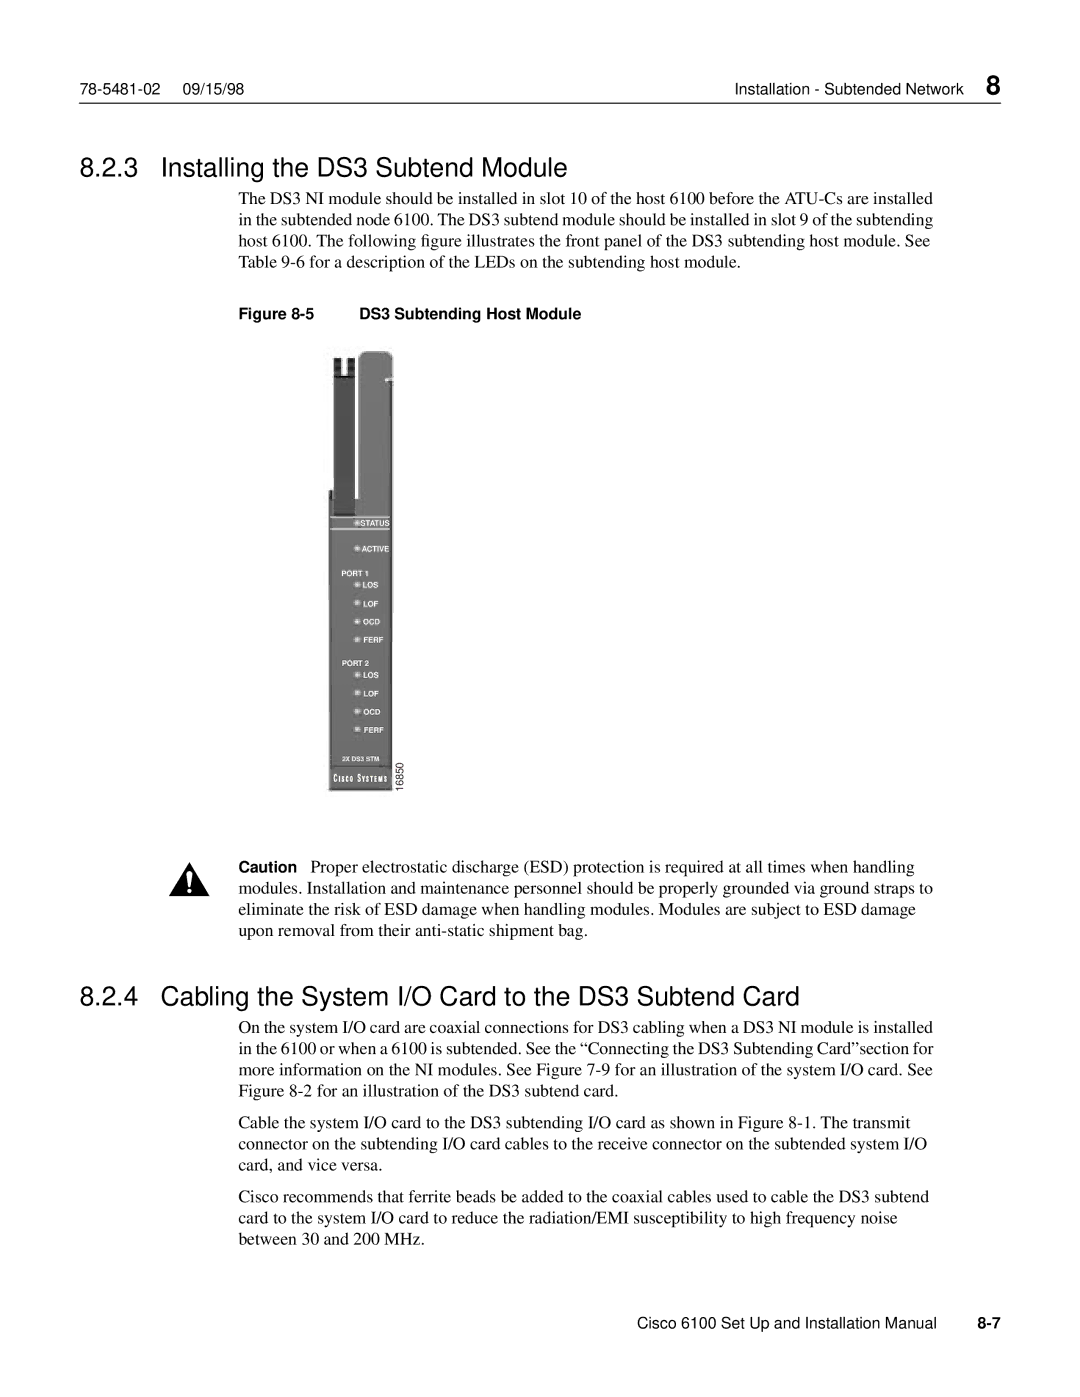
The DS3 NI module should be installed in slot 10 of the host 6100 before the
Figure 8-5 DS3 Subtending Host Module
STATUS
ACTIVE
PORT 1
LOS
LOF
OCD
FERF
PORT 2
LOS
LOF
OCD
FERF
2X DS3 STM
16850
Caution Proper electrostatic discharge (ESD) protection is required at all times when handling modules. Installation and maintenance personnel should be properly grounded via ground straps to eliminate the risk of ESD damage when handling modules. Modules are subject to ESD damage upon removal from their
8.2.4 Cabling the System I/O Card to the DS3 Subtend Card
On the system I/O card are coaxial connections for DS3 cabling when a DS3 NI module is installed in the 6100 or when a 6100 is subtended. See the “Connecting the DS3 Subtending Card”section for more information on the NI modules. See Figure
Cable the system I/O card to the DS3 subtending I/O card as shown in Figure
Cisco recommends that ferrite beads be added to the coaxial cables used to cable the DS3 subtend card to the system I/O card to reduce the radiation/EMI susceptibility to high frequency noise between 30 and 200 MHz.
Cisco 6100 Set Up and Installation Manual |
