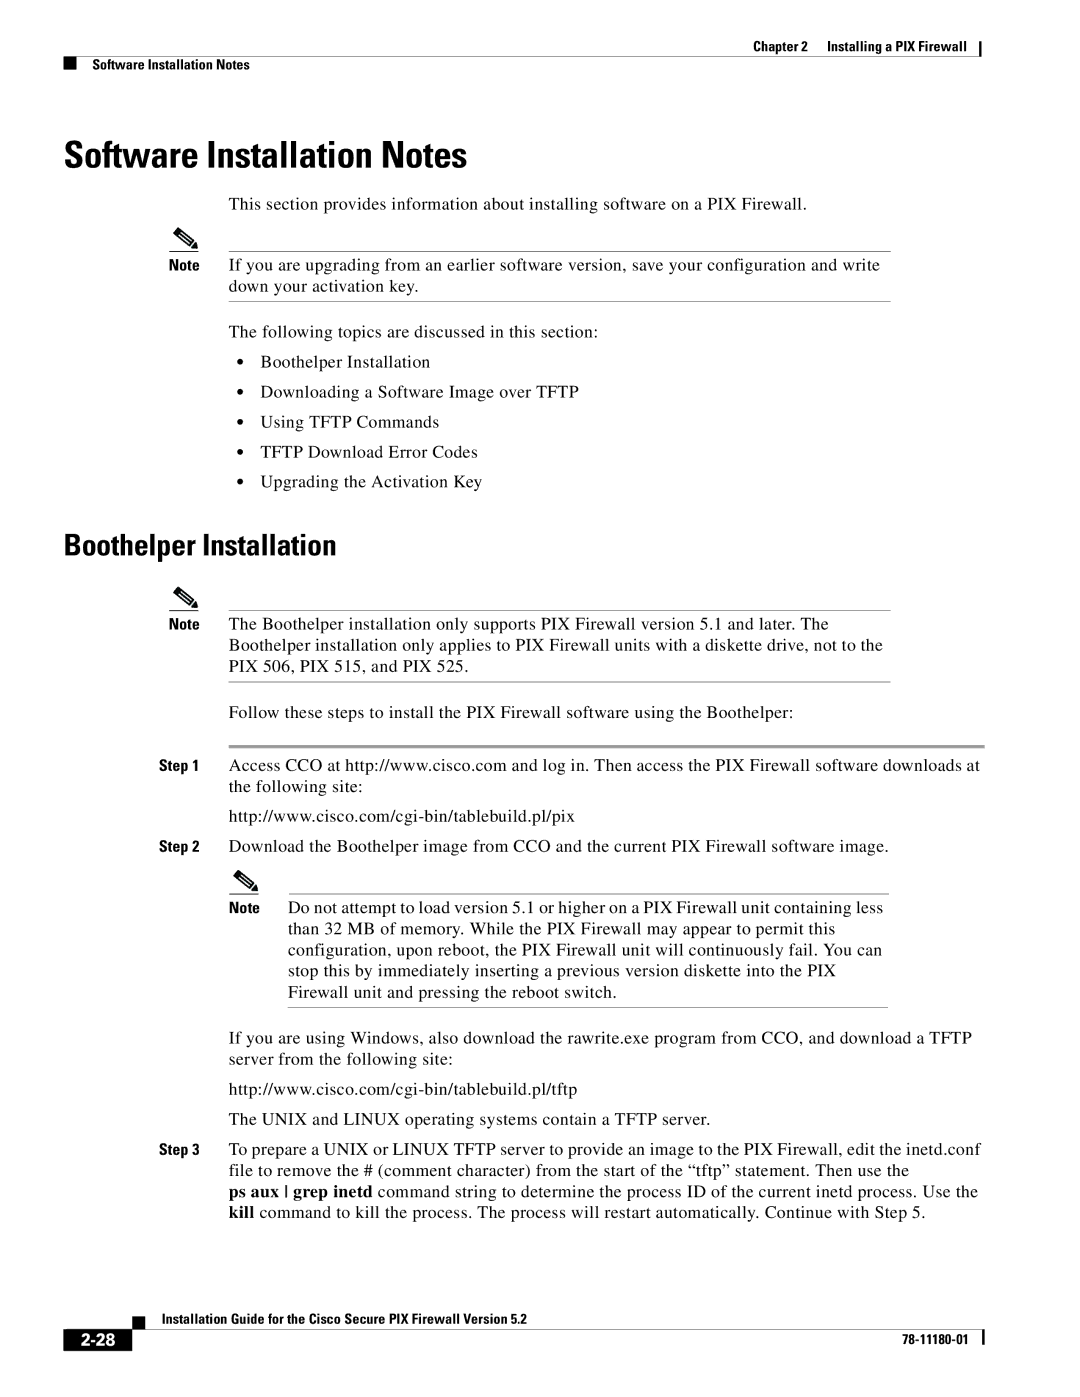
78-11180-01 specifications
Cisco Systems 78-11180-01 is an advanced networking device designed to support a wide range of enterprise networking needs. Known for its reliability and scalability, this device is an integral part of Cisco's robust portfolio, enabling organizations to optimize their network performance while ensuring security and manageability.One of the standout features of the 78-11180-01 is its support for advanced routing and switching capabilities. The device is built to handle a large volume of data traffic, making it suitable for medium to large-sized businesses. It employs Cisco's proprietary software, which enhances routing efficiency and drives faster data transmission across the network, ensuring that users experience minimal latency during operations.
In addition to routing capabilities, the 78-11180-01 integrates various technologies designed to promote seamless wireless connectivity. This includes support for multiple WLANs, allowing businesses to create tailored networks for different departments or user groups. This feature not only maximizes resource allocation but also improves the user experience by providing dedicated bandwidth for critical operations.
Security remains a top priority, and Cisco’s 78-11180-01 is equipped with robust security protocols. It supports advanced encryption standards, ensuring that sensitive data transmitted across the network is safeguarded against potential threats. Integrating with Cisco's Security suite allows for comprehensive threat management, equipping businesses with tools to detect and respond to security incidents in real time.
Moreover, the characteristic of scalability in the 78-11180-01 provides organizations with the flexibility to grow their network as their needs evolve. Whether expanding on-premises infrastructure or integrating cloud-based resources, this device facilitates easy connectivity and management of additional devices, ensuring that performance remains consistent.
Management is simplified through Cisco's user-friendly interface, which provides real-time insights into network performance. Administrators can easily monitor traffic patterns, identify bottlenecks, and make informed decisions to optimize network settings. Automated alerts and reporting tools further enhance proactive management capabilities.
In summary, Cisco Systems 78-11180-01 stands out as a versatile networking solution, combining powerful routing and switching, robust security measures, seamless wireless capabilities, and user-friendly management features. This makes it an ideal choice for enterprises seeking to enhance their network infrastructure while explicitly focusing on growth and security.

