Chapter 8 Voice Menu Codes
Table
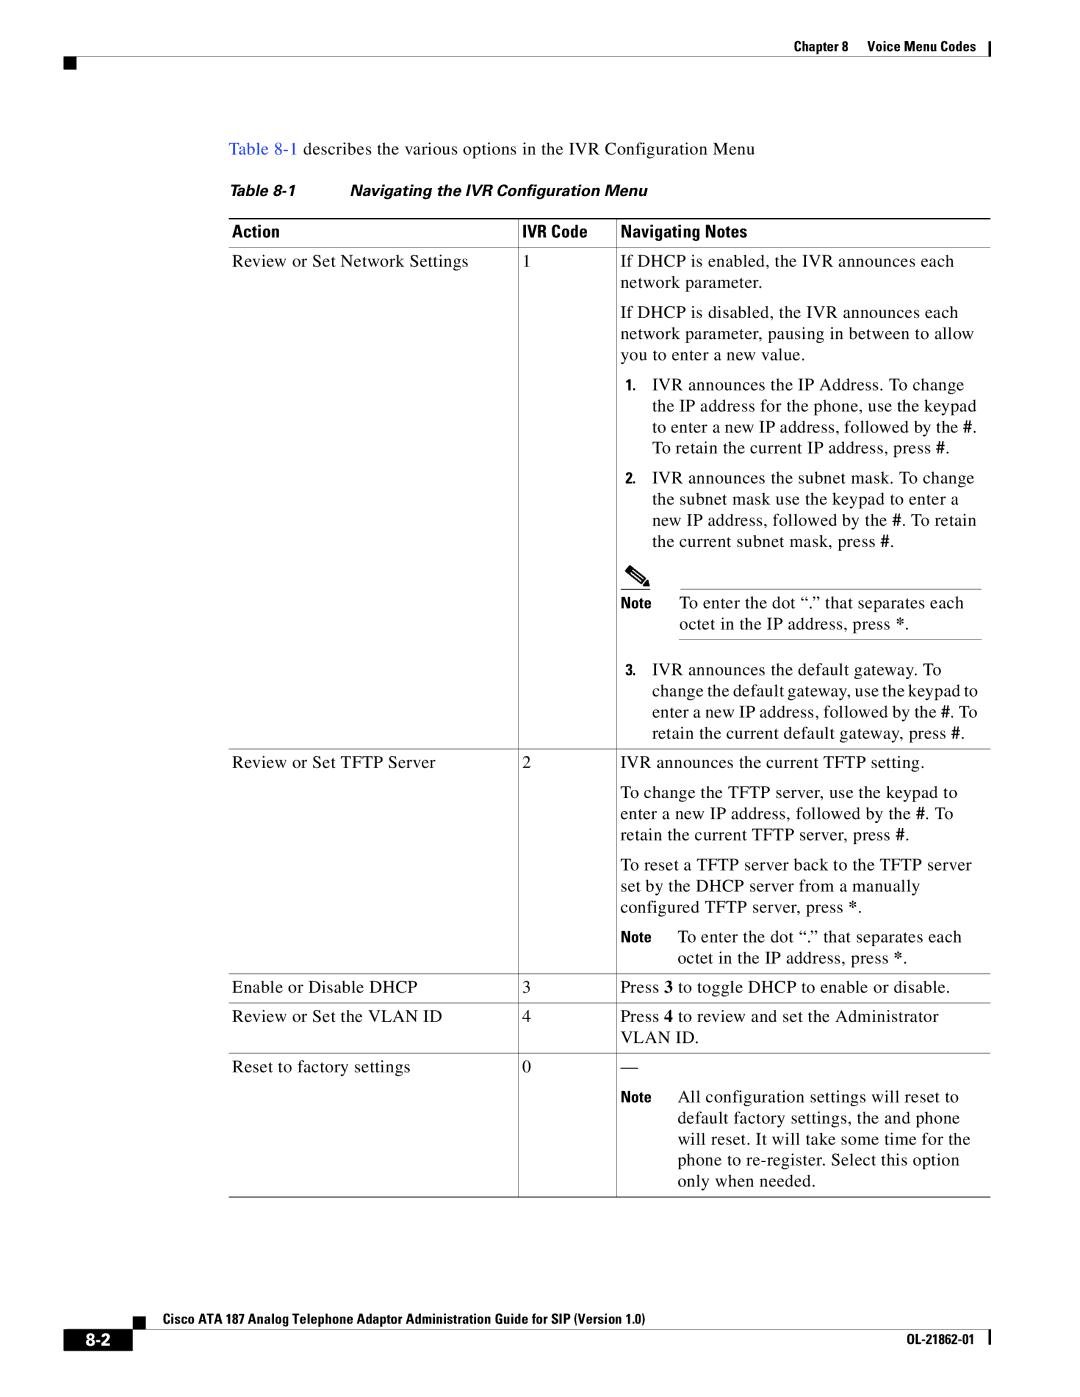
Table | Navigating the IVR Configuration Menu |
|
|
| ||||
|
|
|
|
| ||||
Action |
| IVR Code | Navigating Notes |
| ||||
|
|
|
| |||||
Review or Set Network Settings | 1 | If DHCP is enabled, the IVR announces each |
| |||||
|
|
| network parameter. |
| ||||
|
|
| If DHCP is disabled, the IVR announces each |
| ||||
|
|
| network parameter, pausing in between to allow |
| ||||
|
|
| you to enter a new value. |
| ||||
|
|
|
| 1. IVR announces the IP Address. To change |
| |||
|
|
|
|
|
| the IP address for the phone, use the keypad |
| |
|
|
|
|
|
| to enter a new IP address, followed by the #. |
| |
|
|
|
|
|
| To retain the current IP address, press #. |
| |
|
|
|
| 2. IVR announces the subnet mask. To change |
| |||
|
|
|
|
|
| the subnet mask use the keypad to enter a |
| |
|
|
|
|
|
| new IP address, followed by the #. To retain |
| |
|
|
|
|
|
| the current subnet mask, press #. |
| |
|
|
|
|
|
|
|
|
|
|
|
| Note |
| To enter the dot “.” that separates each |
| ||
|
|
|
|
|
|
| octet in the IP address, press *. |
|
|
|
|
|
|
|
| ||
|
|
|
| 3. IVR announces the default gateway. To |
| |||
|
|
|
|
|
| change the default gateway, use the keypad to |
| |
|
|
|
|
|
| enter a new IP address, followed by the #. To |
| |
|
|
|
|
|
| retain the current default gateway, press #. |
| |
|
|
|
| |||||
Review or Set TFTP Server | 2 | IVR announces the current TFTP setting. |
| |||||
|
|
| To change the TFTP server, use the keypad to |
| ||||
|
|
| enter a new IP address, followed by the #. To |
| ||||
|
|
| retain the current TFTP server, press #. |
| ||||
|
|
| To reset a TFTP server back to the TFTP server |
| ||||
|
|
| set by the DHCP server from a manually |
| ||||
|
|
| configured TFTP server, press *. |
| ||||
|
|
| Note To enter the dot “.” that separates each |
| ||||
|
|
|
|
|
| octet in the IP address, press *. |
| |
|
|
|
| |||||
Enable or Disable DHCP | 3 | Press 3 to toggle DHCP to enable or disable. |
| |||||
|
|
|
| |||||
Review or Set the VLAN ID | 4 | Press 4 to review and set the Administrator |
| |||||
|
|
| VLAN ID. |
| ||||
|
|
|
|
|
| |||
Reset to factory settings | 0 | — |
|
|
| |||
|
|
| Note All configuration settings will reset to |
| ||||
|
|
|
|
|
| default factory settings, the and phone |
| |
|
|
|
|
|
| will reset. It will take some time for the |
| |
|
|
|
|
|
| phone to |
| |
|
|
|
|
|
| only when needed. |
| |
|
|
|
|
|
|
|
|
|
Cisco ATA 187 Analog Telephone Adaptor Administration Guide for SIP (Version 1.0)
|
| |
|
