Chapter 2 Setting Up Your Cisco Unified Videoconferencing 3515 MCU
Mounting the Cisco Unified Videoconferencing 3515 MCU Unit in a
Mounting the Cisco Unified Videoconferencing 3515 MCU Unit in a
You can optionally mount the Cisco Unified Videoconferencing 3515 MCU unit in a standard
Procedure
Step 1 Disconnect all cables including the power cables.
Step 2 Place the Cisco Unified Videoconferencing 3515 MCU unit
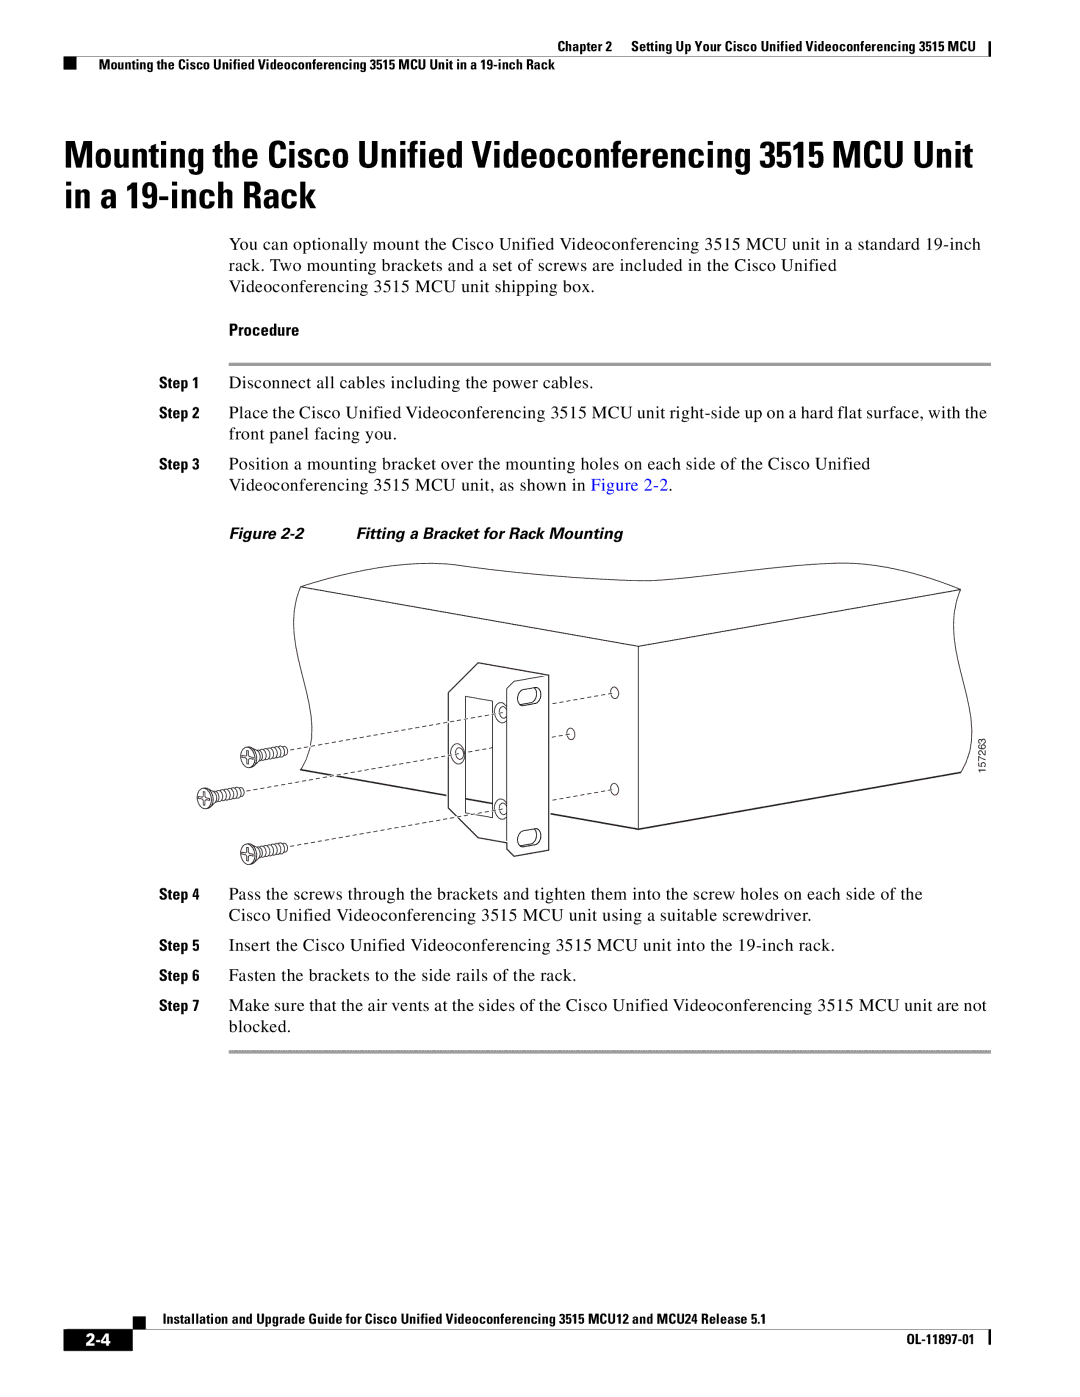
Step 3 Position a mounting bracket over the mounting holes on each side of the Cisco Unified Videoconferencing 3515 MCU unit, as shown in Figure
Figure 2-2 Fitting a Bracket for Rack Mounting
157263
Step 4 Pass the screws through the brackets and tighten them into the screw holes on each side of the Cisco Unified Videoconferencing 3515 MCU unit using a suitable screwdriver.
Step 5 Insert the Cisco Unified Videoconferencing 3515 MCU unit into the
Step 6 Fasten the brackets to the side rails of the rack.
Step 7 Make sure that the air vents at the sides of the Cisco Unified Videoconferencing 3515 MCU unit are not blocked.
Installation and Upgrade Guide for Cisco Unified Videoconferencing 3515 MCU12 and MCU24 Release 5.1
|
| |
|