2
•Any associated mounting clips to secure the brackets to your rack (2 for each rail of the rack)
•A rack with enough clearance for the Topspin 120 switch and cables.
•Two people are recommeded to perform the installation
Rack Mount Installation
To mount the Topspin 120 chassis in a rack, perform the following steps:
1.Open the Topspin 120 box.
2.Remove the chassis, rack brackets,
3.Place the chassis on a secure, clean surface.
4.Open the plastic bag containing mounting parts.
5.Check the slot in your rack for sufficient clearance.
6.Determine the desired method of installation:
•“Installing the Switch with One Person” on page 2
•“Installing the Switch with Two People” on page 5
Installing the Switch with One Person
The following method of installation is easier with two people, but can be accomplished with one person. It can be difficult to align the switch correctly along the rack rails with only one person.
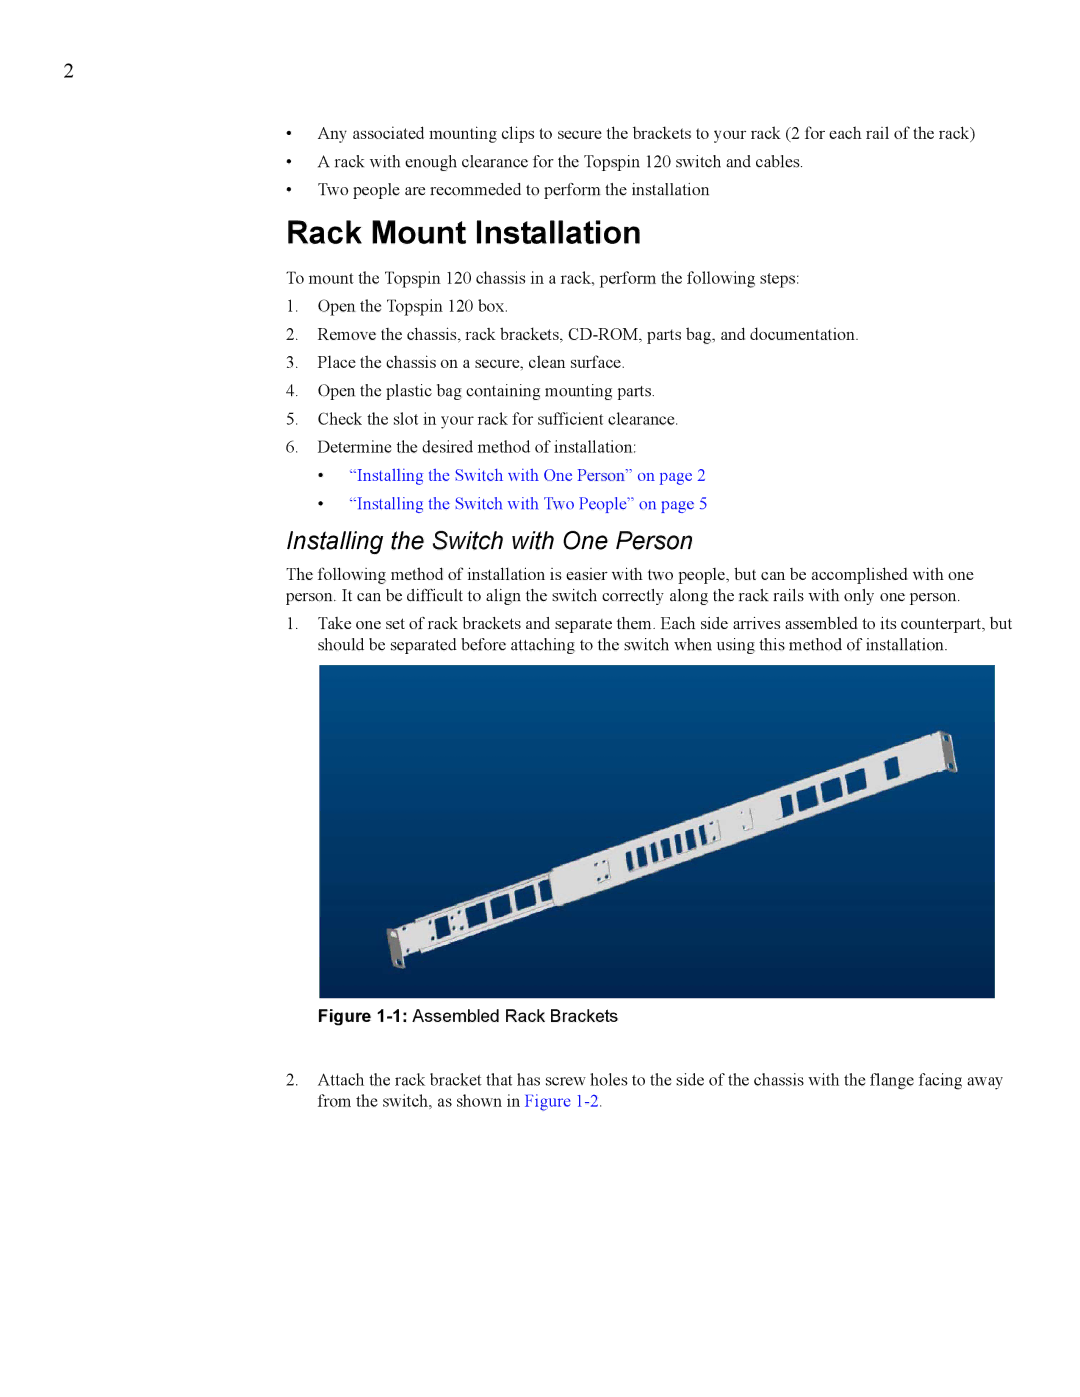
1.Take one set of rack brackets and separate them. Each side arrives assembled to its counterpart, but should be separated before attaching to the switch when using this method of installation.
Figure 1-1: Assembled Rack Brackets
2.Attach the rack bracket that has screw holes to the side of the chassis with the flange facing away from the switch, as shown in Figure