6
4.Insert the switch into the rack with the rack brackets attached. You will have to tilt the switch unit to one side to avoid hitting the sides of the rack with the brackets as the pass around the back posts.
Return the switch unit to a horizontal position once the switch is inside the rack. The rear rack brackets flanges should wrap around the outside of the back rack posts.
5.Have one person hold the switch while another person secures the switch to the rack.
6.Attach the back rack brackets to the back of the posts with screws that fit your rack.
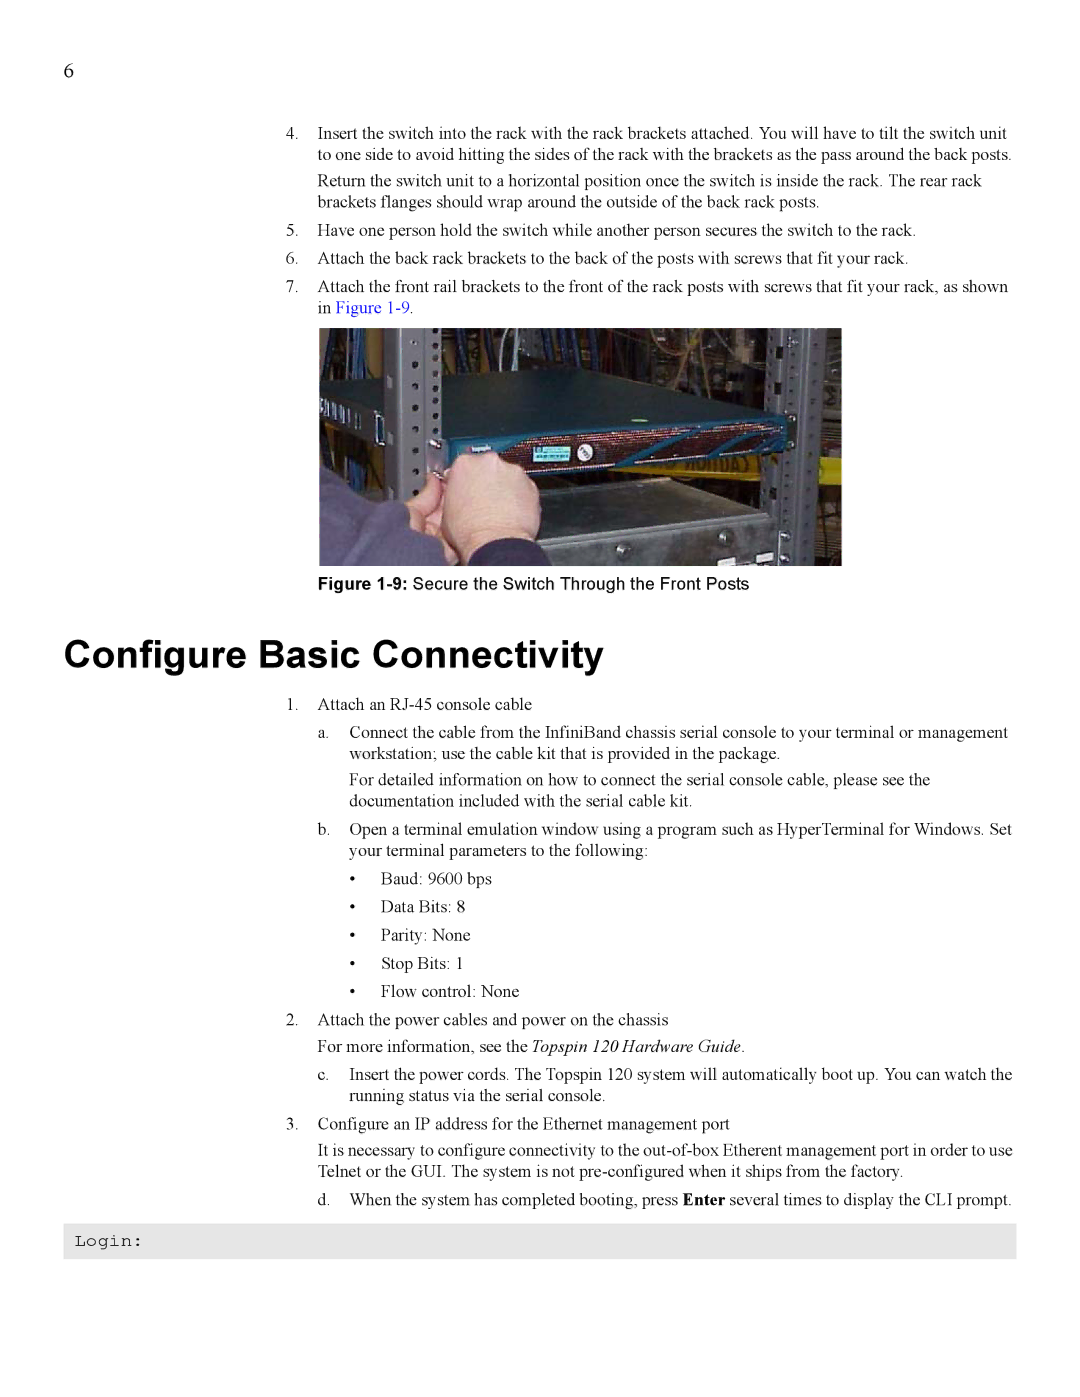
7.Attach the front rail brackets to the front of the rack posts with screws that fit your rack, as shown in Figure
Figure 1-9: Secure the Switch Through the Front Posts
Configure Basic Connectivity
1.Attach an
a.Connect the cable from the InfiniBand chassis serial console to your terminal or management workstation; use the cable kit that is provided in the package.
For detailed information on how to connect the serial console cable, please see the documentation included with the serial cable kit.
b.Open a terminal emulation window using a program such as HyperTerminal for Windows. Set your terminal parameters to the following:
•Baud: 9600 bps
•Data Bits: 8
•Parity: None
•Stop Bits: 1
•Flow control: None
2.Attach the power cables and power on the chassis
For more information, see the Topspin 120 Hardware Guide.
c.Insert the power cords. The Topspin 120 system will automatically boot up. You can watch the running status via the serial console.
3.Configure an IP address for the Ethernet management port
It is necessary to configure connectivity to the
d.When the system has completed booting, press Enter several times to display the CLI prompt.
Login: