4
5.Attach the remaining 2 rail brackets to your rack.
a.Orient a rack bracket toward the back of the rack bracket with the flange facing away from the rack. The flange should go around the outside of your rack post, as shown in Figure
NOTE: (Note: If you are mounting the switch backward, the rack bracket should be installed to the front of the rack).
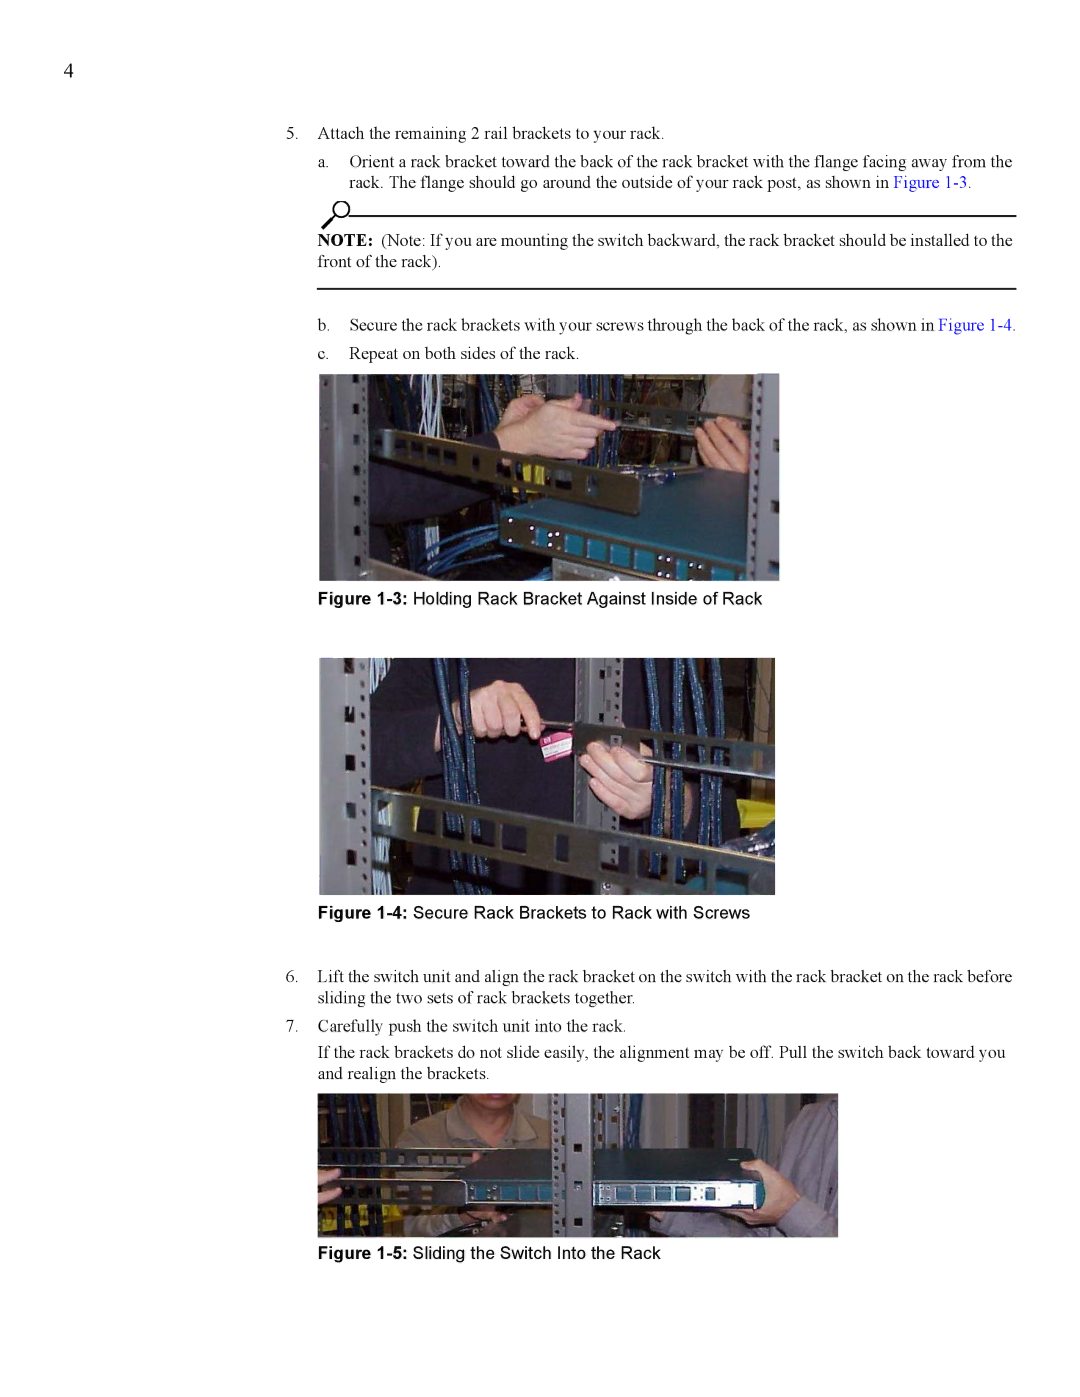
b.Secure the rack brackets with your screws through the back of the rack, as shown in Figure
c.Repeat on both sides of the rack.
Figure 1-3: Holding Rack Bracket Against Inside of Rack
Figure 1-4: Secure Rack Brackets to Rack with Screws
6.Lift the switch unit and align the rack bracket on the switch with the rack bracket on the rack before sliding the two sets of rack brackets together.
7.Carefully push the switch unit into the rack.
If the rack brackets do not slide easily, the alignment may be off. Pull the switch back toward you and realign the brackets.