1� Installation
NOTE: For details on placement options such as using the stands or
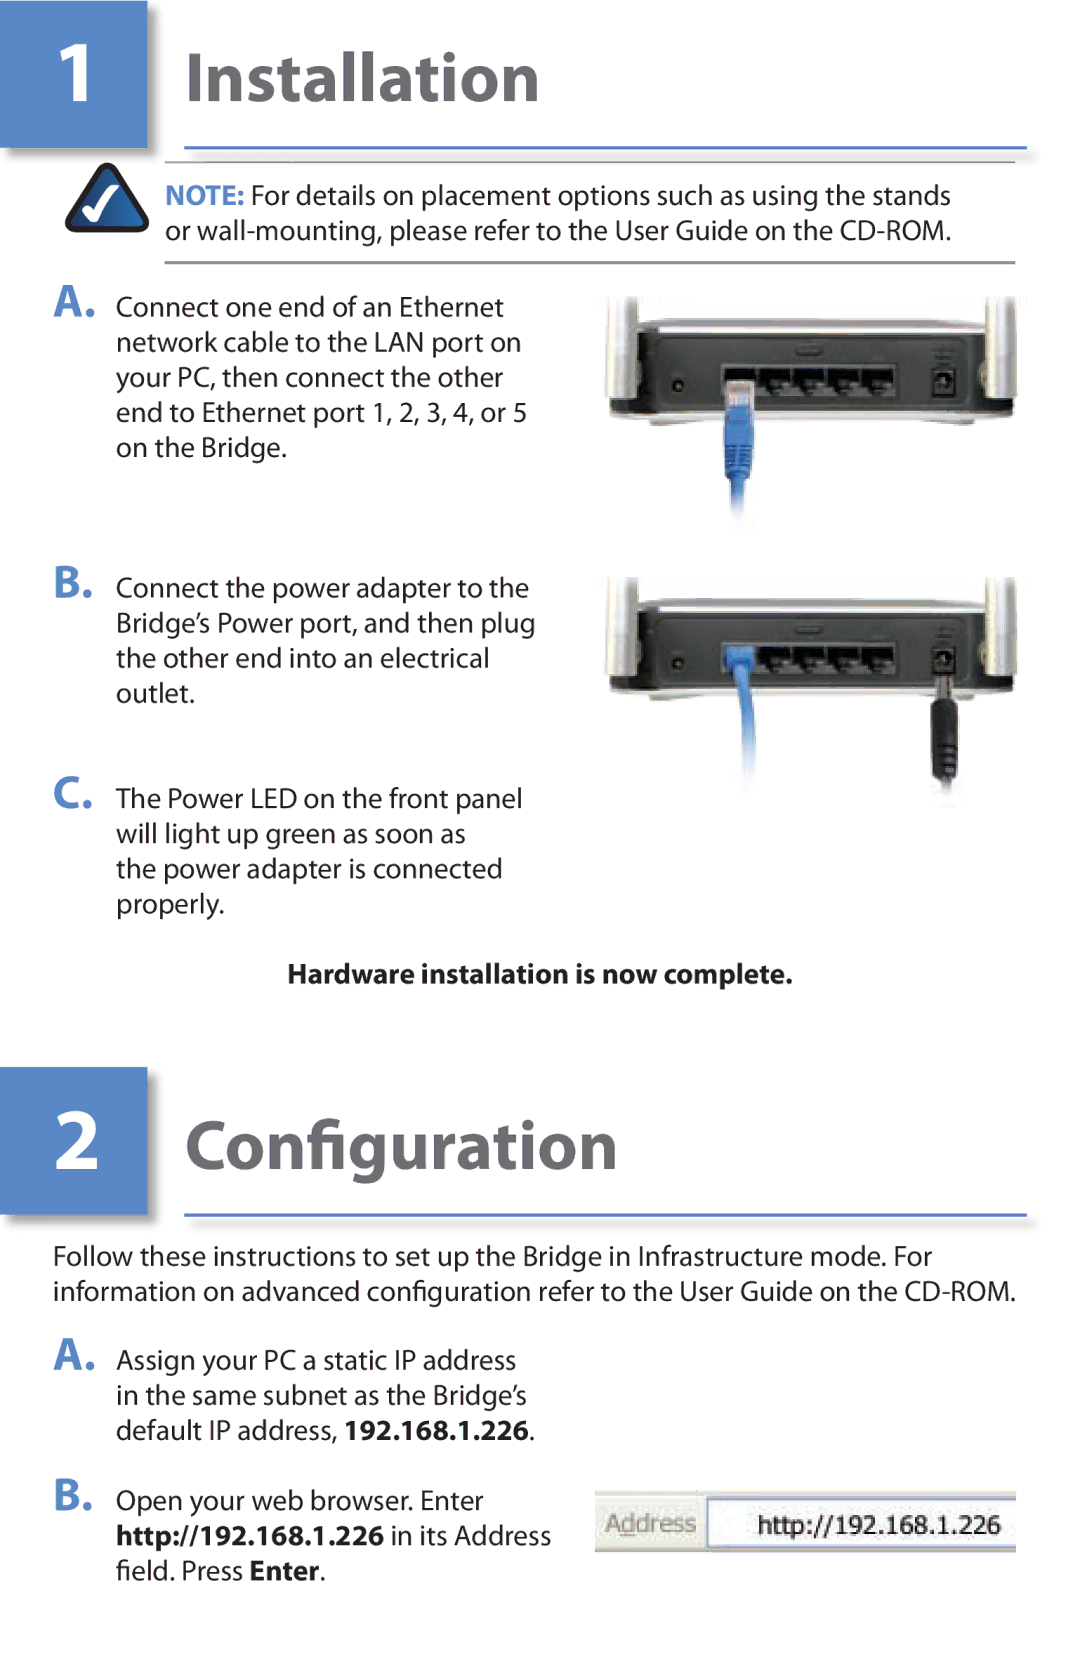
A. Connect one end of an Ethernet network cable to the LAN port on your PC, then connect the other end to Ethernet port 1, 2, 3, 4, or 5 on the Bridge.
B. Connect the power adapter to the Bridge’s Power port, and then plug the other end into an electrical outlet.
C. The Power LED on the front panel will light up green as soon as the power adapter is connected properly.
Hardware installation is now complete.
2� Configuration
Follow these instructions to set up the Bridge in Infrastructure mode. For information on advanced configuration refer to the User Guide on the
A. Assign your PC a static IP address in the same subnet as the Bridge’s default IP address, 192.168.1.226.
B. Open your web browser. Enter http://192.168.1.226 in its Address field. Press Enter.