English
Car audio and car goods internet store Winauto
USB/MTP Operations
Connecting a USB memory/MTP | To listen to tracks on a connected | ||
device | USB memory/MTP device | ||
1. Connect the USB memory/MTP device to the | 1. Press the [SRC] button to switch the source. | ||
USB slot. | When USB memory/MTP device is selected, | ||
Playback will begin from the first file | playback (except DRM files) will begin from | ||
recorded on the device. | the location at which playback was | ||
|
| previously stopped. | |
|
| ∗ When a USB memory/MTP device is | |
CAUTION |
| ||
| connected the USB/MTP mode will be | ||
Do not turn on vehicle ignition when the MTP | displayed. | ||
∗ When a USB memory/MTP device is | |||
device is connected, since it may result in | |||
disconnected and then reconnected, playback | |||
loss or damage to data on the MTP device. | |||
will begin from the beginning of the USB | |||
Connect the MTP device to the USB slot after | |||
memory/MTP device. | |||
vehicle ignition is turned on. | ∗ When “MTP” mode is selected, AAC files on | ||
|
| ua | |
|
| the MTP device cannot be played. | |
To stop pl y | ||
1 Press the [SRC] button and switch the | ||
winauto | f nction to source other than the USB | |
memory. | ||
| ||
|
| CAUTION |
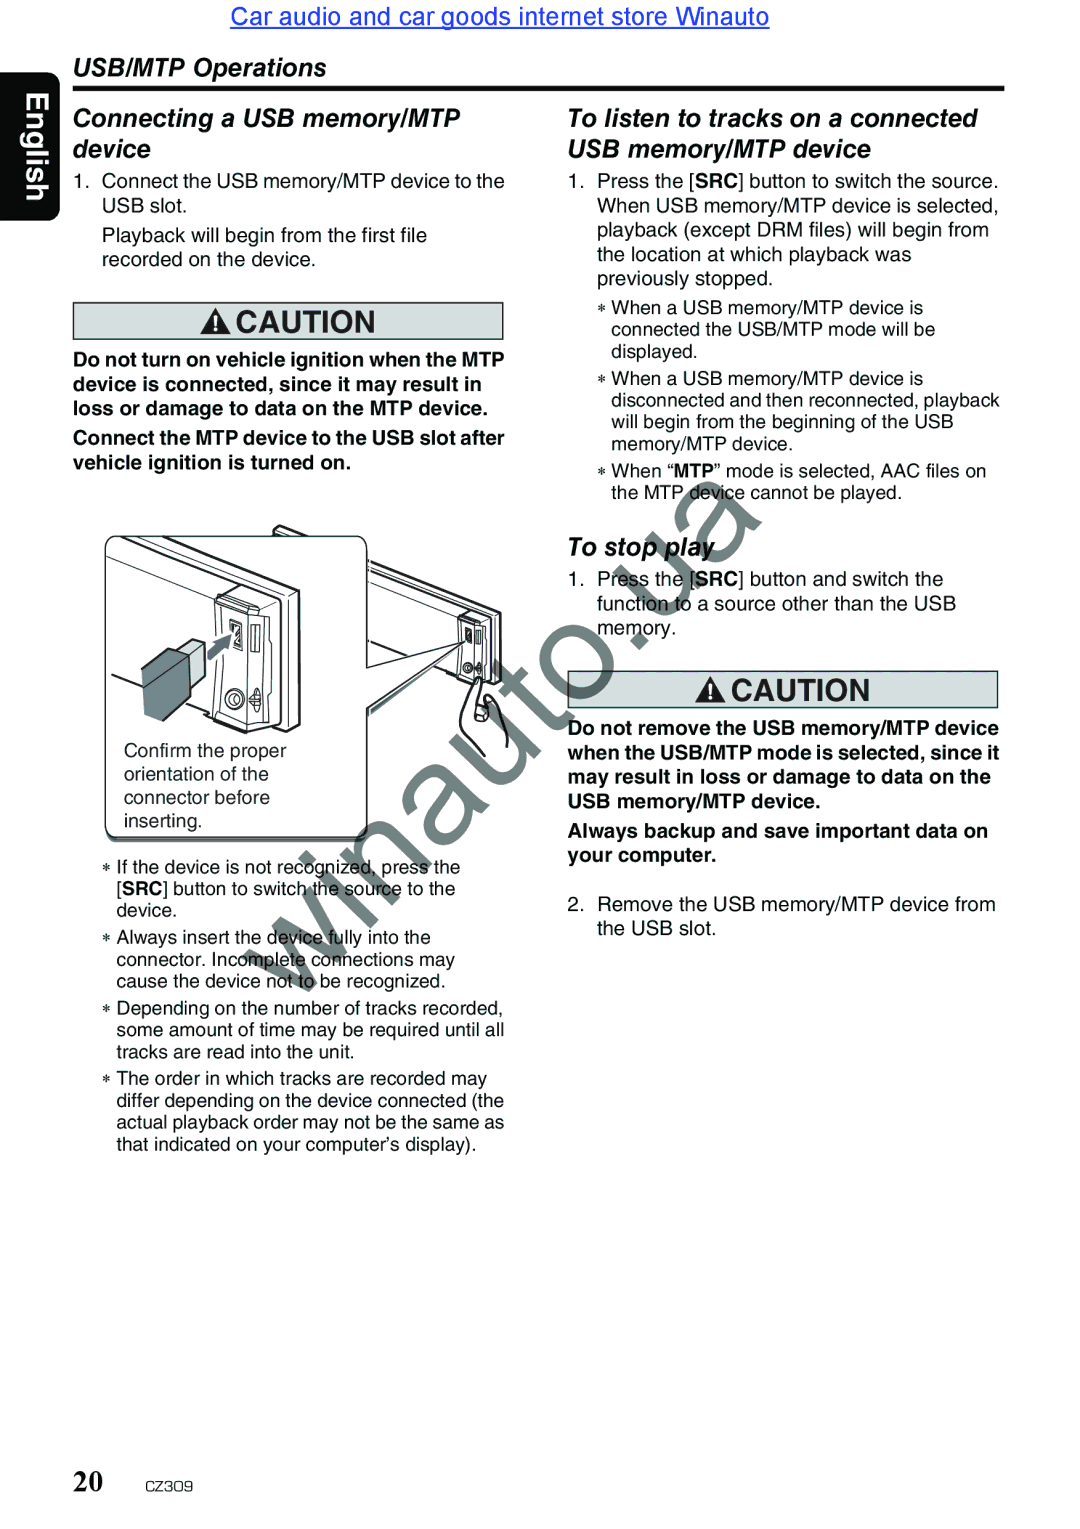
Confirm the proper |
| Do not remove the USB memory/MTP device |
| when the USB/MTP mode is selected, since it | |
orientation of the |
| may result in loss or damage to data on the |
connector before |
| USB memory/MTP device. |
inserting. |
| Always backup and save important data on |
|
| |
∗ If the device is not recog zed, press the | your computer. | |
| ||
[SRC] button to sw tch the so rce | the |
|
device. | 2. Remove the USB memory/MTP device from | |
the USB slot. | ||
∗ Always insert the device fully into the | ||
| ||
connector. Incomplete connections may |
| |
cause the device not be recognized. |
| |
∗ Depending on the number of tracks recorded, |
| |
some amount of time may be required until all |
| |
tracks are read into the unit. |
| |
∗ The order in which tracks are recorded may |
| |
differ depending on the device connected (the |
| |
actual playback order may not be the same as |
| |
that indicated on your computer’s display). |
|
20 CZ309