
XAZ611 specifications
The Clarion XAZ611 is a versatile and robust car audio receiver designed for modern vehicle owners who seek enhanced sound quality and advanced connectivity options. This unit stands out for its array of features and technologies that cater to various audio needs and preferences.One of the main highlights of the Clarion XAZ611 is its compatibility with both Bluetooth and wired connections. With Bluetooth technology, users can easily connect their smartphones and other devices for wireless streaming of music and hands-free calling. This ensures that drivers can stay focused on the road while enjoying their favorite tunes or answering calls safely. Additionally, the receiver supports A2DP (Advanced Audio Distribution Profile), enabling high-quality audio streaming.
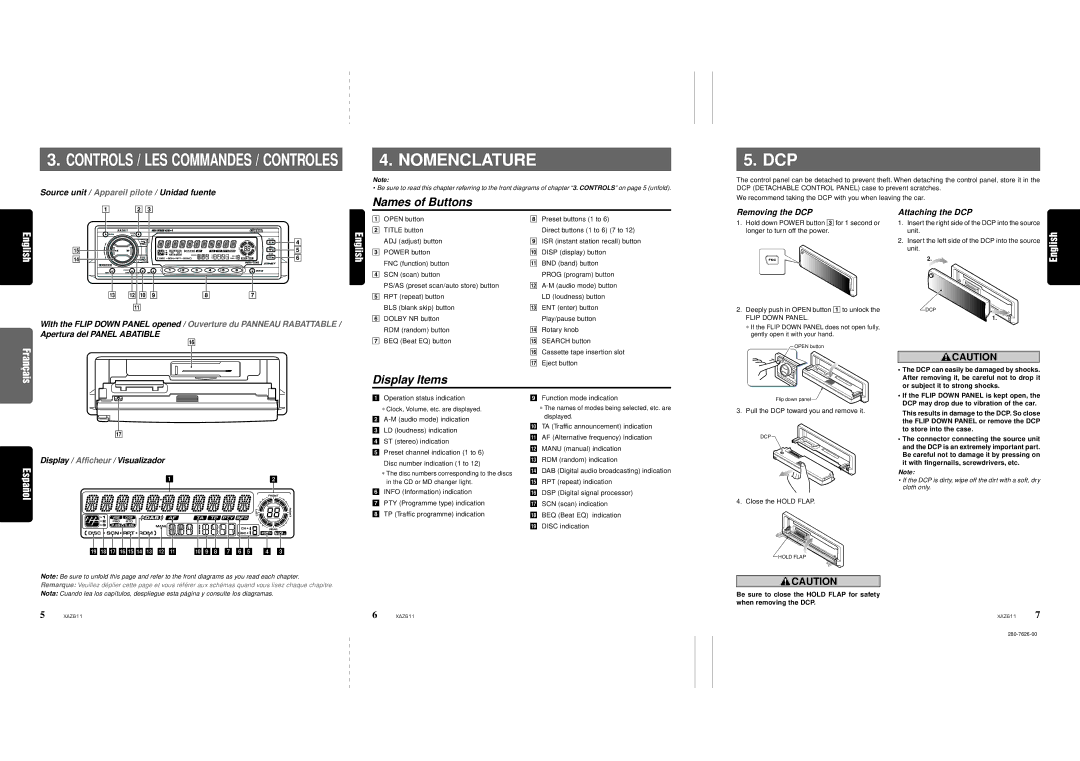
The XAZ611 features a user-friendly interface with a responsive LCD display that provides clear visual feedback while navigating its various functions. The intuitive layout simplifies access to radio stations, media files, and settings, making it convenient for users to adjust their listening experience on the fly.
Furthermore, the receiver supports multiple audio sources, including AM/FM radio, USB media playback, and aux input. The USB port allows users to play music directly from flash drives, making it a great option for those who prefer having their favorite tracks readily available. The aux input adds further versatility, enabling connection of other portable devices.
In terms of audio customization, the Clarion XAZ611 offers a built-in equalizer with preset sound profiles, allowing users to tailor the audio output to their liking. The receiver is also equipped with a powerful amplifier that delivers clear and dynamic sound, enhancing the overall listening experience.
Another notable characteristic of the XAZ611 is its ability to integrate with various vehicle systems. It can seamlessly connect with steering wheel controls, allowing drivers to manage their audio playback without taking their hands off the wheel. This feature enhances safety and convenience, particularly during long drives.
Durability is also a key aspect of the Clarion XAZ611. Designed with high-quality materials, it withstands the typical wear and tear of daily use in vehicles, ensuring longevity and reliability.
In summary, the Clarion XAZ611 car audio receiver is packed with features and technologies that make it an attractive choice for car enthusiasts. With Bluetooth connectivity, an array of audio inputs, customizable sound settings, and a user-friendly interface, it delivers an exceptional listening experience, making every journey enjoyable.