5.3 SOURCE SETUP (CONTINUED)

Source setup


Source

1


Title

DVD


Digital input

AES/EBU


Preset

No change

Analog monitor

Exit

TV Display

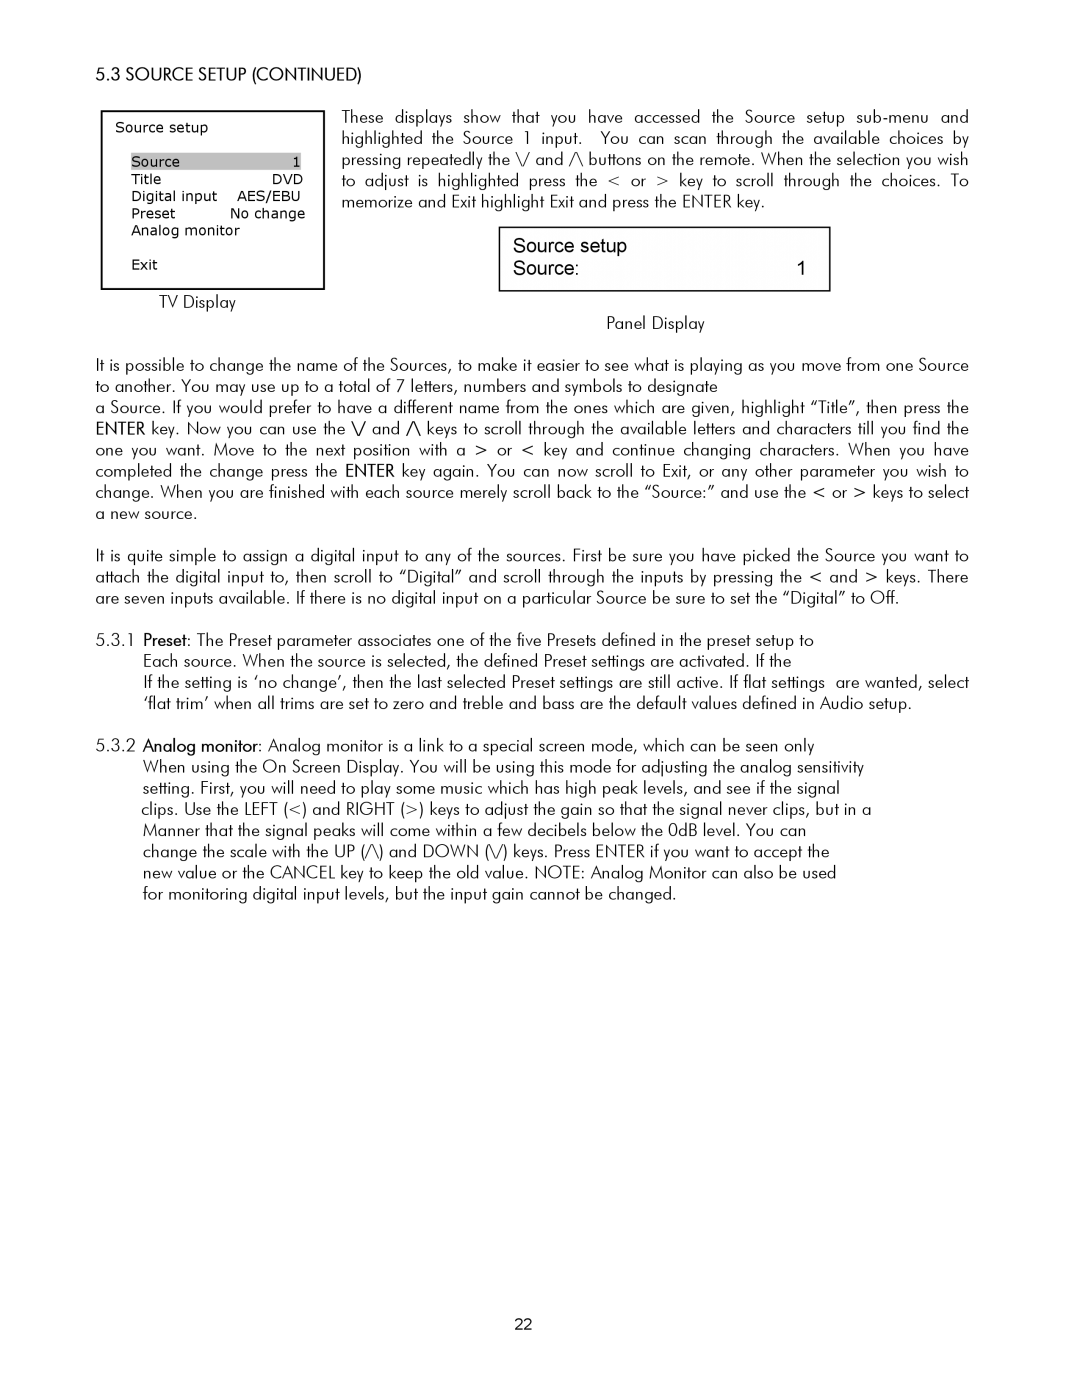
These displays show that you have accessed the Source setup sub-menu and highlighted the Source 1 input. You can scan through the available choices by pressing repeatedly the \/ and /\ buttons on the remote. When the selection you wish to adjust is highlighted press the < or > key to scroll through the choices. To memorize and Exit highlight Exit and press the ENTER key.

Source setup

Source:1

Panel Display

It is possible to change the name of the Sources, to make it easier to see what is playing as you move from one Source to another. You may use up to a total of 7 letters, numbers and symbols to designate

a Source. If you would prefer to have a different name from the ones which are given, highlight “Title”, then press the ENTER key. Now you can use the \/ and /\ keys to scroll through the available letters and characters till you find the one you want. Move to the next position with a > or < key and continue changing characters. When you have completed the change press the ENTER key again. You can now scroll to Exit, or any other parameter you wish to change. When you are finished with each source merely scroll back to the “Source:” and use the < or > keys to select a new source.

It is quite simple to assign a digital input to any of the sources. First be sure you have picked the Source you want to attach the digital input to, then scroll to “Digital” and scroll through the inputs by pressing the < and > keys. There are seven inputs available. If there is no digital input on a particular Source be sure to set the “Digital” to Off.

5.3.1Preset: The Preset parameter associates one of the five Presets defined in the preset setup to Each source. When the source is selected, the defined Preset settings are activated. If the

If the setting is ‘no change’, then the last selected Preset settings are still active. If flat settings are wanted, select ‘flat trim’ when all trims are set to zero and treble and bass are the default values defined in Audio setup.

5.3.2Analog monitor: Analog monitor is a link to a special screen mode, which can be seen only When using the On Screen Display. You will be using this mode for adjusting the analog sensitivity setting. First, you will need to play some music which has high peak levels, and see if the signal clips. Use the LEFT (<) and RIGHT (>) keys to adjust the gain so that the signal never clips, but in a Manner that the signal peaks will come within a few decibels below the 0dB level. You can change the scale with the UP (/\) and DOWN (\/) keys. Press ENTER if you want to accept the new value or the CANCEL key to keep the old value. NOTE: Analog Monitor can also be used for monitoring digital input levels, but the input gain cannot be changed.

22

Page 22
Image 22
Classe Audio SSP-30 MKII owner manual Source setup Source1, Source Setup

SSP-30 MKII specifications

The Classe Audio SSP-30 MKII is a high-performance surround sound processor that has garnered attention from audiophiles and home theater enthusiasts alike. Known for its exceptional build quality and sound engineering, the SSP-30 MKII continues the legacy of Classe Audio, a brand synonymous with premium audio products.

One of the standout features of the SSP-30 MKII is its advanced processing capabilities. The unit supports various audio formats, including Dolby Atmos, DTS:X, and others, allowing for a truly immersive audio experience. The processor utilizes 24-bit/192 kHz DACs, ensuring that the audio reproduction is incredibly detailed and accurate, making it a top choice for those looking to create a high-end listening environment.

The SSP-30 MKII incorporates advanced room correction technology, which allows users to optimize their listening environment. This technology analyzes the acoustics of the room and adjusts the audio output accordingly, compensating for any anomalies in the space, such as reflections and absorption. This results in a balanced sound that maintains clarity and precision regardless of the room's characteristics.

Connectivity options are plentiful with the SSP-30 MKII. It features multiple HDMI inputs, ensuring compatibility with various video sources, as well as analog and digital audio inputs for flexibility in connecting different devices. Furthermore, the processor supports 4K video passthrough, making it an ideal choice for home theater setups that incorporate the latest video technologies.

The user interface of the SSP-30 MKII has been designed with simplicity in mind. With a well-organized menu system and intuitive remote control, adjusting settings and navigating through options is a seamless experience. The inclusion of programmable presets allows users to save their preferred audio settings for different listening scenarios, adding to the convenience and functionality of the unit.

Aesthetic appeal is another hallmark of the Classe Audio SSP-30 MKII. The sleek and modern design features a high-quality aluminum chassis that not only enhances durability but also looks stunning in any audio or video setup. The level of craftsmanship is evident throughout the product, making it as much a piece of art as it is a piece of technology.

In summary, the Classe Audio SSP-30 MKII is a formidable surround sound processor that delivers on multiple fronts. With its advanced audio processing, cutting-edge technologies, extensive connectivity, user-friendly interface, and elegant design, it stands out as a premium choice for anyone looking to elevate their audio experience. Whether for movies, music, or gaming, the SSP-30 MKII promises to provide an extraordinary sonic experience that is hard to match.