Installation Steps
Installation of your ClearSounds™ CSC50 Amplified Phone is easy. There are some basic steps you need to take when you
1.Check parts list. (See page #5 for complete list)
2.Install (4) AAA Alkaline batteries (not included). This provides power to the Caller ID Screen.
3.Set the dialing mode.
4.Choose desktop or wall mount.
5.Set ringer and auxiliary alert.
6.Program your memory dial buttons.
INSTALLING THE OPTIONAL BATTERIES
The batteries are necessary in case of network power failure to save stored numbers in memory and are required for the “Phone Book” use.
1.Open the battery compartment door located on the bottom of your phone by un- screwing the battery compartment door and removing it from the bottom of your phone (screwdriver provided).
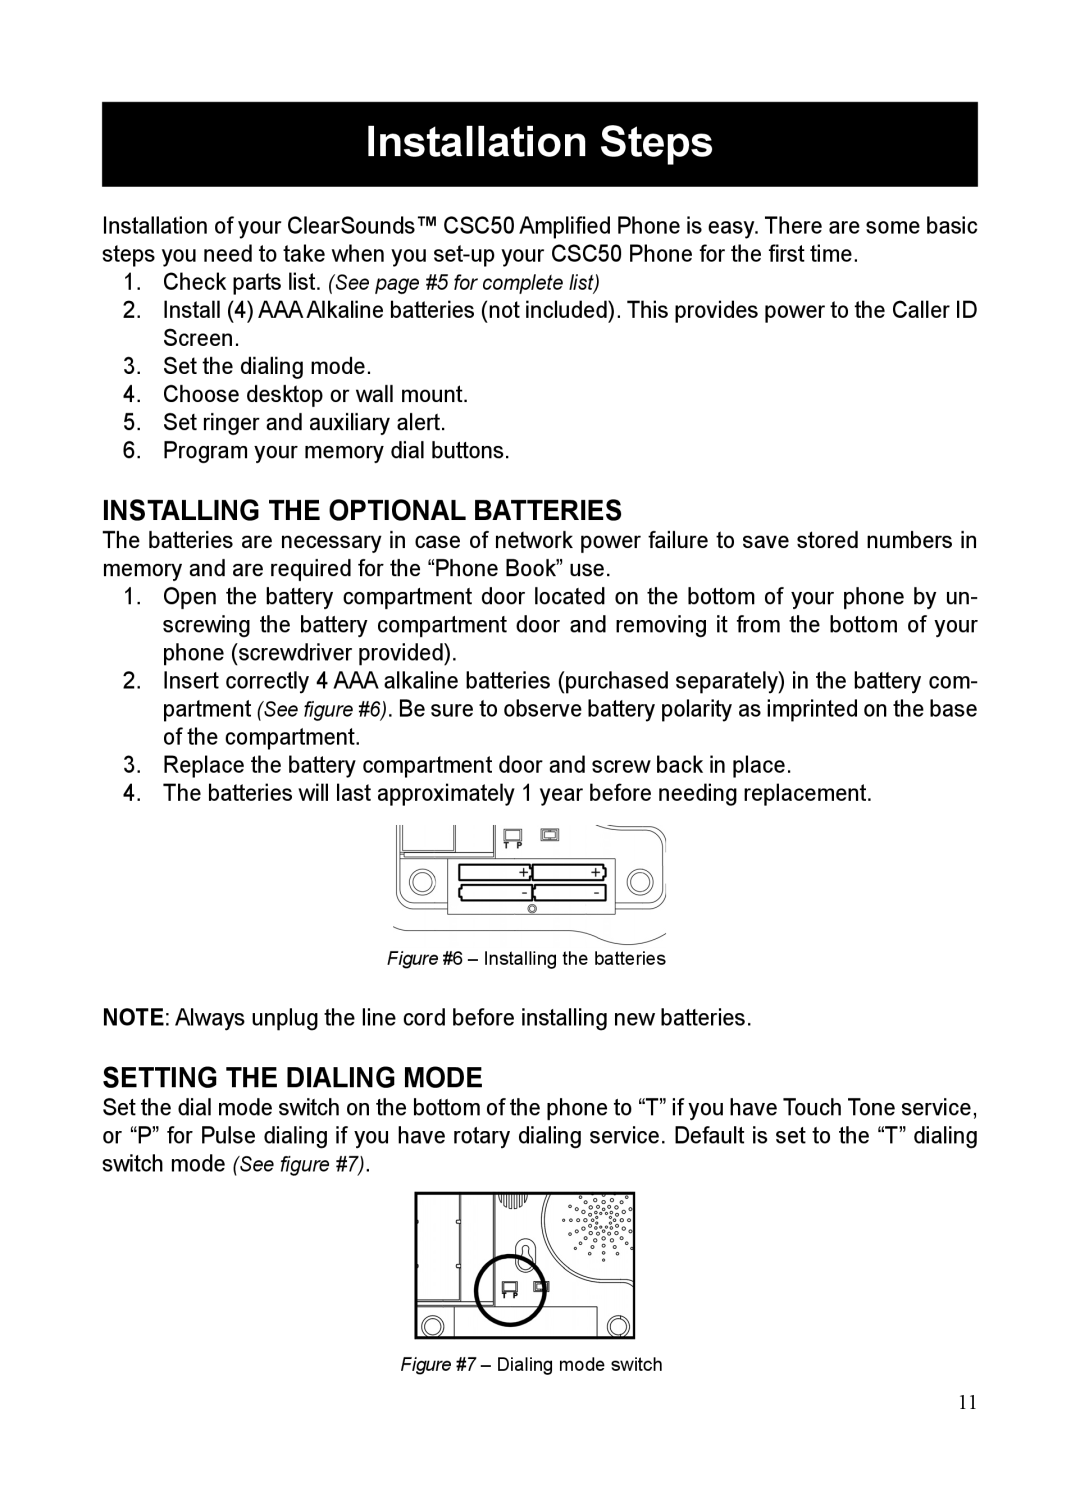
2.Insert correctly 4 AAA alkaline batteries (purchased separately) in the battery com- partment (See figure #6). Be sure to observe battery polarity as imprinted on the base of the compartment.
3.Replace the battery compartment door and screw back in place.
4.The batteries will last approximately 1 year before needing replacement.
Figure #6 – Installing the batteries
NOTE: Always unplug the line cord before installing new batteries.
SETTING THE DIALING MODE
Set the dial mode switch on the bottom of the phone to “T” if you have Touch Tone service, or “P” for Pulse dialing if you have rotary dialing service. Default is set to the “T” dialing switch mode (See figure #7).
Figure #7 – Dialing mode switch
11