WATER
The sealed jacket of the electric kettle is precharged with the correct amount of a water based formula, and therefore, no water connection is required to the kettle jacket. The kettle can be equipped with optional hot and/or cold water faucet, requiring 1/2" copper tubing as supply lines.
INSTALLATION CHECKS
Although the kettle has been thoroughly tested before leaving the factory, the installer is responsible for ensuring the proper operation of kettle once installed.
Visual Checks
1.Check Marine Lock. See Marine Lock Testing Procedure (page 19).
2.Check Tilting:
A/ Handle is in place and firmly tightened. B/ Kettle tilts smoothly and freely.
3.Insure there are:
A/ Four screws securely holding the console cover.
B/ The bottom cover is in place and held with a nut.
Performance Checks
1.Supply power to the kettle by placing the fused disconnect switch to the "ON" position.
|
| 150 | 200 |
| |
| 100 | 250 |
| ||
|
| 20 |
| ||
50 | 30 |
| |||
10 | 40 | 300 | |||
|
| ||||
|
|
| |||
0 | 0 |
| 50 |
| |
| I |
|
| ||
| R |
|
| 350 | |
| A |
|
| ||
| T |
|
|
| |
| N |
| 60 |
| |
| E |
|
|
| |
| V |
|
|
| |
psi 400
kPa
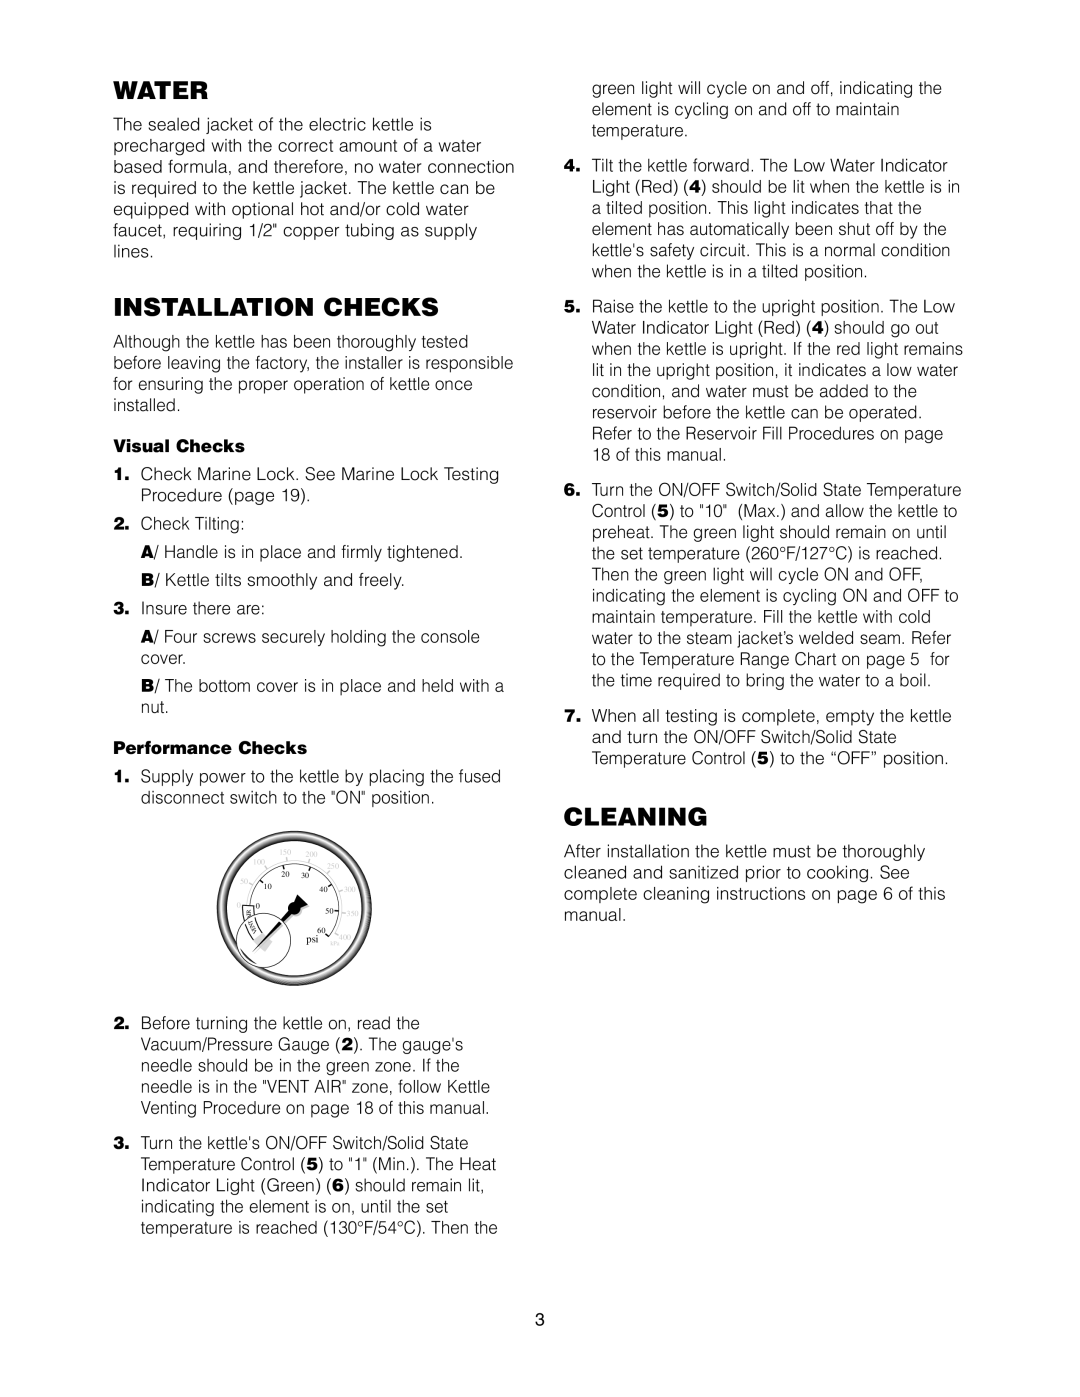
2.Before turning the kettle on, read the Vacuum/Pressure Gauge (2). The gauge's needle should be in the green zone. If the needle is in the "VENT AIR" zone, follow Kettle Venting Procedure on page 18 of this manual.
3.Turn the kettle's ON/OFF Switch/Solid State Temperature Control (5) to "1" (Min.). The Heat Indicator Light (Green) (6) should remain lit, indicating the element is on, until the set
temperature is reached (130°F/54°C). Then the
green light will cycle on and off, indicating the element is cycling on and off to maintain temperature.
4.Tilt the kettle forward. The Low Water Indicator Light (Red) (4) should be lit when the kettle is in a tilted position. This light indicates that the element has automatically been shut off by the kettle's safety circuit. This is a normal condition when the kettle is in a tilted position.
5.Raise the kettle to the upright position. The Low Water Indicator Light (Red) (4) should go out when the kettle is upright. If the red light remains lit in the upright position, it indicates a low water condition, and water must be added to the reservoir before the kettle can be operated. Refer to the Reservoir Fill Procedures on page 18 of this manual.
6.Turn the ON/OFF Switch/Solid State Temperature Control (5) to "10" (Max.) and allow the kettle to preheat. The green light should remain on until the set temperature (260°F/127°C) is reached. Then the green light will cycle ON and OFF, indicating the element is cycling ON and OFF to maintain temperature. Fill the kettle with cold water to the steam jacket’s welded seam. Refer to the Temperature Range Chart on page 5 for the time required to bring the water to a boil.
7.When all testing is complete, empty the kettle and turn the ON/OFF Switch/Solid State Temperature Control (5) to the “OFF” position.
CLEANING
After installation the kettle must be thoroughly cleaned and sanitized prior to cooking. See complete cleaning instructions on page 6 of this manual.
3