Lighting Main Burners
1.Turn on any or all burner gas control knobs to high. (Fig. 19)
2.Press the igniter switch until the flame ignites.
3.If the flame doesn’t immediately light, turn off control knob and wait five minutes for gas to clear.
4.Repeat steps 1 through 3.
5.If the burner does not light on second try, turn off knob and try
Match Lighting - Main Burners
1.Strike and place the burning match near the BURNER being operated.
2.Turn on BURNER CONTROL KNOB while holding match near burner.
3.The other burners can be ignited by turning them on one at a time after first burner is lighted.
CAUTION
Use a LONG wooden match. Make sure all burner controls are off except one being lighted. If a
Lighting Side Burner
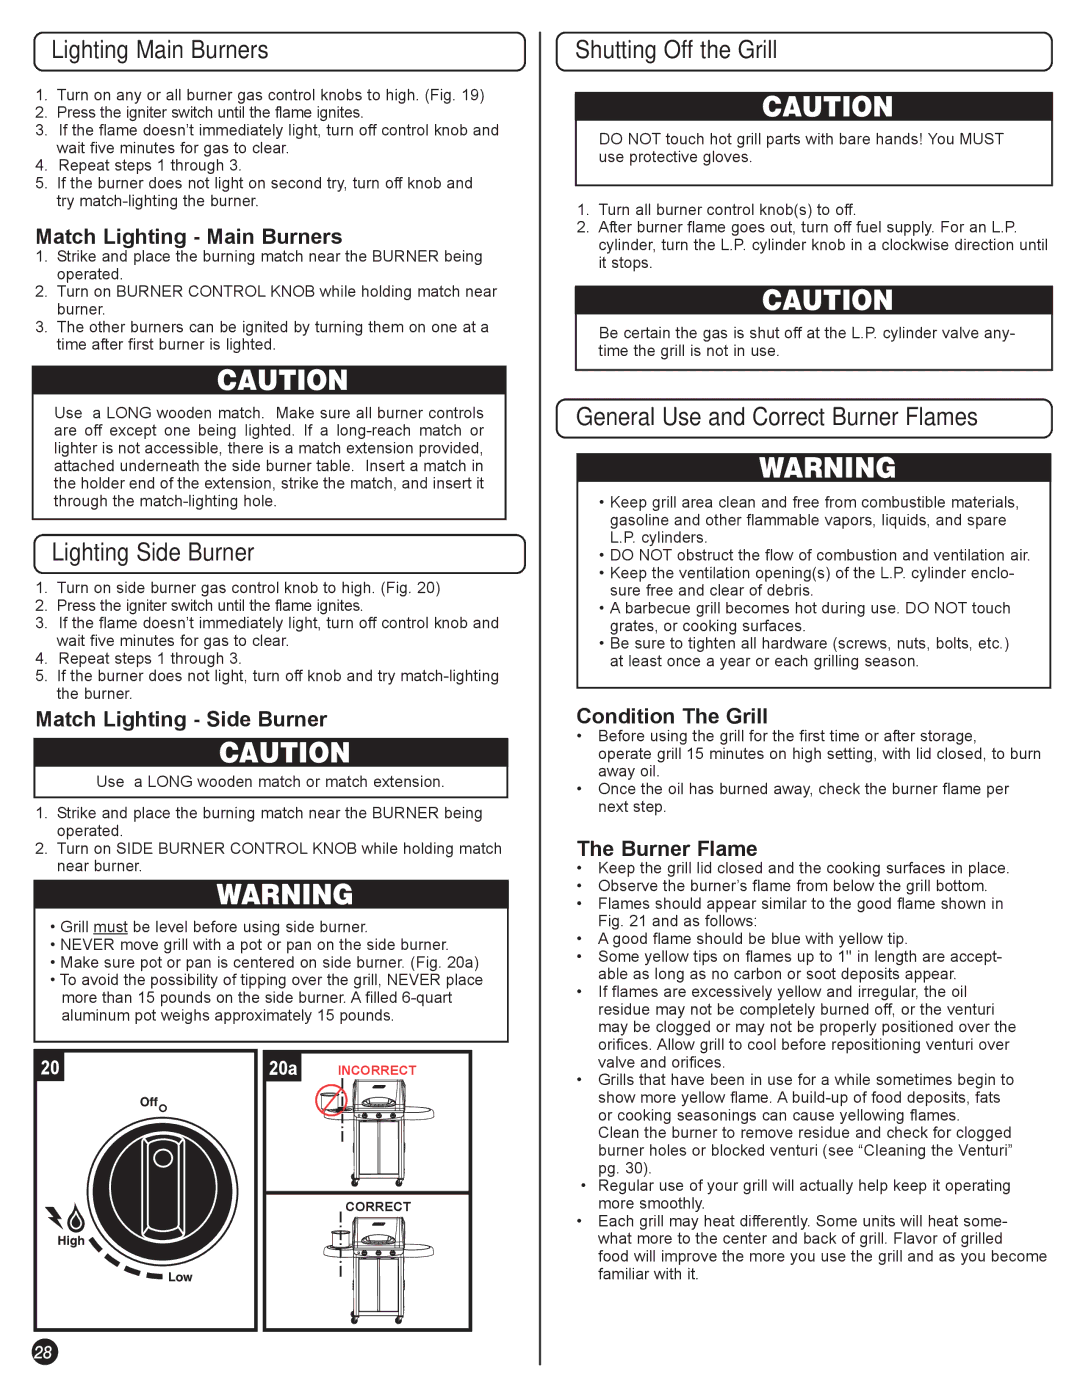
1.Turn on side burner gas control knob to high. (Fig. 20)
2.Press the igniter switch until the flame ignites.
3.If the flame doesn’t immediately light, turn off control knob and wait five minutes for gas to clear.
4.Repeat steps 1 through 3.
5.If the burner does not light, turn off knob and try
Match Lighting - Side Burner
CAUTION
Use a LONG wooden match or match extension.
1.Strike and place the burning match near the BURNER being operated.
2.Turn on SIDE BURNER CONTROL KNOB while holding match near burner.
![]() WARNING
WARNING
•Grill must be level before using side burner.
•NEVER move grill with a pot or pan on the side burner.
•Make sure pot or pan is centered on side burner. (Fig. 20a)
•To avoid the possibility of tipping over the grill, NEVER place more than 15 pounds on the side burner. A filled
20 | 20a | INCORRECT |
|
| CORRECT |
28
Shutting Off the Grill
![]() CAUTION
CAUTION
DO NOT touch hot grill parts with bare hands! You MUST use protective gloves.
1.Turn all burner control knob(s) to off.
2.After burner flame goes out, turn off fuel supply. For an L.P. cylinder, turn the L.P. cylinder knob in a clockwise direction until it stops.
![]() CAUTION
CAUTION
Be certain the gas is shut off at the L.P. cylinder valve any- time the grill is not in use.
General Use and Correct Burner Flames
![]() WARNING
WARNING
•Keep grill area clean and free from combustible materials, gasoline and other flammable vapors, liquids, and spare L.P. cylinders.
•DO NOT obstruct the flow of combustion and ventilation air.
•Keep the ventilation opening(s) of the L.P. cylinder enclo- sure free and clear of debris.
•A barbecue grill becomes hot during use. DO NOT touch grates, or cooking surfaces.
•Be sure to tighten all hardware (screws, nuts, bolts, etc.) at least once a year or each grilling season.
Condition The Grill
•Before using the grill for the first time or after storage,
operate grill 15 minutes on high setting, with lid closed, to burn away oil.
•Once the oil has burned away, check the burner flame per next step.
The Burner Flame
•Keep the grill lid closed and the cooking surfaces in place.
•Observe the burner’s flame from below the grill bottom.
•Flames should appear similar to the good flame shown in Fig. 21 and as follows:
•A good flame should be blue with yellow tip.
•Some yellow tips on flames up to 1" in length are accept- able as long as no carbon or soot deposits appear.
•If flames are excessively yellow and irregular, the oil residue may not be completely burned off, or the venturi may be clogged or may not be properly positioned over the orifices. Allow grill to cool before repositioning venturi over valve and orifices.
•Grills that have been in use for a while sometimes begin to show more yellow flame. A
Clean the burner to remove residue and check for clogged burner holes or blocked venturi (see “Cleaning the Venturi” pg. 30).
•Regular use of your grill will actually help keep it operating more smoothly.
•Each grill may heat differently. Some units will heat some- what more to the center and back of grill. Flavor of grilled food will improve the more you use the grill and as you become familiar with it.
