Note:The blade may need to be turned inside out if the teeth are pointing in the wrong direction. Hold the
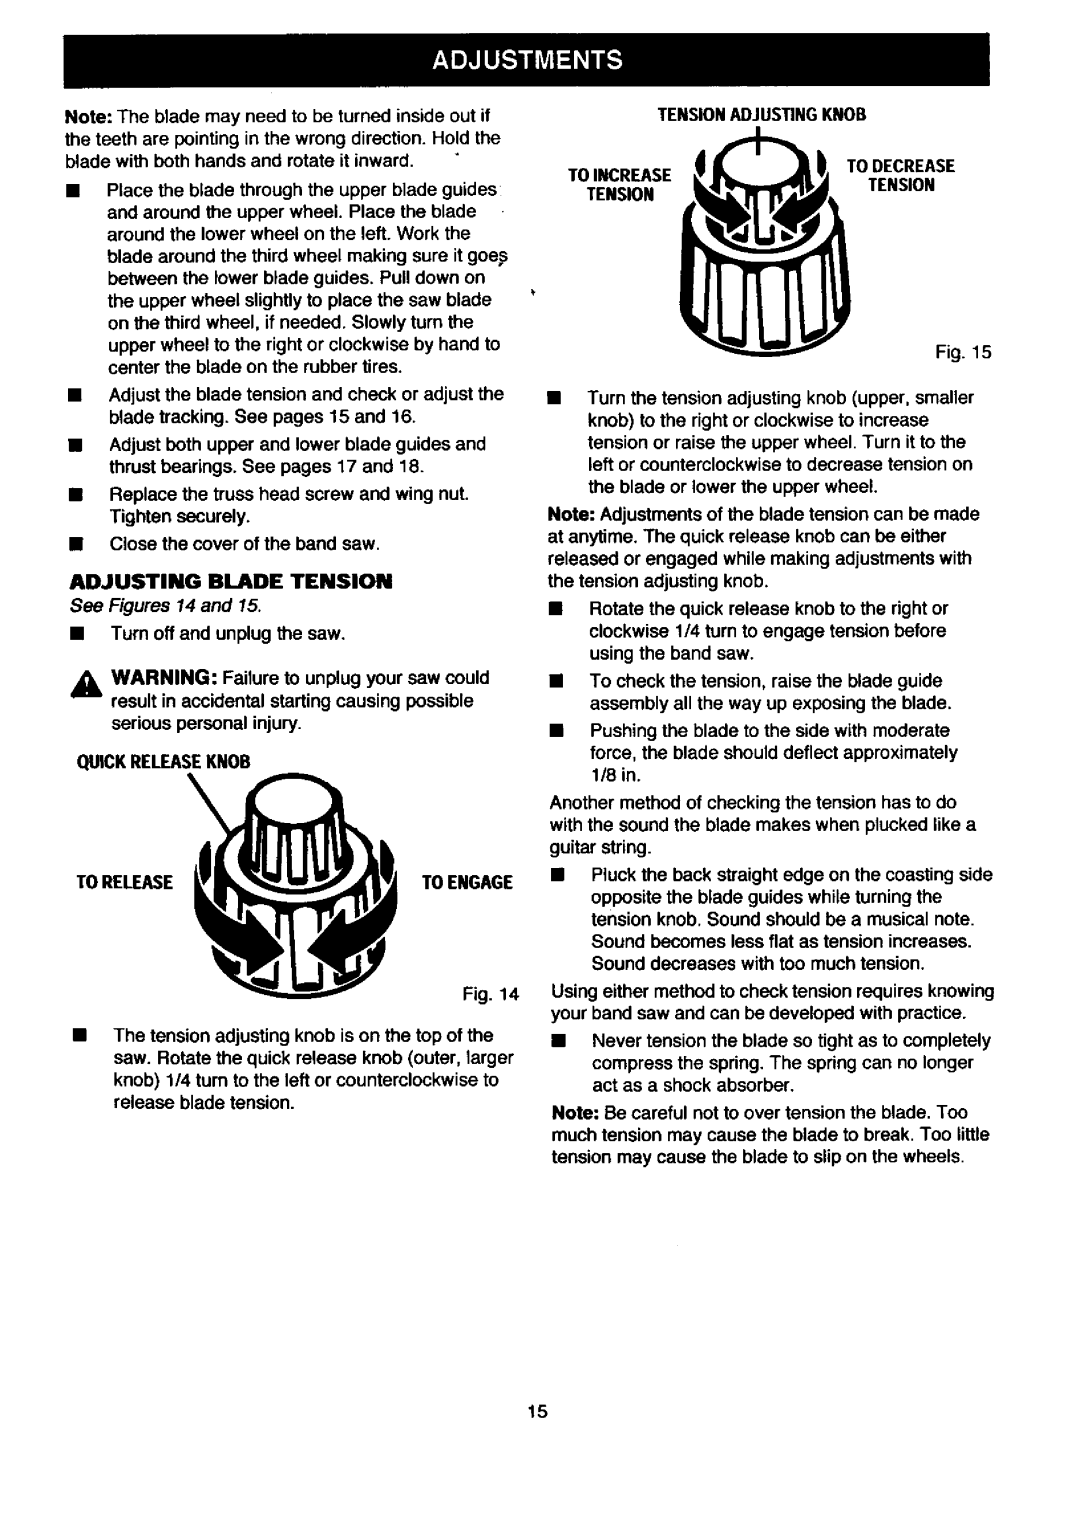
TENSIONADJUSTINGKNOB
blade with both hands and rotate it inward.
TO INCREASE
TO DECREASE
Place the blade through the upper blade guides and around the upper wheel. Place the blade around the lower wheel on the left. Work the blade around the third wheel making sure it goe_ between the lower blade guides. Pull down on the upper wheel slightly to place the saw blade on the third wheel, if needed. Slowly turn the upper wheel to the right or clockwise by hand to center the blade on the rubber tires.
TENSION
TENSION
Fig. 15
•Adjust the blade tension and check or adjust the blade tracking. See pages 15 and 16.
•Adjust both upper and lower blade guides and thrust bearings. See pages 17 and 18.
•Replace the truss head screw and wing nut.
Tighten securely.
•Close the cover of the band saw.
ADJUSTING BLADE TENSION
See Figures 14 and 15.
•Turn off and unplug the saw.
AWARNING: Failure to unplug your saw could result in accidental starting causing possible
serious personal injury.
QUICKRELEASEKNOB
TO RELEASE | TO ENGAGE |
Fig. 14
The tension adjusting knob is on the top of the
saw. Rotate the quick release knob (outer, larger
knob) 1/4 turn to the left or counterclockwise to release blade tension.
•Turn the tension adjusting knob (upper, smaller knob) to the right or clockwise to increase tension or raise the upper wheel. Turn it to the left or counterclockwise to decrease tension on the blade or lower the upper wheel.
Note: Adjustments of the blade tension can be made at anytime. The quick release knob can be either released or engaged while making adjustments with the tension adjusting knob.
•Rotate the quick release knob to the right or clockwise 1/4 turn to engage tension before using the band saw.
•To check the tension, raise the blade guide assembly all the way up exposing the blade.
•Pushing the blade to the side with moderate force, the blade should deflect approximately 1/8 in.
Another method of checking the tension has to do with the sound the blade makes when plucked like a guitar string.
•Pluck the back straight edge on the coasting side
opposite the blade guides while turning the tension knob. Sound should be a musical note.
Sound becomes less flat as tension increases. Sound decreases with too much tension.
Using either method to check tension requires knowing your band saw and can be developed with practice.
•Never tension the blade so tight as to completely
compress the spring. The spring can no longer act as a shock absorber.
Note: Be careful not to over tension the blade. Too much tension may cause the blade to break. Too little tension may cause the blade to slip on the wheels.
15
