TO HELP MAINTAIN CONTROL:
•Always support your workpiece near the cut.
•Support your workpiece so the cut will be on yo=;r left.
•Clamp your workpiece so it will not move during the cut.
Place your workpiece with its good side down.
Note: The good side is the side on which appearance is important.
Before beginning a cut, draw a guideline along the desired line of cut. Then place front edge of base on
that part of your workpiece that is solidily supported. See Figure 12.
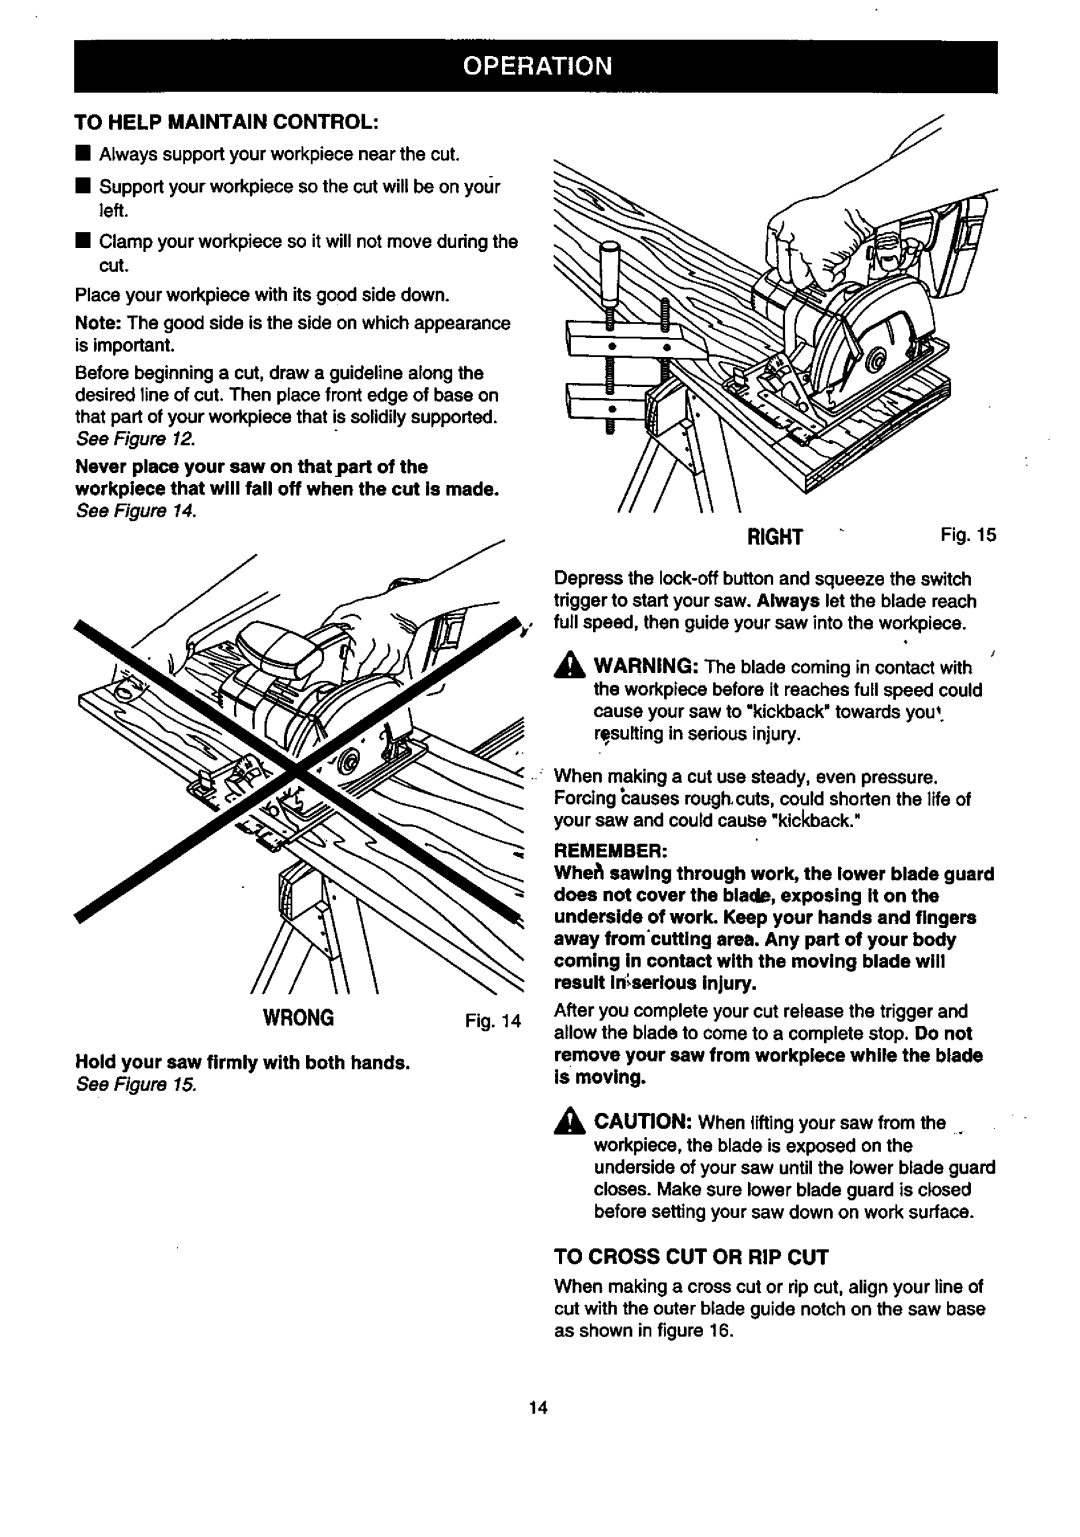
Never place your saw on that part of the workplece that will fall off when the cut Is made. See Figure 14.
WRONG | Fig. 14 |
Hold your saw firmly with both hands.
See Figure 15.
RIGHT | Fig. 15 |
Depress the
_l, WARNING: The blade coming in contact with the workpiece before it reaches full speed could cause your saw to "kickback" towards you*. re,suiting in serious injury.
When making a cut use steady, even pressure. Forcing _auses rough.cuts, could shorten the life of your saw and could cause "kickback."
REMEMBER:
Whel_ sewing through work, the lower blade guard does not cover the blade, exposing It on the underside of work. Keep your hands and fingers away from'cutting area. Any part of your body coming In contact with the moving blade will result In;serious Injury.
After you complete your cut release the trigger and allow the blade to come to a complete stop. Do not remove your saw from workplece while the blade is moving.
_k CAUTION: When lifting your saw from the.
workpiece, the blade is exposed on the underside of your saw until the lower blade guard closes. Make sure lower blade guard is closed before setting your saw down on work surface.
TO CROSS CUT OR RIP CUT
When making a cross cut or rip cut, align your line of cut with the outer blade guide notch on the saw base as shown in figure 16.
14