EDGE ROUTING OR INTERNAL ROUTING
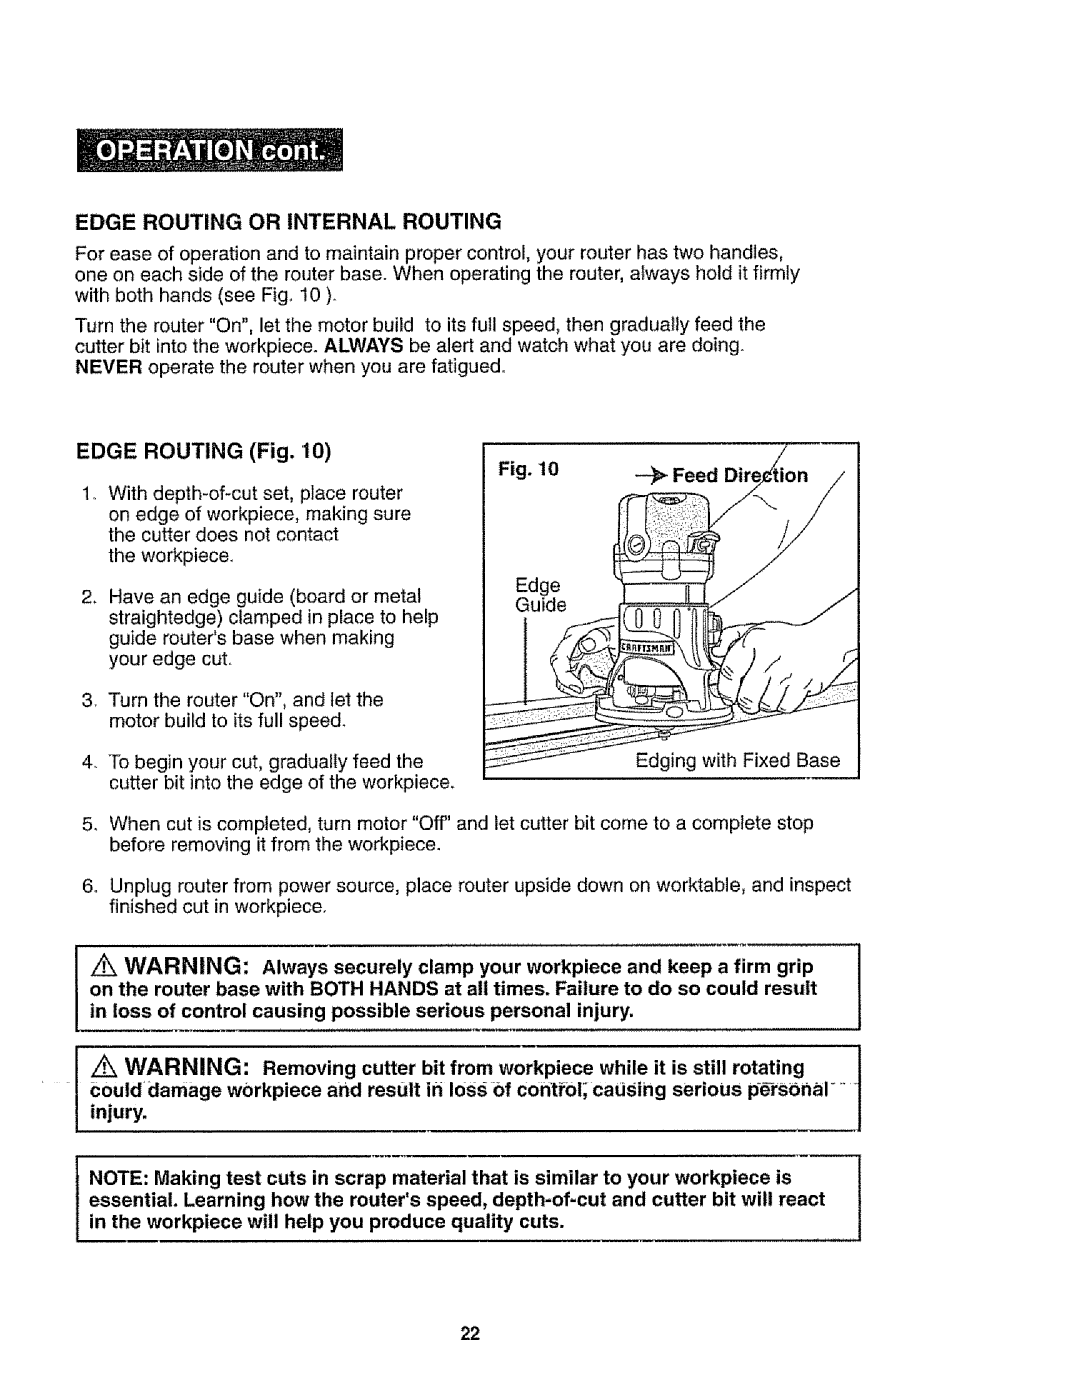
For ease of operation and to maintain proper control, your router has two handles, one on each side of the router base. When operating the router, always hold it firmly with both hands (see Fig. 10 ).
Turn the router "On", let the motor build to its full speed, then gradually feed the cutter bit into the workpiece_ ALWAYS be alert and watch what you are doing. NEVER operate the router when you are fatigued,.
EDGE ROUTING (Fig. 10)
In With
the workpiece.
,Have an edge guide (board or metal straightedge) clamped in place to help guide router's base when making
your edge cut.
3.Turn the router "On", and let the motor build to its full speed.
4.To begin your cut, gradually feed the cutter bit into the edge of the workpiece.
Edge
Guide
Edging with Fixed Base
5.When cut is completed, turn motor "Off" and let cutter bit come to a complete stop before removing it from the workpiece.
6.Unplug router from power source, place router upside down on worktable, and inspect finished cut in workpiece.
on the router base with BOTH HANDS at all times. Failure to do so could result
l Z_ WARNING: Always securely clamp your workpiece and keep a firm grip in loss of control causing possible serious personal injury.
• | couldclamage | workpiece and | result | in loss | of conti_ol; causing | sermus | |
I | _ WARNING: | Removing | cutter | bit from | workpiece while it | is still rotating | ] |
| injury. |
|
|
|
|
|
|
NOTE: Making test cuts in scrap material that is similar to your workpiece is essential. Learning how the router's speed,
22
