
I-Tech Series specifications
The Crown Audio I-Tech Series represents a pinnacle of power amplification technology, designed to meet the demanding needs of live sound reinforcement and installation applications. Renowned for their flexibility, efficiency, and sound quality, these amplifiers integrate cutting-edge features that appeal to both professional audio engineers and musicians alike.One of the key technologies employed in the I-Tech Series is the use of DriveCore technology. This innovative design allows the amplifiers to achieve high power output while minimizing size and weight. The DriveCore technology combines the efficiency of Class D amplification with superior sound quality, yielding a lightweight solution that maintains high fidelity and low distortion even at peak volumes.
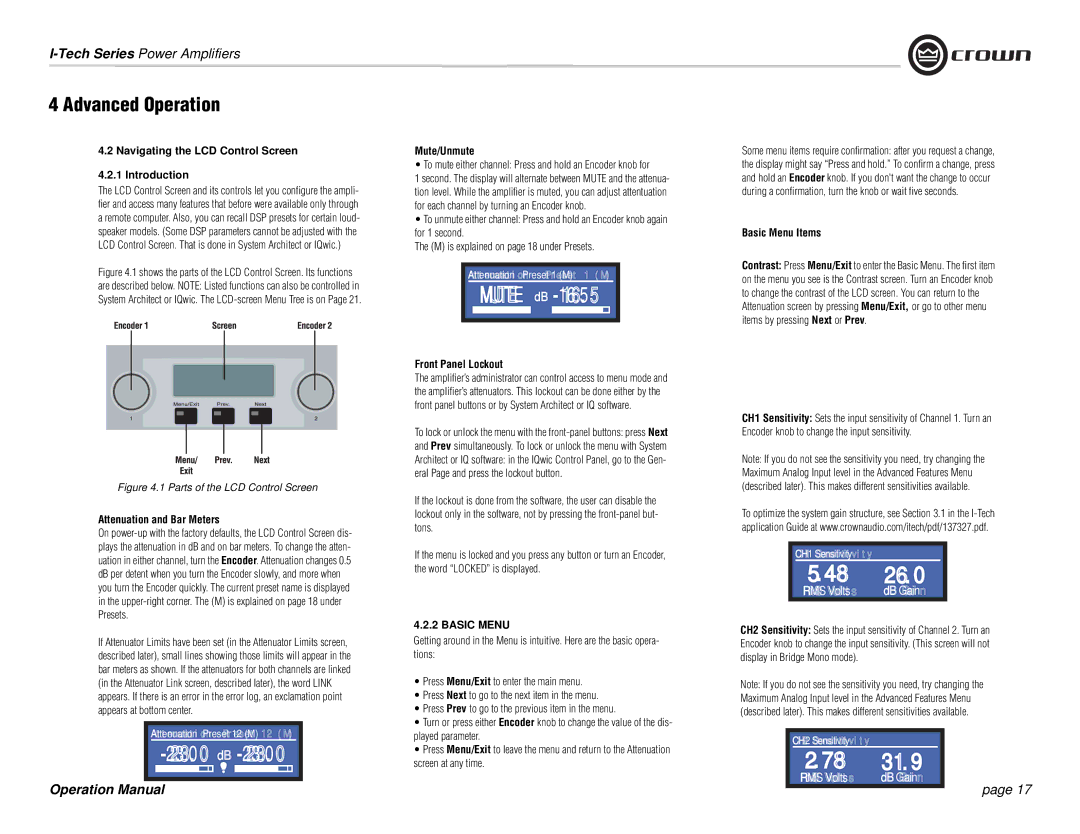
The I-Tech Series amplifiers come equipped with a comprehensive suite of digital signal processing (DSP) capabilities. Each amplifier integrates sophisticated DSP algorithms that enable advanced speaker management, including extensive equalization, delay settings, and limiting controls. This ensures optimal performance for a variety of loudspeakers and installation scenarios, allowing users to tailor the output to the specific acoustical environment.
Connectivity is another strong point for the I-Tech Series. The amplifiers often include a variety of input options, providing flexibility for different setups, whether analog or digital. The inclusion of Ethercon connectivity enables seamless integration into a networked environment, allowing for remote control and monitoring via Crown's sophisticated software interface. Users can access real-time data about the system's performance, making adjustments on-the-fly to maintain optimal sound quality.
Durability and reliability are fundamental characteristics of the Crown I-Tech amplifiers. Built to withstand the rigors of touring and the demands of permanent installations, these amplifiers are housed in rugged enclosures that dissipate heat effectively while maintaining a compact form factor. Integrated protection circuits safeguard against over-temperature, over-current, and short-circuits, ensuring longevity even under extreme conditions.
In terms of power output, the I-Tech Series features a range of models, each capable of delivering substantial wattage to drive large sound systems with authority. The efficient cooling design allows for extended use without compromising performance, making them suitable for both large concerts and smaller venues.
In summary, the Crown Audio I-Tech Series amplifiers combine advanced technologies, including DriveCore and flexible DSP, to deliver powerful and high-quality audio performance. Their robust design, comprehensive connectivity options, and tailored control make them a premier choice for audio professionals seeking reliable and effective amplification solutions.