Special Features

LCD display

Automatic and manual zoom of 24-28-35-50-70-85 mm

Red light ray as a focusing aid for setting the AF in low light

TTL measurement

Automatic speed setting for the shutter

5 energy levels, ratios 1/1, 1/2, 1/4, 1/8 and 1/16

Readiness display for the flash in the seeker

Synchronization of the foreground and background light

Reduction of the red-eye effect (for Nikon and Olympus)

Integrated slave function

Integrated reflection plate and diffuser

Energy-saving function

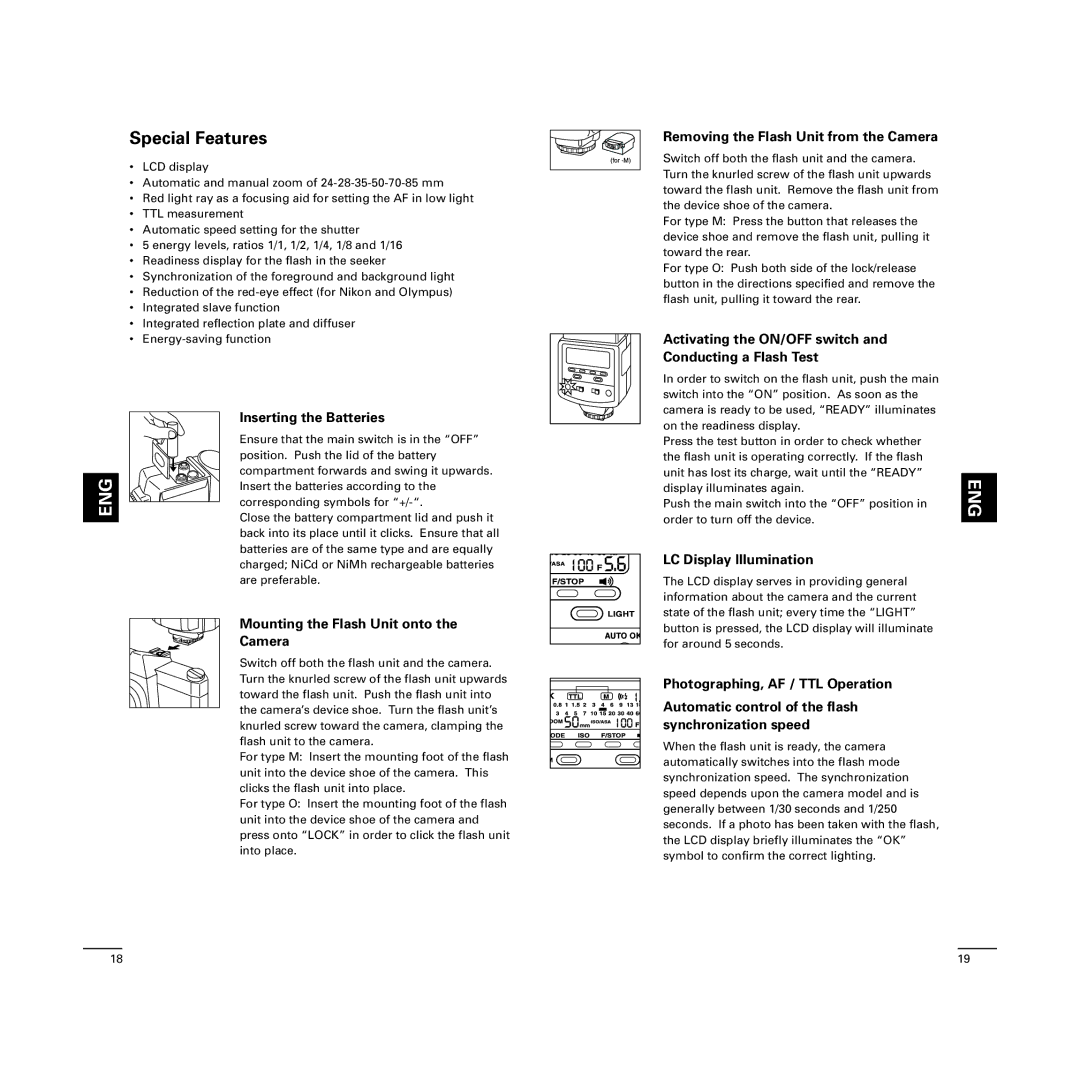
Inserting the Batteries


Ensure that the main switch is in the “OFF”


position. Push the lid of the battery

ENG

compartment forwards and swing it upwards.

Insert the batteries according to the


corresponding symbols for “+/-“.


Close the battery compartment lid and push it


back into its place until it clicks. Ensure that all


batteries are of the same type and are equally


charged; NiCd or NiMh rechargeable batteries


are preferable.

Mounting the Flash Unit onto the

Camera

Switch off both the flash unit and the camera. Turn the knurled screw of the flash unit upwards toward the flash unit. Push the flash unit into the camera’s device shoe. Turn the flash unit’s knurled screw toward the camera, clamping the flash unit to the camera.

For type M: Insert the mounting foot of the flash unit into the device shoe of the camera. This clicks the flash unit into place.

For type O: Insert the mounting foot of the flash unit into the device shoe of the camera and press onto “LOCK” in order to click the flash unit into place.

Removing the Flash Unit from the Camera

Switch off both the flash unit and the camera. Turn the knurled screw of the flash unit upwards toward the flash unit. Remove the flash unit from the device shoe of the camera.

For type M: Press the button that releases the device shoe and remove the flash unit, pulling it toward the rear.

For type O: Push both side of the lock/release button in the directions specified and remove the flash unit, pulling it toward the rear.

Activating the ON/OFF switch and Conducting a Flash Test

In order to switch on the flash unit, push the main switch into the “ON” position. As soon as the camera is ready to be used, “READY” illuminates on the readiness display.

Press the test button in order to check whether the flash unit is operating correctly. If the flash unit has lost its charge, wait until the “READY” display illuminates again.

Push the main switch into the “OFF” position in order to turn off the device.

LC Display Illumination

The LCD display serves in providing general information about the camera and the current state of the flash unit; every time the “LIGHT” button is pressed, the LCD display will illuminate for around 5 seconds.

Photographing, AF / TTL Operation

Automatic control of the flash synchronization speed

When the flash unit is ready, the camera automatically switches into the flash mode synchronization speed. The synchronization speed depends upon the camera model and is generally between 1/30 seconds and 1/250 seconds. If a photo has been taken with the flash, the LCD display briefly illuminates the “OK” symbol to confirm the correct lighting.

ENG

18

19

Page 10
Image 10
Cullmann D4500 manual Special Features

D4500 specifications

The Cullmann D4500 tripod is designed to cater to the needs of both amateur and professional photographers, providing a blend of stability, versatility, and ease of use. One of the standout features of the D4500 is its robust construction, crafted from high-quality aluminum that ensures durability while remaining lightweight. Weighing in at just 1.56 kilograms, it is an ideal companion for travel as it easily fits into a bag without adding excessive weight.

One of the key characteristics of the Cullmann D4500 is its adjustable height. The tripod can extend from a minimum height of approximately 45 centimeters up to a maximum of about 150 centimeters. This range allows photographers to capture images from various angles, whether shooting landscapes or portraits. The three-section legs feature a quick-release locking mechanism, enabling swift setup and breakdown while maintaining a secure hold.

The D4500 is equipped with a 3-way pan-and-tilt head that facilitates precise adjustments, making it a great choice for videography as well as photography. The head supports a wide range of camera models, providing versatility for DSLRs, mirrorless cameras, and compact systems. Its built-in bubble level ensures that the camera is perfectly aligned, which is crucial for achieving well-composed shots.

In terms of stability, the Cullmann D4500 features rubber feet that provide excellent traction on various surfaces. For added stability, particularly on uneven terrain, the tripod’s legs are also equipped with a spiked foot option, allowing photographers to firmly plant their setup regardless of the environment.

The D4500 also includes a convenient quick-release plate that allows for rapid camera attachment and detachment. This feature is particularly beneficial for photographers who alternate between hand-held shooting and tripod use, as it minimizes downtime and maximizes shooting efficiency.

In summary, the Cullmann D4500 tripod stands out with its combination of sturdiness, portability, and user-friendly features. Its adjustable height, versatile head mechanism, and stability options make it a great choice for photographers seeking a reliable tool to enhance their creative photography experience. Whether capturing awe-inspiring landscapes or crisp portrait shots, the D4500 provides the essential support needed for remarkable image quality.