 Beer Keg Installation Instructions
CASTOR BRAKE GUIDE
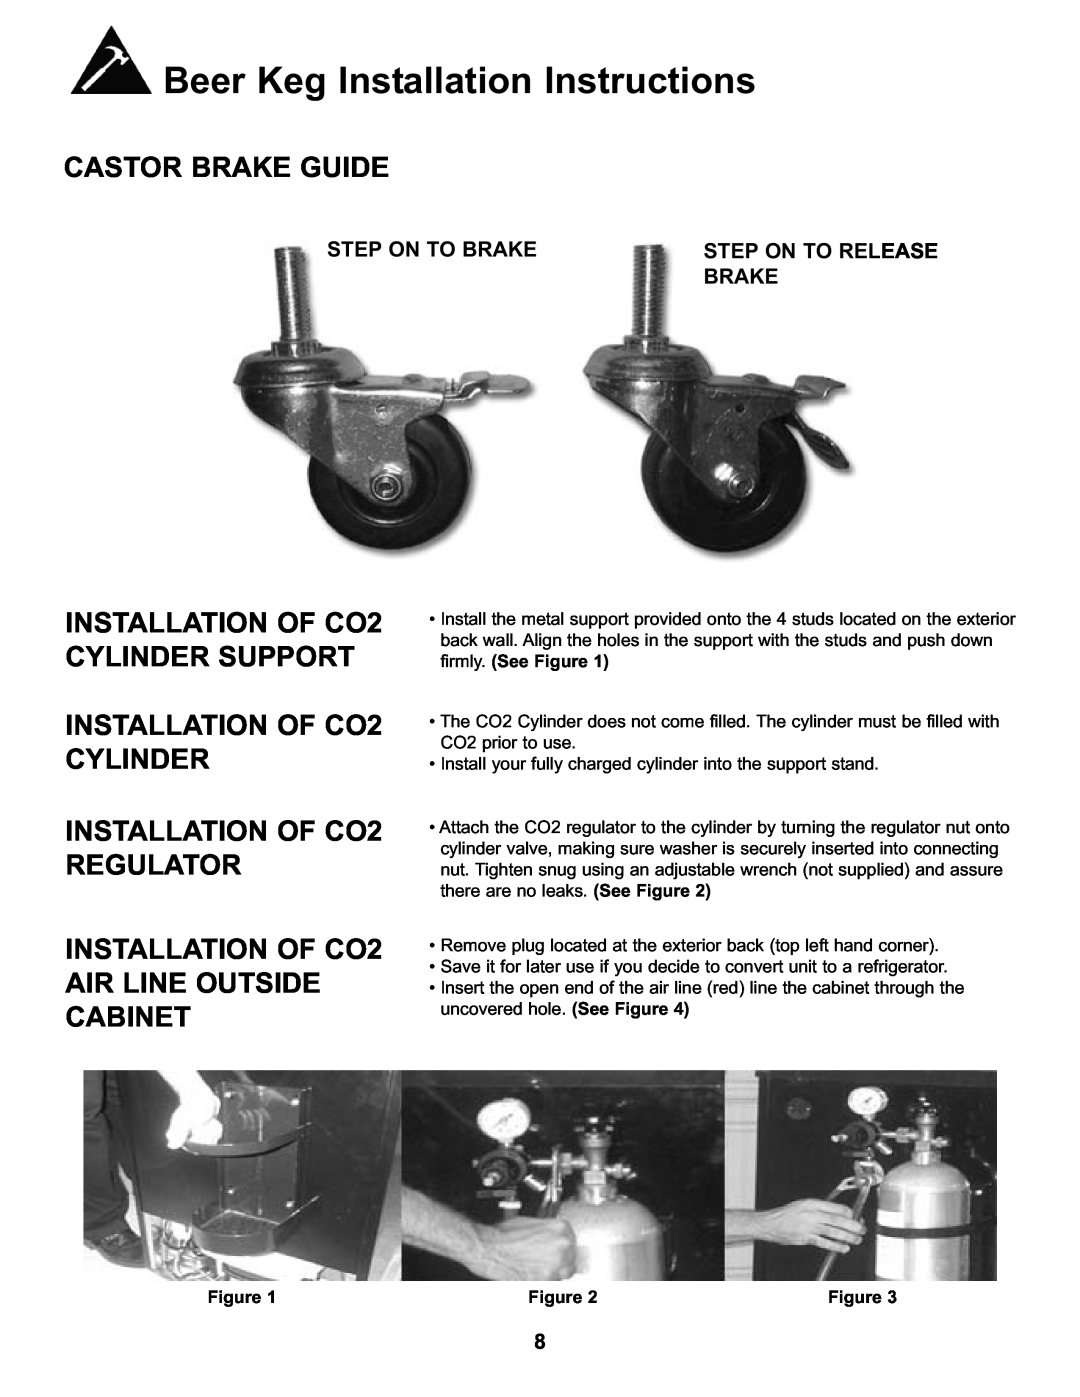
STEP ON TO BRAKE | STEP ON TO RELEASE |
| BRAKE |
INSTALLATION OF CO2 CYLINDER SUPPORT
INSTALLATION OF CO2 CYLINDER
INSTALLATION OF CO2 REGULATOR
INSTALLATION OF CO2 AIR LINE OUTSIDE CABINET
•Install the metal support provided onto the 4 studs located on the exterior back wall. Align the holes in the support with the studs and push down firmly. (See Figure 1)
•The CO2 Cylinder does not come filled. The cylinder must be filled with CO2 prior to use.
•Install your fully charged cylinder into the support stand.
•Attach the CO2 regulator to the cylinder by turning the regulator nut onto cylinder valve, making sure washer is securely inserted into connecting nut. Tighten snug using an adjustable wrench (not supplied) and assure there are no leaks. (See Figure 2)
•Remove plug located at the exterior back (top left hand corner).
•Save it for later use if you decide to convert unit to a refrigerator.
•Insert the open end of the air line (red) line the cabinet through the uncovered hole. (See Figure 4)
Figure 1 | Figure 2 | Figure 3 |
8
