Nature Mode
Hue
Saturation
Exit Menu
DISPLAY SETTINGS
Mode suitable for nature scenes.
User Preset: Use the plus and minus buttons to increase or decrease each of the three colors (R, G, B) independently, in single digit increments, from 0 to 100.
![]() makes video image shade into greenish
makes video image shade into greenish
![]() makes video image shade into purplish
makes video image shade into purplish
NOTE: Hue adjustment only available for video input.
This feature can make color shift of video image to green or purple. This is used to adjust for desired flesh tone color. Use - or + to adjust the hue from '0' to '100'.
![]() makes video image looks more monochrome
makes video image looks more monochrome ![]() makes video image looks more colorful
makes video image looks more colorful
NOTE: Saturation adjustment only available for video input.
Push ![]() to exit the OSD main menu.
to exit the OSD main menu.
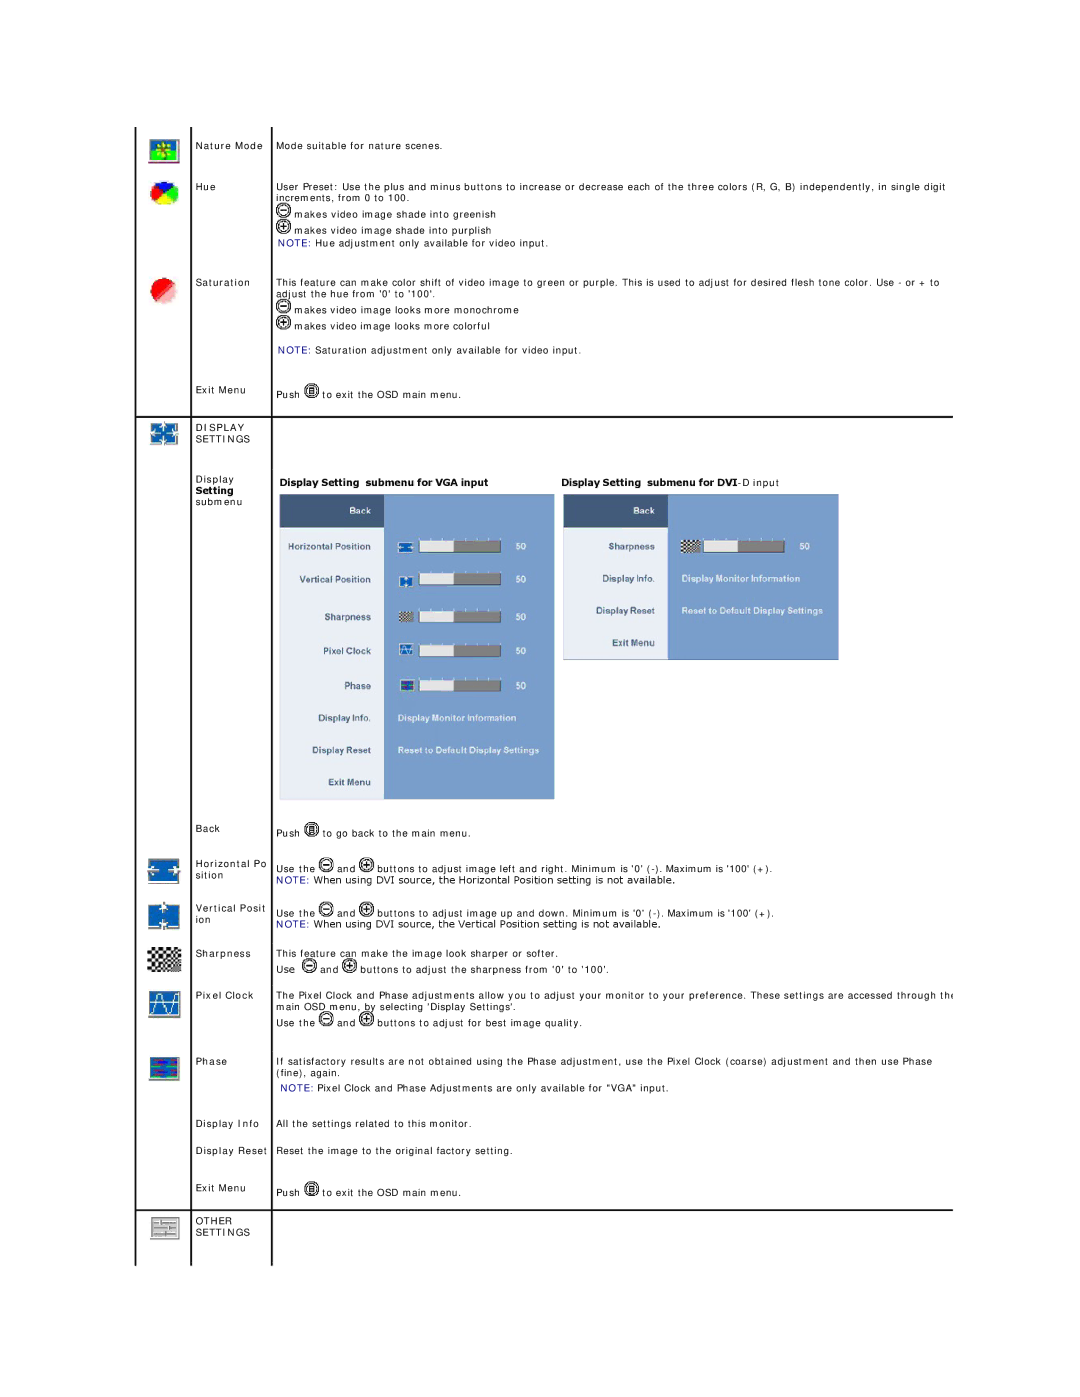
Display Setting submenu
Back
Horizontal Po sition
Vertical Posit ion
Sharpness
Pixel Clock
Phase
Display Info
Display Reset
Exit Menu
OTHER SETTINGS
Display Setting submenu for VGA input | Display Setting submenu for |
Push ![]() to go back to the main menu.
to go back to the main menu.
Use the ![]() and
and ![]() buttons to adjust image left and right. Minimum is '0'
buttons to adjust image left and right. Minimum is '0'
NOTE: When using DVI source, the Horizontal Position setting is not available.
Use the ![]() and
and ![]() buttons to adjust image up and down. Minimum is '0'
buttons to adjust image up and down. Minimum is '0'
NOTE: When using DVI source, the Vertical Position setting is not available.
This feature can make the image look sharper or softer.
Use ![]() and
and ![]() buttons to adjust the sharpness from '0' to '100'.
buttons to adjust the sharpness from '0' to '100'.
The Pixel Clock and Phase adjustments allow you to adjust your monitor to your preference. These settings are accessed through the main OSD menu, by selecting 'Display Settings'.
Use the ![]() and
and ![]() buttons to adjust for best image quality.
buttons to adjust for best image quality.
If satisfactory results are not obtained using the Phase adjustment, use the Pixel Clock (coarse) adjustment and then use Phase (fine), again.
NOTE: Pixel Clock and Phase Adjustments are only available for "VGA" input.
All the settings related to this monitor.
Reset the image to the original factory setting.
Push ![]() to exit the OSD main menu.
to exit the OSD main menu.
