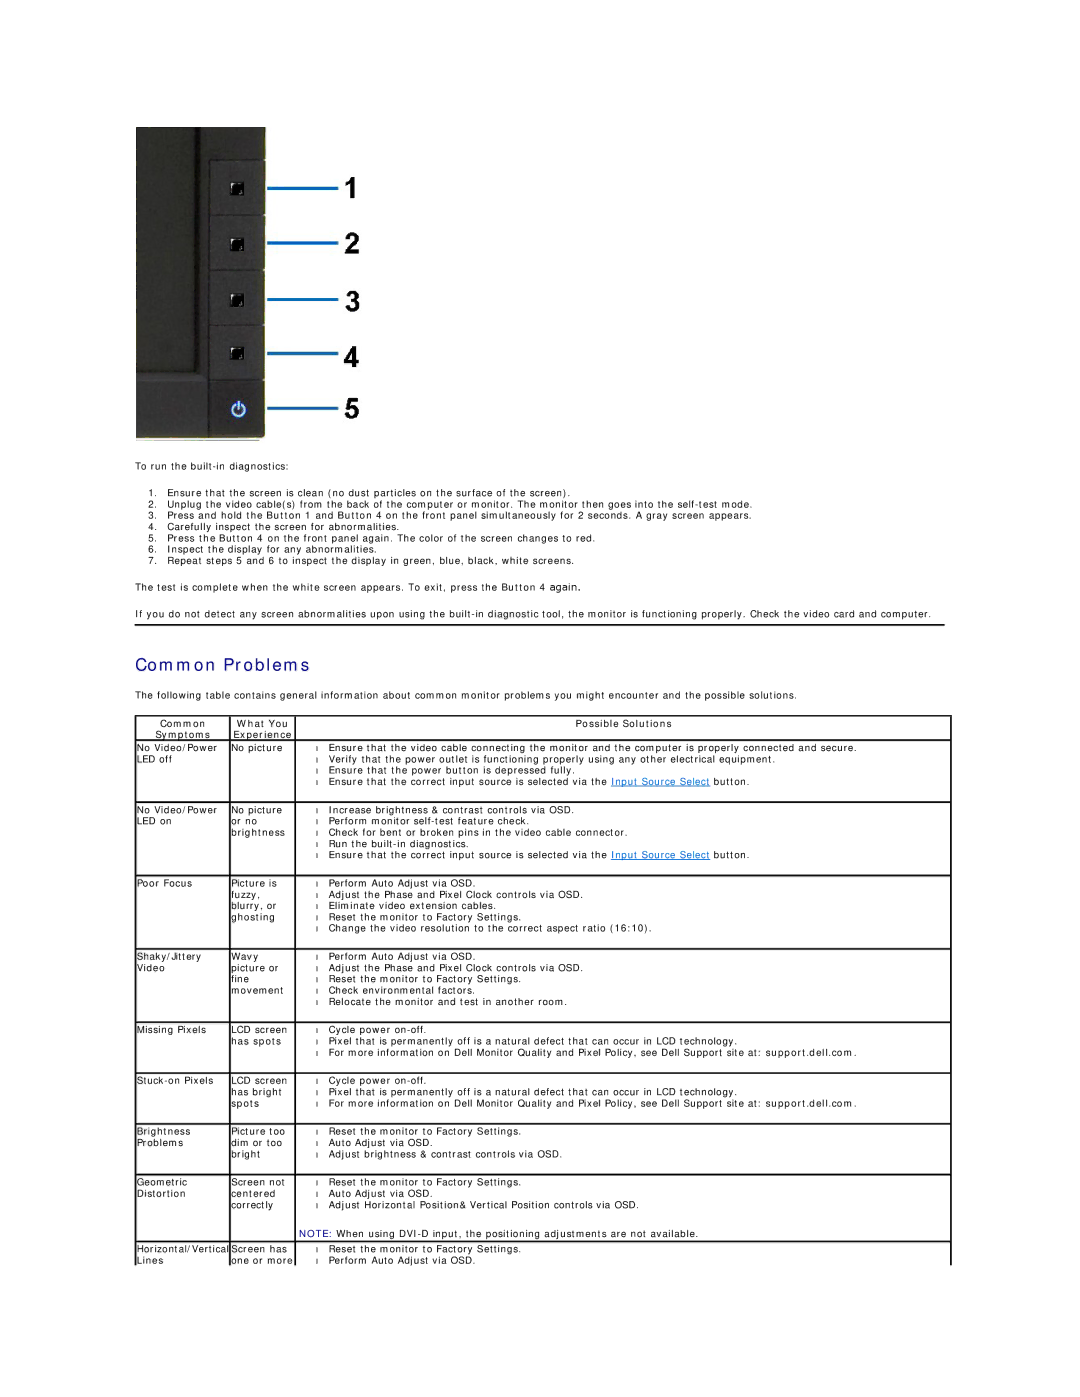
To run the
1.Ensure that the screen is clean (no dust particles on the surface of the screen).
2.Unplug the video cable(s) from the back of the computer or monitor. The monitor then goes into the
3.Press and hold the Button 1 and Button 4 on the front panel simultaneously for 2 seconds. A gray screen appears.
4.Carefully inspect the screen for abnormalities.
5.Press the Button 4 on the front panel again. The color of the screen changes to red.
6.Inspect the display for any abnormalities.
7.Repeat steps 5 and 6 to inspect the display in green, blue, black, white screens.
The test is complete when the white screen appears. To exit, press the Button 4 again.
If you do not detect any screen abnormalities upon using the
Common Problems
The following table contains general information about common monitor problems you might encounter and the possible solutions.
Common | What You |
| Possible Solutions |
Symptoms | Experience |
|
|
No Video/Power | No picture | • | Ensure that the video cable connecting the monitor and the computer is properly connected and secure. |
LED off |
| • | Verify that the power outlet is functioning properly using any other electrical equipment. |
|
| • | Ensure that the power button is depressed fully. |
|
| • | Ensure that the correct input source is selected via the Input Source Select button. |
|
|
|
|
No Video/Power | No picture | • | Increase brightness & contrast controls via OSD. |
LED on | or no | • | Perform monitor |
| brightness | • | Check for bent or broken pins in the video cable connector. |
|
| • | Run the |
|
| • | Ensure that the correct input source is selected via the Input Source Select button. |
|
|
|
|
Poor Focus | Picture is | • | Perform Auto Adjust via OSD. |
| fuzzy, | • | Adjust the Phase and Pixel Clock controls via OSD. |
| blurry, or | • | Eliminate video extension cables. |
| ghosting | • | Reset the monitor to Factory Settings. |
|
| • | Change the video resolution to the correct aspect ratio (16:10). |
|
|
|
|
Shaky/Jittery | Wavy | • | Perform Auto Adjust via OSD. |
Video | picture or | • | Adjust the Phase and Pixel Clock controls via OSD. |
| fine | • | Reset the monitor to Factory Settings. |
| movement | • | Check environmental factors. |
|
| • | Relocate the monitor and test in another room. |
|
|
|
|
Missing Pixels | LCD screen | • | Cycle power |
| has spots | • | Pixel that is permanently off is a natural defect that can occur in LCD technology. |
|
| • | For more information on Dell Monitor Quality and Pixel Policy, see Dell Support site at: support.dell.com. |
|
|
|
|
LCD screen | • | Cycle power | |
| has bright | • | Pixel that is permanently off is a natural defect that can occur in LCD technology. |
| spots | • | For more information on Dell Monitor Quality and Pixel Policy, see Dell Support site at: support.dell.com. |
|
|
|
|
Brightness | Picture too | • | Reset the monitor to Factory Settings. |
Problems | dim or too | • | Auto Adjust via OSD. |
| bright | • | Adjust brightness & contrast controls via OSD. |
|
|
|
|
Geometric | Screen not | • | Reset the monitor to Factory Settings. |
Distortion | centered | • | Auto Adjust via OSD. |
| correctly | • | Adjust Horizontal Position& Vertical Position controls via OSD. |
|
| NOTE: When using | |
Horizontal/Vertical | Screen has | • | Reset the monitor to Factory Settings. |
Lines | one or more | • | Perform Auto Adjust via OSD. |