Dell XPS
W . d e l l . c o m s u p p o r t . d e l l . c o m
April NP756
Contents
Power Management Options in Windows Vista
Configuring Power Management Settings
Mail, Modem, and Internet Problems
Understanding Dual-Graphics Technology
Starting Dell Diagnostics From Your Hard Drive
Using Windows Device Driver Rollback
Troubleshooting Software and Hardware Problems
Preparing to Work Inside Your Computer
Network Adapter and Sound Card Settings 105
General Drive Installation Guidelines 107
100
102
Power Supply PSU DC Connector Pin Assignments 142
139
140
141
178
179
Warranty information
Drivers for my computer
My device documentation
Desktop System Software DSS
Service Tag and Microsoft Windows Product Key
Your call when contacting support Finding Information
Then enter your Service Tag or product model
Appropriate for your configuration, providing critical
How to use your Windows operating system
Click the topic that describes your problem
Operating System Media
According to the operating system you ordered
Setting Up and Using Your Computer
Front and Back View of the Computer
Front View
Blinking green The computer is in a power-saving state
Blinking amber An internal power problem may exist
Computer. Instead, perform an operating system shutdown
No light The computer is turned off
Front I/O Connectors
Back View
Back I/O Connectors
Green a good connection exists between a 10-Mbps network
Computer
Attaching the Computer Stand
Captive screw Stabilizing feet closed
Slots
Installing Your Computer in an Enclosure
Setting Up and Using Your Computer
Connecting Monitors
Connecting a Monitor Without an Adapter
DVI white connector TV-OUT connector
Windows XP, click Start→ Turn Off Computer→ Turn off
Connecting a Monitor With an Adapter
Connecting a Monitor in a Dual Graphics Card Configuration
DVI white connector DVI-to-VGA adapter optional
Primary video card
Connecting Two or More Monitors
Connecting a TV
Windows XP, click Start→ Turn Off Computer→ Turn off
About Your RAID Configuration
RAID Level 0 Configuration
RAID Level 1 Configuration
RAID Level 0+1 Configuration
Setting Up and Using Your Computer
RAID Level 5 Configuration
Configuring Your Hard Drives for RAID
Setting Your Computer to RAID-Enabled Mode
Using the Nvidia MediaShield ROM Utility
Using Nvidia MediaShield
Click Create under System Tasks
Free Disk Selection window appears
Clearing System Data window appears
Deleting a RAID Array
Page
Using Multimedia
Copying CD, DVD, and Blu-ray Disc BD Media
CD player includes the following basic buttons
DVD player includes the following basic buttons
Media Type Read Write Rewritable
Helpful Tips
DVD-Writable Drives
Using a Media Card Reader Optional
Network Setup Wizard
Click Checklist for creating a network
Transferring Information to a New Computer
To copy data from the source computer
Power Management Options in Windows XP
Standby Mode
To transfer data to the new computer
Hibernate Mode
Power Options Properties
Power Schemes Tab
Power schemes drop-down menu displays the following schemes
Advanced Tab Advanced tab allows you to
Power Management Options in Windows Vista
Sleep Mode
Configuring Power Management Settings
Setting Up and Using Your Computer
Understanding Dual-Graphics Technology
Understanding CPU Overclocking
Optimizing for Greater Performance
Optimizing for Greater Performance
Dell QuickSet
Dell QuickSet
Dell QuickSet
Solving Problems
Battery Problems
Drive Problems
Follow these tips when you troubleshoot your computer
Optical drive problems
Problems writing to an optical drive
Hard drive problems
Mail, Modem, and Internet Problems
D O W S
Ieee 1394 Device Problems
Lockups and Software Problems
Memory Problems
Other software problems
Solid blue screen appears
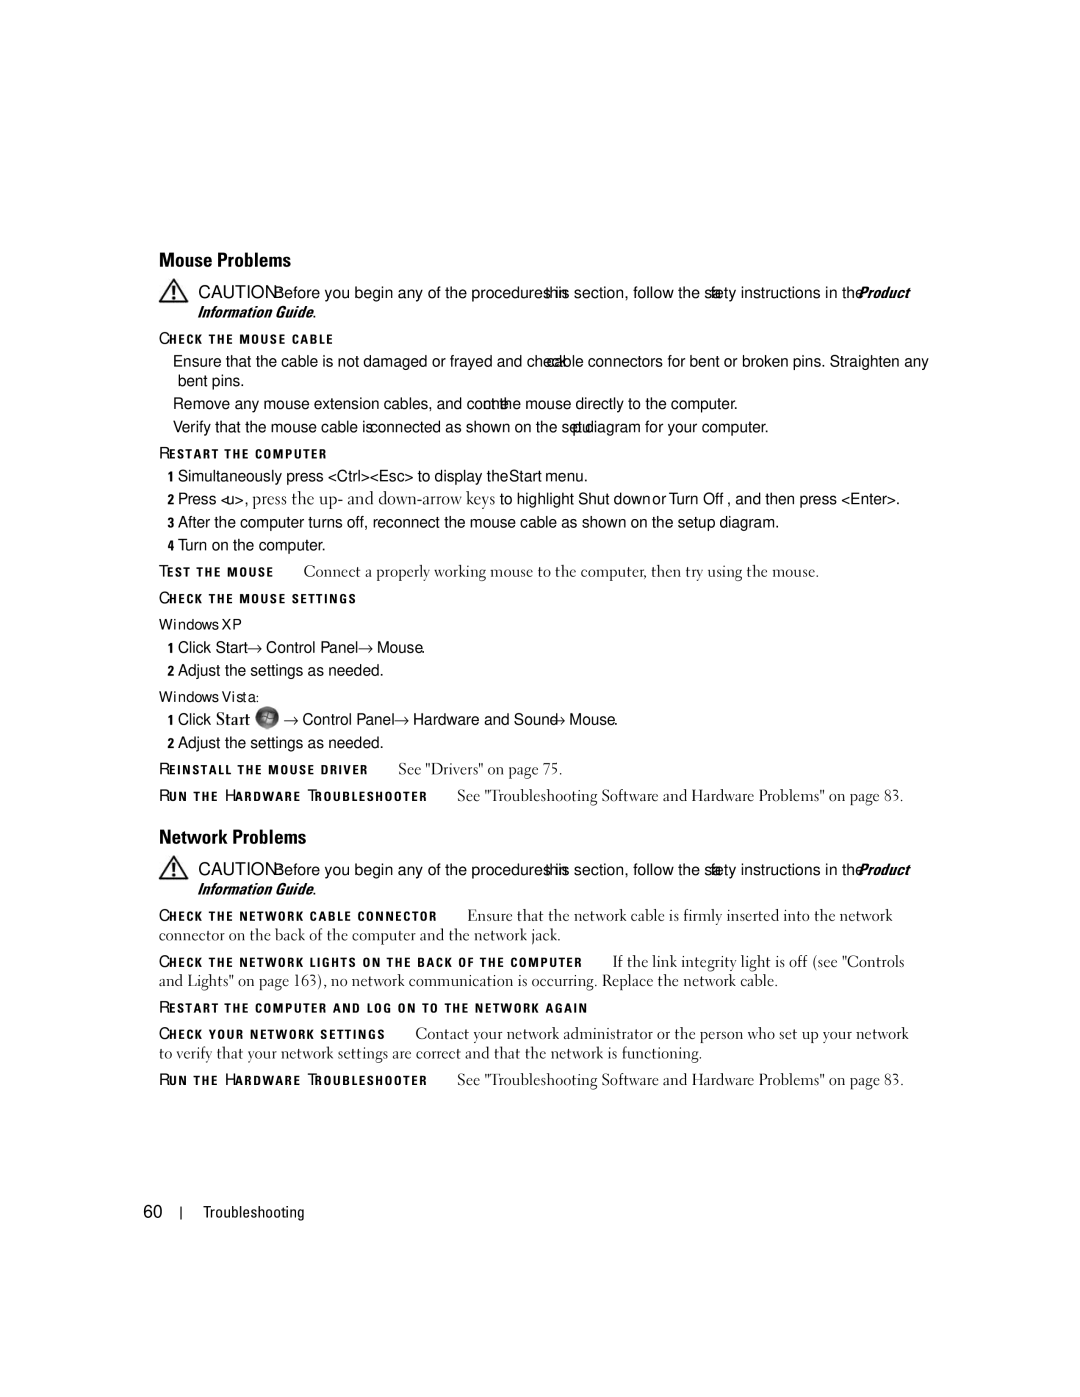
Mouse Problems
Network Problems
Power Problems
Printer Problems
Scanner Problems
Sound and Speaker Problems
Video and Monitor Problems
No sound from headphones
No sound from speakers
Screen is difficult to read
3D image quality is poor
Power Lights
Diagnostic Lights
Light Pattern Problem Description Suggested Resolution
Ensure that the memory you are using is
Ensure that no special requirements for
See Memory on
Problems on
PCI Express Cards on
Restart the computer
Computer for resource conflicts see
Beep Codes
Code Cause
System Messages
Message Possible Cause Corrective Action
Message Possible Cause
Dell Diagnostics
When to Use Dell Diagnostics
Starting Dell Diagnostics From Your Hard Drive
Troubleshooting
Dell Diagnostics Main Menu
Option Function
Tab Function
Custom Test only
What Is a Driver?
Drivers
Identifying Drivers
Click Start → Computer→ System Properties→ Device Manager
Using the Drivers and Utilities Media
Click Driver and click Roll Back Driver
At the Welcome Dell System Owner screen, click Next
Using Microsoft Windows System Restore
You can restore your operating system in the following ways
Restoring Your Operating System
Using Dell PC Restore and Dell Factory Image Restore
Removing PC Restore
Click Dell Factory Image Restore
Select Repair Your Computer
Using the Operating System Media
Troubleshooting Software and Hardware Problems
Click Start and click Help and Support
Click Hardware Troubleshooter in the Search Results list
Troubleshooting
Removing and Installing Parts
Before You Begin
Recommended Tools
Preparing to Work Inside Your Computer
Removing the Computer Cover
Computer cover Cover release latch
Inside View of Your Computer
System Board Components
Card cage fan connector Liquid cooling assembly
Memory
DDR2 Memory Overview
PCI-Express x1 card slot
Addressing Memory Configurations
Installing Memory
Memory connector closest to Securing clips
Crossbar Removing and Installing Parts
Processor
Removing Memory
Cards
Fan bracket Removing and Installing Parts
Removing PCI and PCI Express Cards
Release tab Card retainer
PCI Express x16 card Securing tab
Installing PCI and PCI Express Cards
PCI Express x16 card Securing tab
Card connector seated
Within slot
Alignment bar Alignment guide Outside of slot
Graphics card bridge Power connectors
100
Cards
101
Fan bracket
102
103
104
Network Adapter and Sound Card Settings
If you installed a sound card
If you removed a sound card
105
If you removed an add-in network connector
Drives
Your computer supports
106
General Drive Installation Guidelines
About Serial ATA Drives
107
Optical drive bays Floppy drive/media card
Hard Drive
Removing a Hard Drive
108
Sata data cable
Power cable
109
Installing a Hard Drive
110
Blue tabs Hard drive
111
112
Hard drive2 hard drive bay
Drive Panel
Removing the Drive Panel
113
Replacing the Drive Panel
114
Drive release latch Drive panel
Floppy Drive
Removing a Floppy Drive
115
116
Installing a Floppy Drive
117
Drive release latch
118
Floppy drive
Media Card Reader
Removing a Media Card Reader
119
Media card reader power
120
Cable
Installing a Media Card Reader
121
122
Media card reader
Optical Drive
Removing an Optical Drive
123
124
Data cable
Installing an Optical Drive
125
126
Optical drive
127
Removing the Processor Airflow Shroud Assembly
Processor Airflow Shroud
128
Processor airflow shroud
Installing the Processor Airflow Shroud Assembly
Processor
Removing the Processor
129
Installing the Processor
130
Processor cover
Socket release lever
131
Fans
Removing the Card Fan
132
Cage housing Fan cage
133
Installing the Card Fan
134
Card fan Rubber grommet
Removing the CPU Fan
135
Installing the CPU Fan
136
Rubber grommet CPU fan
Removing the Optional Hard Drive Fan
137
Installing the Optional Hard Drive Fan
138
Screw Card fan assembly
System Board
Removing the System Board
139
Installing the System Board
140
Screw
Power Supply
141
Power Supply PSU DC Connector Pin Assignments
DC Power Connector P1
142
13 14 15 16 17 18 19 20 21 22 23
143
DC Power Connector P2
144
+12 VC DC Blue/White
+12 VA DC/SE Yellow
+12 VB DC White Removing and Installing Parts
145
+12 VA DC Yellow
+12 VB DC/SE White +12 VC DC/SE Blue/White
DC Power Connector P3 Graphics Card
DC Power Connector P4 Graphics Card 146
+12 VE DC/SE Blue/Yellow +12 VB DC White
DC Power Connector P5 FD1
147
+12 VE DC Blue/Yellow +12 VC DC Blue/White
DC Power Connector P6 and P7 BAY1 and Bay2
DC Power Connectors P8 and P9 HDD0 and HDD1
148
DC Power Connectors P10-P13 HDD2 and HDD5
149
+12 VB DC White +12 VA DC Yellow
DC Power Connector P15 Graphics Card 1-KW PSU Only
Pin Number Signal Name
150
+12 VB DC White
Removing the Power Supply
DC Power Connector P16 Graphics Card 1-KW PSU Only
151
152
Screws
Power supply screws
153
Installing the Power Supply
154
Front I/O Panel
Front I/O-Panel Components
155
External Ieee 1394 port External USB ports
Removing the Front I/O Panel
156
Front I/O panel
Battery
Installing the I/O Panel
Replacing the Battery
157
To replace the battery
Removing the Computer Stand
158
Replacing the Computer Cover
159
Computer stand
160
Computer cover Cover hinge tabs
Specifications
161
162
163
Computer Setup see System Setup on Back panel LEDs
Guide Backup battery CR2032 lithium coin cell
164
165
50.8 cm/sec
508 cm/sec
System Setup
Entering System Setup
Use system setup as follows
Overview
System Setup Options
167
168
169
170
Low Power Mode
171
Strip or surge protector
Appropriate time field
172
Boot Sequence
173
Clearing Forgotten Passwords
Changing Boot Sequence for Future Boots
174
Clearing Cmos Settings
175
Cleaning Your Computer
Computer, Keyboard, and Monitor
Mouse
176
FCC Notices U.S. Only
Floppy Drive
CDs and DVDs
177
Class a Class B
FCC Identification Information
178
Contacting Dell
You can contact Dell through the Internet and by phone
179
180
Online Support Support.ap.dell.com
181
Online Support Support.euro.dell.com
Online Support La-techsupport@dell.com
Online Support International Access Code
Technical Support, Customer Service, Sales Toll-free
182
183
Online Order Status
184
185
Calling from Guayaquil Appendix
186
Fisupport@dell.com
187
188
189
190
191
192
193
194
195
Fax 21 424 01 Appendix
196
Transaction Sales Toll-free 1 800 394 Corporate Sales
Technical Support, Customer Service, 604 633
197
Sales Penang, Malaysia
198
020 140 14
Technical Support Fax 08 590 05 Sales 08 587 705
199
Country Code Customer Service Online City Code
200
Corporate/Public Sector Sales 01344 860
Home and Small Business Fax 0870 907
201
Or Speech-Impaired Country Code Fax Toll-free
Leases and Loans Toll-free Dell Preferred Accounts DPA
202
Glossary
203
204
205
Docking device See APR
206
207
208
209
210
211
Video resolution See resolution
212
213
Index
Index
Reinstalling Windows Vista, 78 reinstalling Windows XP
215
SLI
Sleep mode, 47 System Restore
217
218