Back to Contents Page
Display Assembly
Dell™ Latitude™ D410 Service Manual
Removing the Display Assembly
Replacing the Display Assembly
Removing the Display Assembly
CAUTION: Before you begin any of the procedures in this section, follow the safety instructions located in the Product Information Guide.
NOTICE: To avoid electrostatic discharge, ground yourself by using a wrist grounding strap or by periodically touching an unpainted metal surface (such as the back panel) on the computer.
NOTICE: You must remove the display assembly before you remove the palm rest.
1.Follow the instructions in "Preparing to Work Inside the Computer."
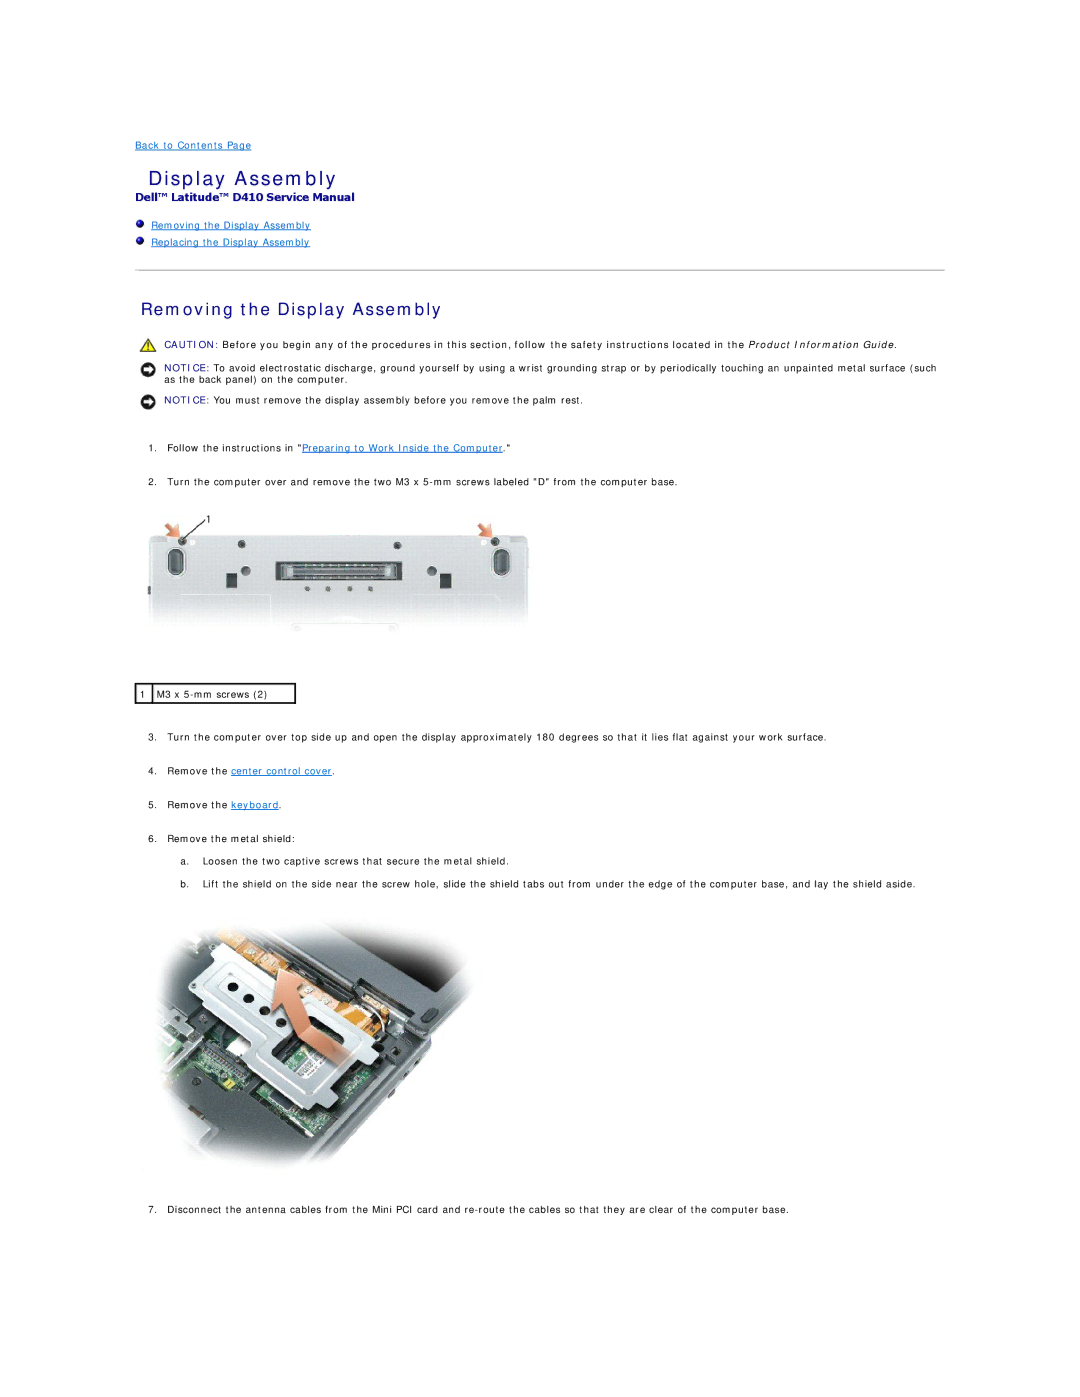
2.Turn the computer over and remove the two M3 x
![]() 1
1 ![]() M3 x
M3 x
3.Turn the computer over top side up and open the display approximately 180 degrees so that it lies flat against your work surface.
4.Remove the center control cover.
5.Remove the keyboard.
6.Remove the metal shield:
a.Loosen the two captive screws that secure the metal shield.
b.Lift the shield on the side near the screw hole, slide the shield tabs out from under the edge of the computer base, and lay the shield aside.
7. Disconnect the antenna cables from the Mini PCI card and