Back to Contents Page
Troubleshooting
Dell™ E1911 monitor
Common Problems
Product Specific Problems
Dell Soundbar Problems
![]() WARNING: Before you begin any of the procedures in this section, follow the Safety Instructions.
WARNING: Before you begin any of the procedures in this section, follow the Safety Instructions.
Self-Test
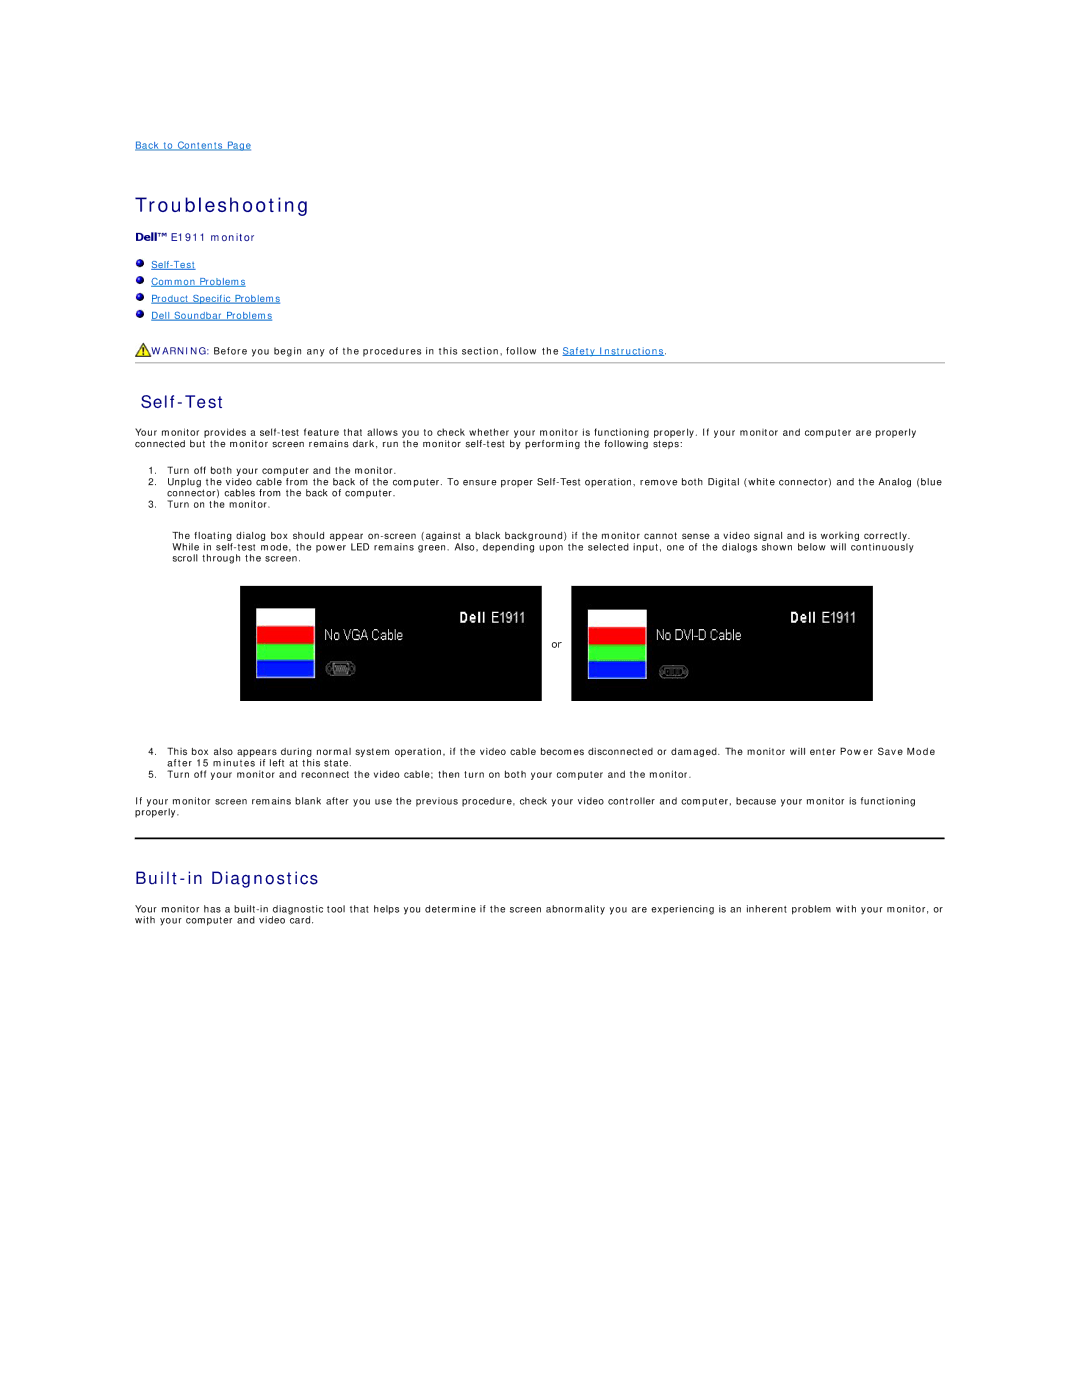
Your monitor provides a
1.Turn off both your computer and the monitor.
2.Unplug the video cable from the back of the computer. To ensure proper
3.Turn on the monitor.
The floating dialog box should appear
or
4.This box also appears during normal system operation, if the video cable becomes disconnected or damaged. The monitor will enter Power Save Mode after 15 minutes if left at this state.
5.Turn off your monitor and reconnect the video cable; then turn on both your computer and the monitor.
If your monitor screen remains blank after you use the previous procedure, check your video controller and computer, because your monitor is functioning properly.
Built-in Diagnostics
Your monitor has a