Dell PowerEdge R905
December HX574
Contents
Integrated Devices Screen Serial Communication Screen
Entering the BMC Setup Module BMC Setup Module Options
Memory Information Screen
Removing and Replacing the Optional
Opening and Closing the System
Removing the Riser Board Replacing the Riser Board
Configuring the Boot Device
General Memory Module Installation
Installing Memory Modules Removing Memory Modules
Installing a Hot-Plug Hard Drive
115
Connecting an External Fibre Channel Storage
114
118
139
Checking Basic Power Problems 144
Troubleshooting a Wet System 152
Replacing the PEM Board 140
167
171
179
Other Information You May Need
About Your System
Accessing System Features During Startup
For the integrated NIC
Front-Panel Features and Indicators
Information
ACPI-compliant operating system,
Power button Supply output to the system
After the power button is pressed
Running an ACPI-compliant operating
LCD display lights amber when
With power supplies, fans, system
Temperature, or hard drives
LCD display lights amber regardless
Hard-Drive Indicator Codes
Back-Panel Features and Indicators
Off
Connecting External Devices
Back-Panel Features and Indicators Video connector
Flickering
Power Indicator Codes
Operational
Or shutting down
NIC Indicator Codes
Link indicator
Network data is being sent or received
LCD Status Messages
Network
E1210 Cmos Batt
E1000
Call Support E1114 Temp Ambient
E1211 Romb Batt
E122E
E122A
E122D
E122F 5V PwrGd
E1414
E1313 Fan
Redundancy
Thermtrip
E1420 CPU Bus Perr
E141C CPU Mismatch
E141F CPU Protocol
E1421 CPU Init
E1620 PS # Input
E161C PS # Input
Lost
Range
E171F Pcie Fatal Err B## D## Err Slot #
E1810 HDD ## Fault
E1712 PCI Serr B## D## F##
E1811 HDD ## Rbld
Removed
E2011 Mem Config
E1812 HDD ##
E1914 DRAC5 Conn2
E2018 Prog Timer
E2013 Shadow Bios
E2017 Timer Fail
E2019 Parity Error
Disable Dimm
E201F Drac Config
E2020 CPU Config
E2021 Memory
I1911 3 ERRs Chk Log
E2112 Mem Spare
I1910 Intrusion
I1912 SEL Full
W1228 Romb Batt
Solving Problems Described by LCD Status Messages
Removing LCD Status Messages
24hr
System Messages
Please wait Bios Manufacturing
Update Remote
Configuration
Mode detected
Access Controller
Error Incorrect
Error Remote
Error caused a
Resource Re
Manufacturing mode
Invalid Nvram
Allocated Invalid PCIe card
No timer tick
No boot device
No boot sector on
Memory tests
Reset Slot n
Width Error
Width is n Actual Link Width Is n PCIe Fatal Error
Install
Error or incorrect
Read fault
Remote Access
Installed
Shutdown failure
Setup program
Timer chip counter
Amount
Microcode update
Faulty DIMMs are
Disabled
More faulty DIMMs
Write fault on
Diagnostics Messages
Write fault
Alert Messages
Entering the System Setup Program
Responding to Error Messages
Main Screen
System Setup Options
Using the System Setup Program
Main System Setup Program Screen
Device installed in the SD card slot will automatically
Support information about booting from external devices
Auto default
Setup Password on page 57 for more information
Memory Information Screen
CPU Information Screen
Enabling AMD PowerNow! Technology
Integrated Devices Screen
NIC1 default
Controller Enabled default Optical Drive
Controller On default User Accessible
Other NICs Enabled MAC Address
Serial Communication Screen
System Security Screen
Password feature
System Security Screen Options Description Setup Password
That you restrict access to your system using the system
Changing an existing setup password
TPM are preserved
When set to Yes, all the contents of the TPM are cleared
Power is turned off
Back up the TPM keys prior to enabling this option
Enables or disables the NMI feature
System and Setup Password Features
System and displays a diagnostic screen
Exit Screen
Using the System Password
Using the System Setup Program
Using the Setup Password
Using the System Setup Program
Entering the BMC Setup Module
Disabling a Forgotten Password
Baseboard Management Controller Configuration
BMC Setup Module Options
Using the System Setup Program
Installing System Components
Installing System Components
Recommended Tools
Inside the System
Processor expansion module
Removing and Replacing the Optional Front Bezel
Removing and Replacing the Optional Front Bezel
Opening and Closing the System
Opening the System
Chassis hooks
Closing the System
Lift up the latch on the cover
Cooling Fans
Removing a Cooling Fan
Replacing a Cooling Fan
Cooling Shroud Assembly
Removing the Cooling Shroud Assembly
Replacing the Cooling Shroud Assembly
Power Supplies
Removing a Power Supply
Replacing a Power Supply
Lever release latch
Processor Expansion Module
Removing the PEM or PEM Shell
Installing and Removing a PEM Processor expansion module
Guide pins
Handle in service position Installing System Components
Cooling shroud
Replacing the PEM or PEM Shell
Expansion Card Installation Guidelines
Expansion Cards
Installing an Expansion Card
Front of system
Page
Riser Board
Removing an Expansion Card
Removing the Riser Board
12. Riser Boards Processor riser board
Replacing the Riser Board
Riser board socket
Installing an Optional RAC Card
RAC Card
14. RAC Card Connectors RJ-45 RAC NIC connector
Installing the Optional Internal USB Memory Key
Internal USB Memory Key Optional
15. Installing a USB Memory Key USB memory key
TOE/iSCSI Key Optional
16. Installing a TOE/iSCSI Key TOE/iSCSI key
SD Memory Card
Installing the NIC Daughter Card
NIC Daughter Card
NIC daughter card connector
System Memory
Removing the NIC Daughter Card
General Memory Module Installation Guidelines
Memory Modules Number
32 GB Sixteen 2 GB, 800 MHz
Examples of Four-Processor Memory Configurations Total
C4, D1, D2, D3, D4
C7, C8, D1, D2, D3, D4, D5, D6, D7, D8
Installing Memory Modules
System Size and Speed Memory 128 GB Sixteen 8 GB, 667 MHz
Remove the cooling shroud assembly
19. Installing and Removing a Memory Module Memory module
Removing Memory Modules
Processors
Removing a Processor
20. Removing and Installing the Heat Sink Heat sink
Socket
Installing a Processor
101
102
Installing an Optical Drive
103
104
Latch Thumbscrew
Hard Drives
105
Before You Begin
23. Hard-Drive ID Numbers
Removing a Drive Blank
Configuring the Boot Device
Installing a Drive Blank
107
Removing a Hot-Plug Hard Drive
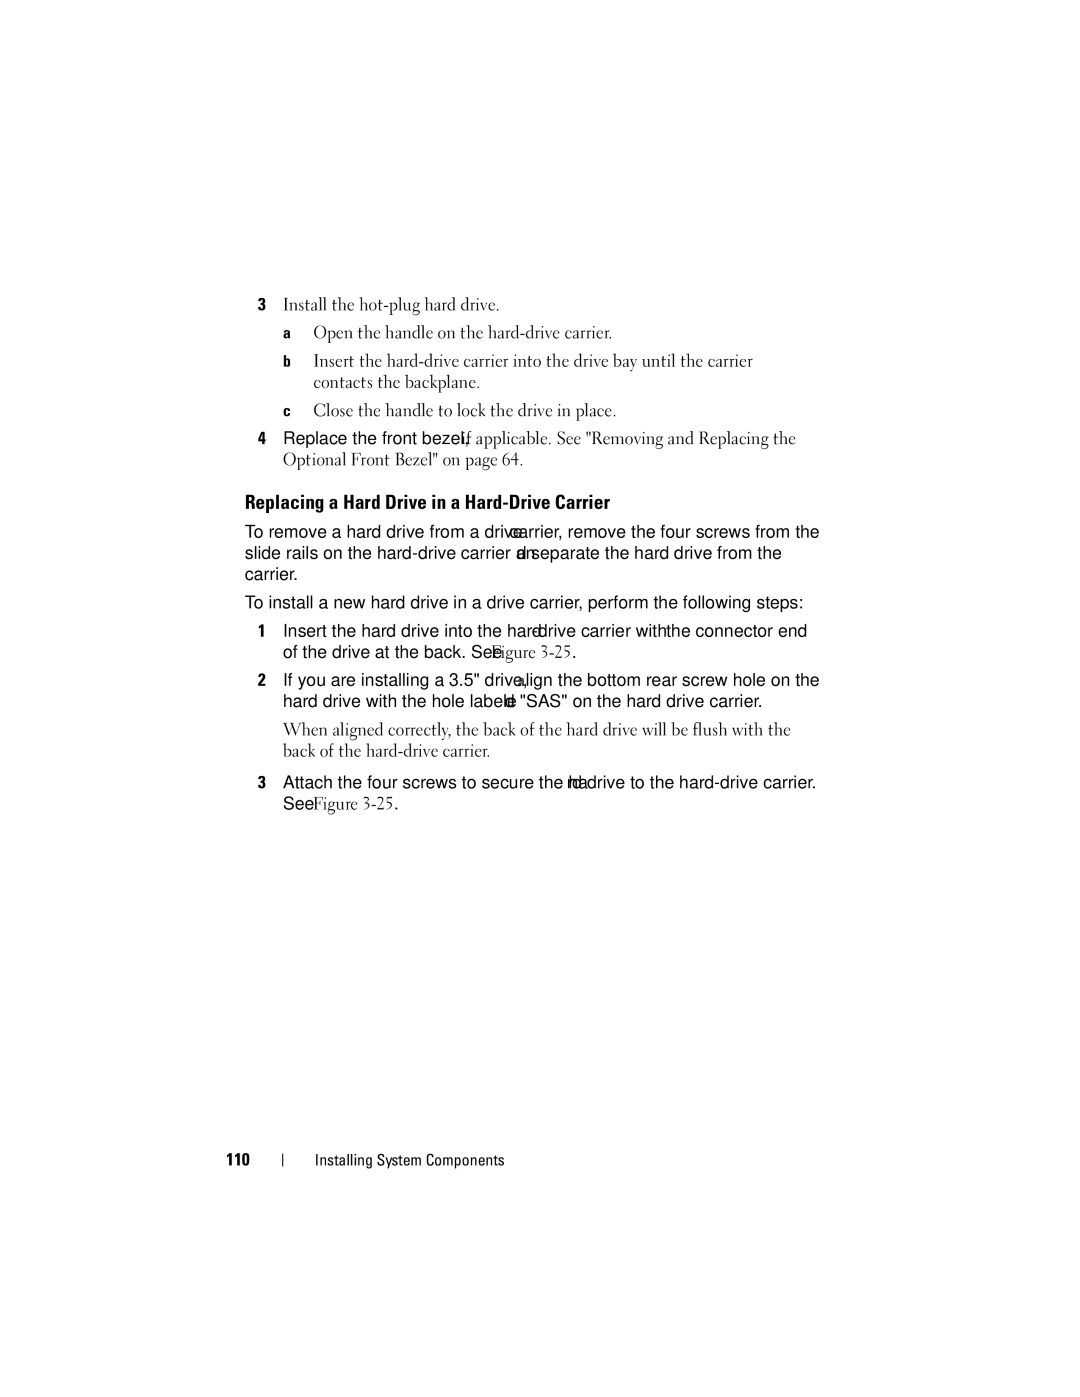
Installing a Hot-Plug Hard Drive
109
Replacing a Hard Drive in a Hard-Drive Carrier
111
SAS Controller Cards
Removing a SAS Controller Card
Installing a SAS Controller Card
Internalstorage
SAS RAID controller card
Installing the SAS RAID Controller Card Battery
113
Connecting an External SAS Tape Drive
Connecting an External Fibre Channel Storage Device
System battery is a 3.0-volt V, coin-cell battery
System Battery
Replacing the System Battery
115
27. Replacing the System Battery
116
117
Control Panel Assembly Service-Only Procedure
Removing the Control Panel
Installing the Control Panel
119
Chassis Intrusion Switch Service-Only Procedure
Removing the Chassis Intrusion Switch
Installing the Chassis Intrusion Switch
121
SAS Backplane Service-Only Procedure
Removing the SAS Backplane
123
Backplane power cable
124
125
Installing a SAS Backplane
Installation alignment slot
Peripheral Interposer Board
Removing a Peripheral Interposer Board
127
128
Retention tab
129
Install the peripheral interposer board
Replacing a Peripheral Interposer Board
Fan Interposer Board Service-Only Procedure
Removing a Fan Interposer Board
Tabs Slots
Installing a Fan Interposer Board
131
System Board Service-Only Procedure
Removing the System Board
133
Retention hook
Lift the system board out of the chassis
134
Installing the System Board
135
Installing System Components
137
Power Distribution Board Service-Only Procedure
Removing the Power Distribution Board
Installing the Power Distribution Board
Screws Retention tabs
139
Processor Expansion Module Board Service- Only Procedure
Removing the PEM Board
Replacing the PEM Board
141
142
143
Safety First-For You and Your System
Start-Up Routine
Start-Up Routine Indications Look/listen for Action
Checking the Equipment
Checking Basic Power Problems
Troubleshooting External Connections
144
Problem
Troubleshooting the Video Subsystem
Monitor is not working properly Video memory is faulty
145
Troubleshooting the Keyboard or Mouse
146
147
Troubleshooting Serial I/O Problems
Troubleshooting a Serial I/O Device
Troubleshooting a USB Device
149
150
151
Troubleshooting a NIC
NIC cannot communicate with network
Liquid spilled on the system Excessive humidity
Troubleshooting a Wet System
Troubleshooting a Damaged System
System was dropped or damaged 152
Troubleshooting the System Battery
153
Troubleshooting Power Supplies
155
Troubleshooting System Cooling Problems
Troubleshooting a Fan
Troubleshooting System Memory
157
Troubleshooting an Optical Drive
159
Troubleshooting a Hard Drive
Action Troubleshooting Your System
Troubleshooting Your System
Troubleshooting a SAS Controller or SAS RAID Controller
161
Action
Troubleshooting an External SAS Tape Drive
163
Troubleshooting Expansion Cards
Troubleshooting the Microprocessors
165
Action
Using Dell PowerEdge Diagnostics
System Diagnostics Features
System Diagnostics Testing Options
When to Use the System Diagnostics
Running the System Diagnostics
Selecting Diagnostics Options
Using the Custom Test Options
Selecting Devices for Testing
169
Viewing Information and Results
System Board Jumper Settings
System Board Jumpers
System Board Connectors
System Board Connectors
173
174
Processor 4 socket CONNJn Riser card connector
Processor Expansion Module Board Connectors
Connector Label Description
Processor 3 socket Jumpers and Connectors
Installation alignment slot Power SAS a
SAS Backplane Board Connectors
Power
176
177
Backplane power
SAS 2.5-Inch Peripheral Interposer Board
178
Getting Help
Contacting Dell
179
180
181
Amperes AC Alternating current
182
Celsius
183
184
185
186
187
188
189
TCP/IP Transmission Control Protocol/Internet Protocol
System diskette See bootable diskette System memory See RAM
190
191
192
193
Index
Index
Microprocessor See processor
Back-panel connectors
195
Cooling shroud, 69 cover, 65 expansion card
197
System setup program entering
Serial communications options