T1700 specifications
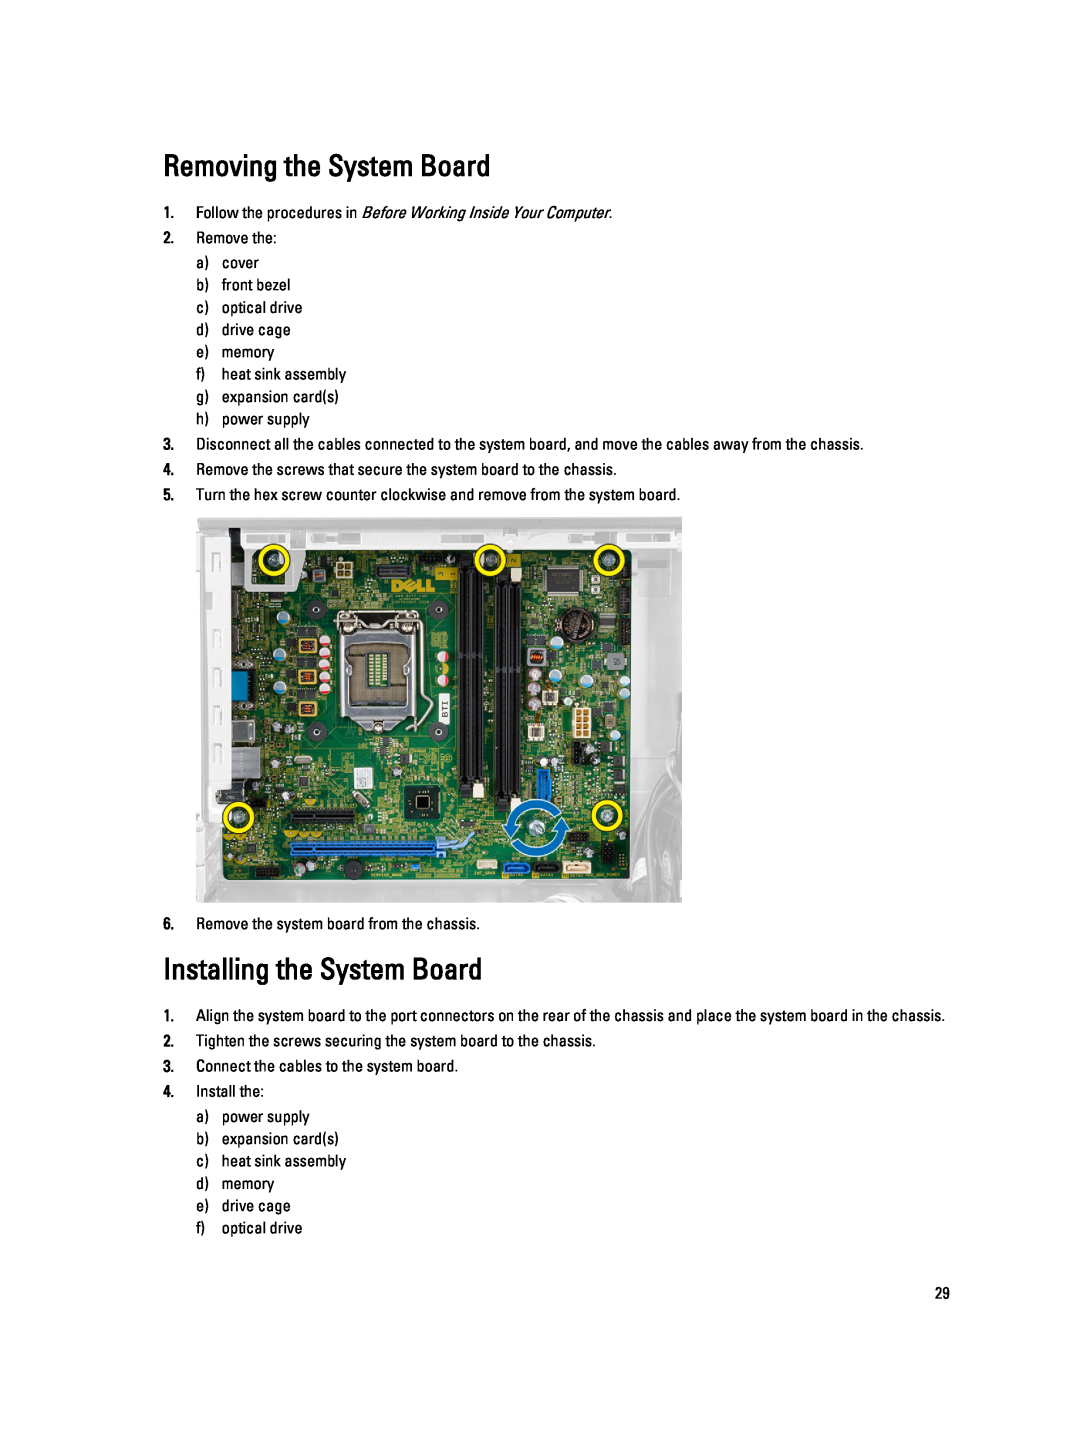
The Dell T1700 is a versatile workstation designed for professionals in need of robust performance and reliability. Positioned as an entry-level workstation, the T1700 caters to a range of industries, including engineering, architecture, and media production. It is engineered to provide powerful processing capabilities, making it suitable for demanding applications.One of the primary features of the Dell T1700 is its support for Intel's latest processors. The workstation can be configured with quad-core and six-core Intel Xeon processors, offering exceptional computational power for multitasking and resource-intensive applications. This capability allows professionals to handle complex datasets and run simulations efficiently, ensuring productivity remains high.
Storage is another significant aspect of the Dell T1700. It offers multiple storage options, including solid-state drives (SSDs) and traditional hard disk drives (HDDs). This flexibility enables users to choose configurations that align with their performance needs and budget. The ability to incorporate both SSDs for speed and larger capacity HDDs for data storage is particularly beneficial for users working with large files, such as high-resolution images and 3D models.
In terms of graphics, the T1700 can be equipped with professional-grade graphics cards from NVIDIA and AMD, enhancing its capability to handle graphics-intensive tasks. These graphics options make the workstation suitable for CAD applications, video editing, and 3D rendering, where high-quality visuals and rendering speed are critical to success.
Connectivity is another hallmark of the Dell T1700. The workstation features several USB ports, including USB 3.0, and multiple expansion slots that allow users to customize their systems based on specific needs. This level of expandability ensures that the T1700 can adapt over time, accommodating new hardware and technologies as they emerge.
Moreover, the Dell T1700 is designed with maintainability in mind. Its tool-less chassis allows for easy upgrades and replacements of components, streamlining the maintenance process. This feature is especially important in professional environments where downtime needs to be minimized.
Overall, the Dell T1700 stands out as a reliable, flexible, and powerful workstation. Its robust performance, extensive configuration options, and user-friendly design make it an ideal choice for professionals seeking to enhance their workflow and tackle demanding projects with confidence.

