GENERAL1

1.6 - INSTALLATION

1)Check that the appliance has not suffered any damage due to transportation.

2)Place the appliance on a flat, stable surface out of the reach of children (the glass door becomes very hot while the oven is in operation).

3)Before using this appliance, move it two to four inches away from the wall or any object on the counter top. Remove any object that may have been placed on top of the appliance. Do not use on surfaces where heat may be a problem.

4)Initial start-up operation may result in minimal smell and smoke (about 15 min.). This is normal. It is due to the protective substance on heating elements which protects them from salt effects during shipping from the factory.

5)When a function is started, the pilot light B turns on.

1.7 - IMPORTANT TIPS AND TECHNIQUES

POSITIONING THE WIRE SHELVES:

There are two slots on the sides of the oven. Slide one or both shelves into these positions. The upper shelf can be turned over, allowing three different levels. The recipes will suggest the best arrangement (1 to 3; see page 7) where necessary for best results. The shelf reversed in slot 1 must be used only with the dehydrator kit L (optional).

ACCESSORIES AND UTENSILS

The shallow pan H is designed to permit the circulating heat to surround the food (except for the bottom sur- face) more effectively. Use it as you would any shallow baking or roasting pan. Other utensils you own can be used provided that an inch or so of space remains open to allow circulation of the fan-forced heat. Casserole covers should not be used and glass ovenware should not be placed closer than two inches from the upper heating element.

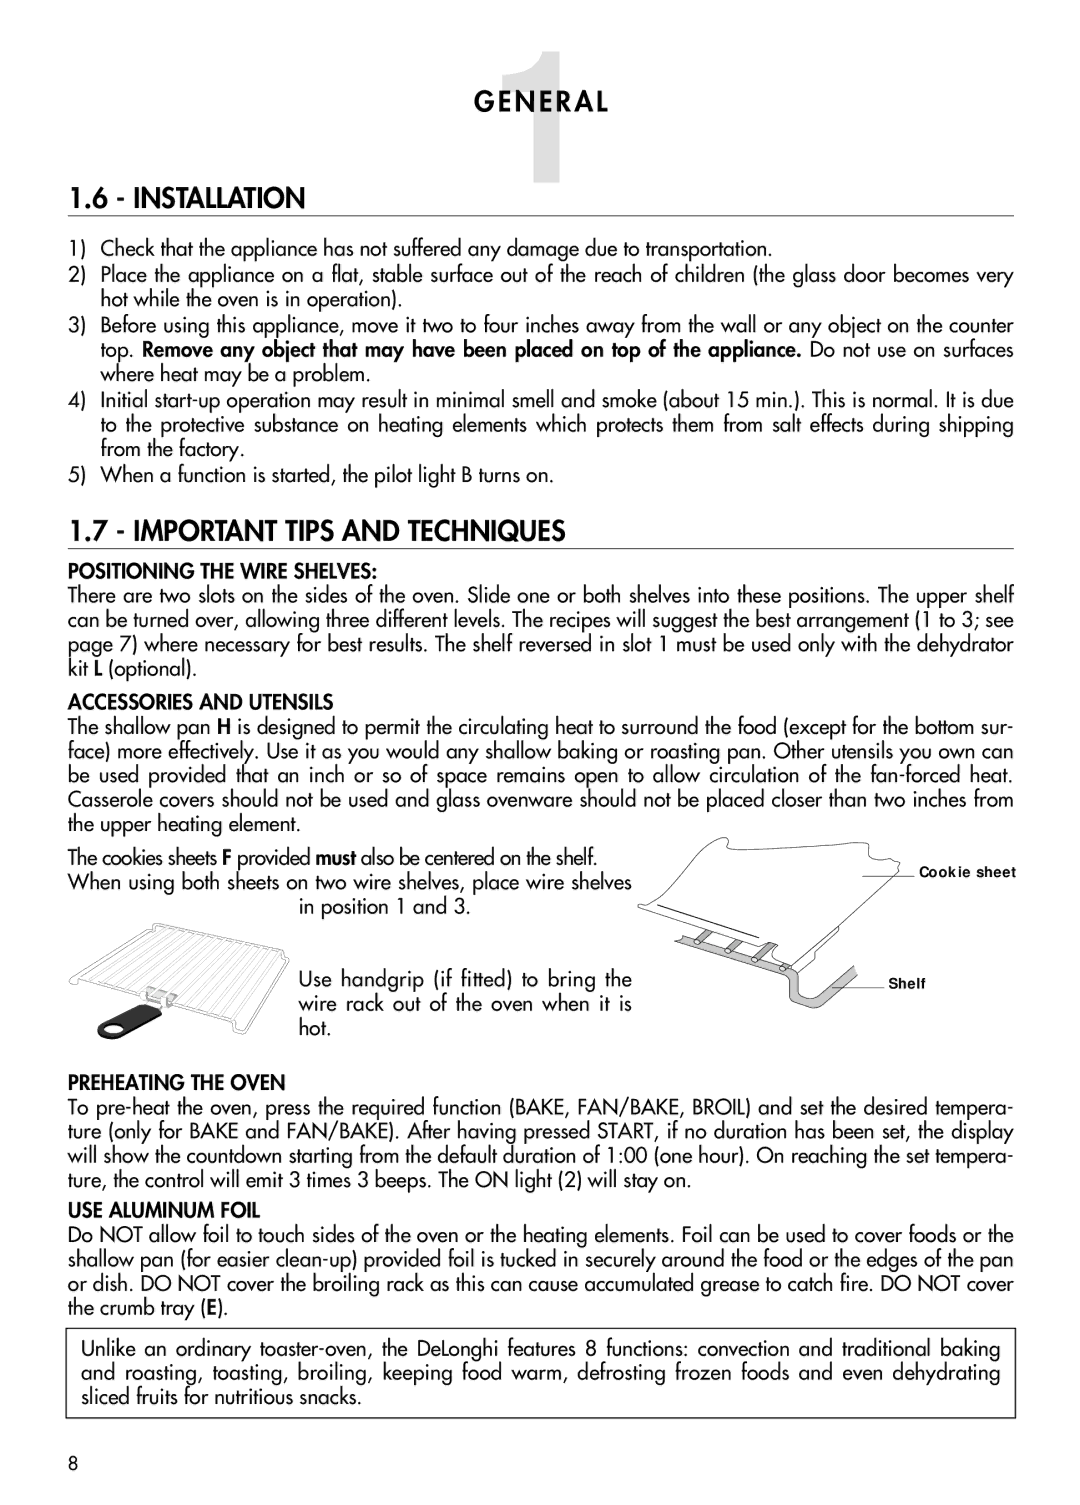
The cookies sheets F provided must also be centered on the shelf. When using both sheets on two wire shelves, place wire shelves

in position 1 and 3.

Use handgrip (if fitted) to bring the wire rack out of the oven when it is hot.

Cookie sheet

Shelf

PREHEATING THE OVEN

To pre-heat the oven, press the required function (BAKE, FAN/BAKE, BROIL) and set the desired tempera- ture (only for BAKE and FAN/BAKE). After having pressed START, if no duration has been set, the display will show the countdown starting from the default duration of 1:00 (one hour). On reaching the set tempera- ture, the control will emit 3 times 3 beeps. The ON light (2) will stay on.

USE ALUMINUM FOIL

Do NOT allow foil to touch sides of the oven or the heating elements. Foil can be used to cover foods or the shallow pan (for easier clean-up) provided foil is tucked in securely around the food or the edges of the pan or dish. DO NOT cover the broiling rack as this can cause accumulated grease to catch fire. DO NOT cover the crumb tray (E).

Unlike an ordinary toaster-oven, the DeLonghi features 8 functions: convection and traditional baking and roasting, toasting, broiling, keeping food warm, defrosting frozen foods and even dehydrating sliced fruits for nutritious snacks.

8

Page 8
Image 8
DeLonghi AD699 manual GENERAL1 Installation, Important Tips and Techniques

AD699 specifications

The DeLonghi AD699 is an advanced dehumidifier designed to enhance indoor air quality while ensuring comfort and convenience. This versatile appliance is ideal for various living spaces, including basements, laundry rooms, and other areas prone to excess humidity.

One of the standout features of the DeLonghi AD699 is its impressive moisture removal capability. It can extract up to 70 pints of moisture per day, making it suitable for large areas up to 4,500 square feet. This powerful performance is essential for preventing mold and mildew growth, which can lead to health issues and damage to your home.

The AD699 utilizes a patented "Low-Temperature Operation" technology, allowing the unit to function effectively even in cooler environments. This feature sets it apart from many other dehumidifiers that struggle in lower temperatures. The unit operates seamlessly at temperatures as low as 41°F, making it an excellent choice for spaces that may experience dips in temperature, such as basements.

Another key characteristic of the DeLonghi AD699 is its user-friendly design. The appliance is equipped with a large, easy-to-read LED display and electronic controls that make adjusting settings simple and intuitive. You can easily set your desired humidity level, which the unit will then maintain automatically. Additionally, the built-in hygrometer provides real-time humidity readings, allowing you to monitor conditions effortlessly.

The AD699 also features a continuous drainage option, allowing for uninterrupted operation. With its included drainage hose, the unit can be configured to drain water directly into a sump pump or a floor drain. This eliminates the need for frequent emptying of the water tank, which can be a significant advantage for busy households.

Furthermore, the DeLonghi AD699 operates quietly, making it a suitable addition to any living space without creating an uncomfortable noise level. The unit’s energy-efficient design ensures that you can maintain ideal humidity levels without incurring high energy costs, as it is Energy Star certified.

In summary, the DeLonghi AD699 is an efficient and user-friendly dehumidifier that combines powerful moisture removal with innovative technologies. Its low-temperature operation, continuous drainage capabilities, and quiet performance make it an ideal solution for maintaining a healthy and comfortable indoor environment. Whether battling dampness in a basement or maintaining ideal living conditions, the DeLonghi AD699 stands out as a reliable choice in home humidity control.