
ECAM23450 SL specifications
The DeLonghi ECAM23450 SL is a premium fully automatic coffee machine designed to elevate the coffee brewing experience at home or in a small office. This compact and stylish machine combines advanced technologies with user-friendly features, making it a versatile choice for coffee enthusiasts.One of the standout features of the ECAM23450 SL is the "Bean to Cup" system. This integrated system ensures that the coffee produced starts with freshly ground beans, maximizing flavors and aromas. The machine comes equipped with a high-quality integrated burr grinder that allows users to adjust the grind size according to their preferences, ensuring a perfect cup every time.
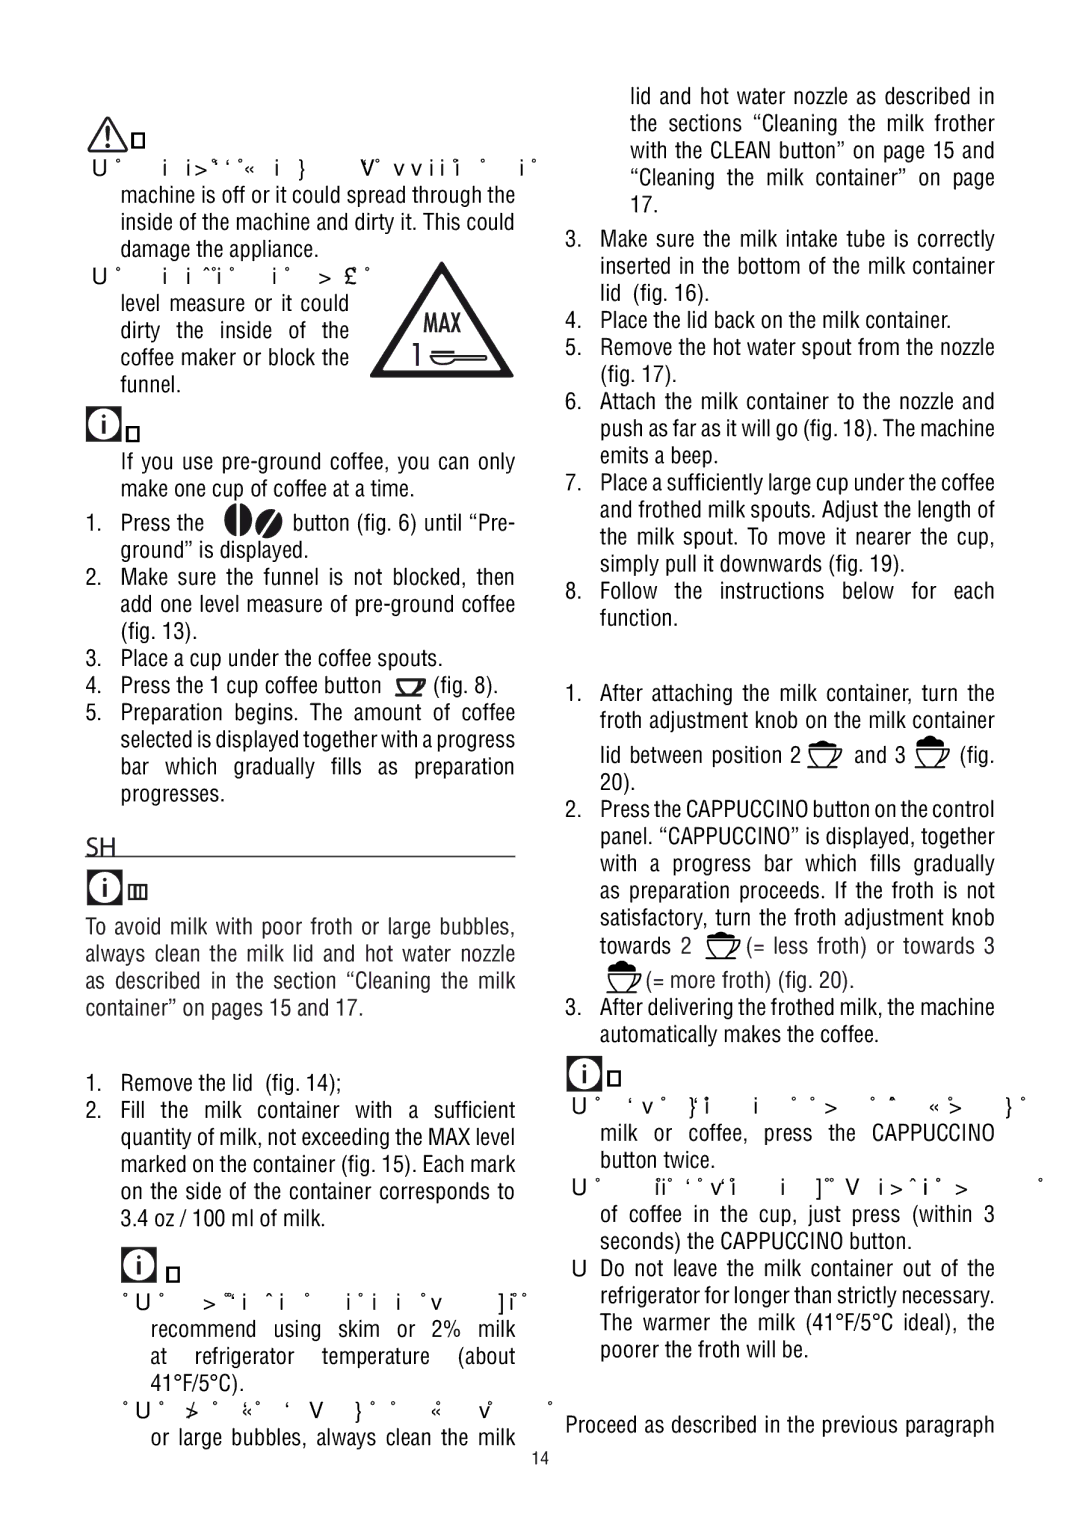
The ECAM23450 SL also boasts a dual heating system, which consists of a boiler for brewing coffee and a separate boiler for steaming milk. This means users can quickly switch between brewing espresso and frothing milk, making it ideal for preparing a variety of coffee drinks such as lattes, cappuccinos, and macchiatos. The patented "LatteCrema" system takes milk frothing to the next level, creating a rich and creamy froth that enhances the overall coffee experience.
Another notable characteristic of this machine is its intuitive control panel, featuring a clear LCD display that simplifies the selection of coffee preferences. Users can customize their beverages by adjusting the strength, size, and temperature of the coffee, allowing for personalized results with every cup. The machine also offers a "My Coffee" function that memorizes individual settings, making it easy to replicate favorite drinks.
Maintenance is made easy with the ECAM23450 SL. It features an automatic cleaning and descaling program, along with a removable brew unit that can be washed under running water. The water tank has a generous capacity, reducing the frequency of refills and ensuring that users have plenty of water for multiple servings.
In terms of design, the DeLonghi ECAM23450 SL features a sleek and modern look, crafted with high-quality materials that complement any kitchen decor. Its compact size makes it an excellent choice for those with limited counter space.
Overall, the DeLonghi ECAM23450 SL is a feature-rich, reliable, and stylish coffee machine that provides an exceptional brewing experience, making it a perfect addition for coffee lovers who appreciate convenience and quality.