FIREPLACE INSTALLATION

20

Checking Gas Connections (Cont.)


Removing/Replacing Glass Door


FIREPLACE INSTALLATION

Continued

Test Pressures Equal To or Less Than 1/2 PSIG (3.5 kPa)

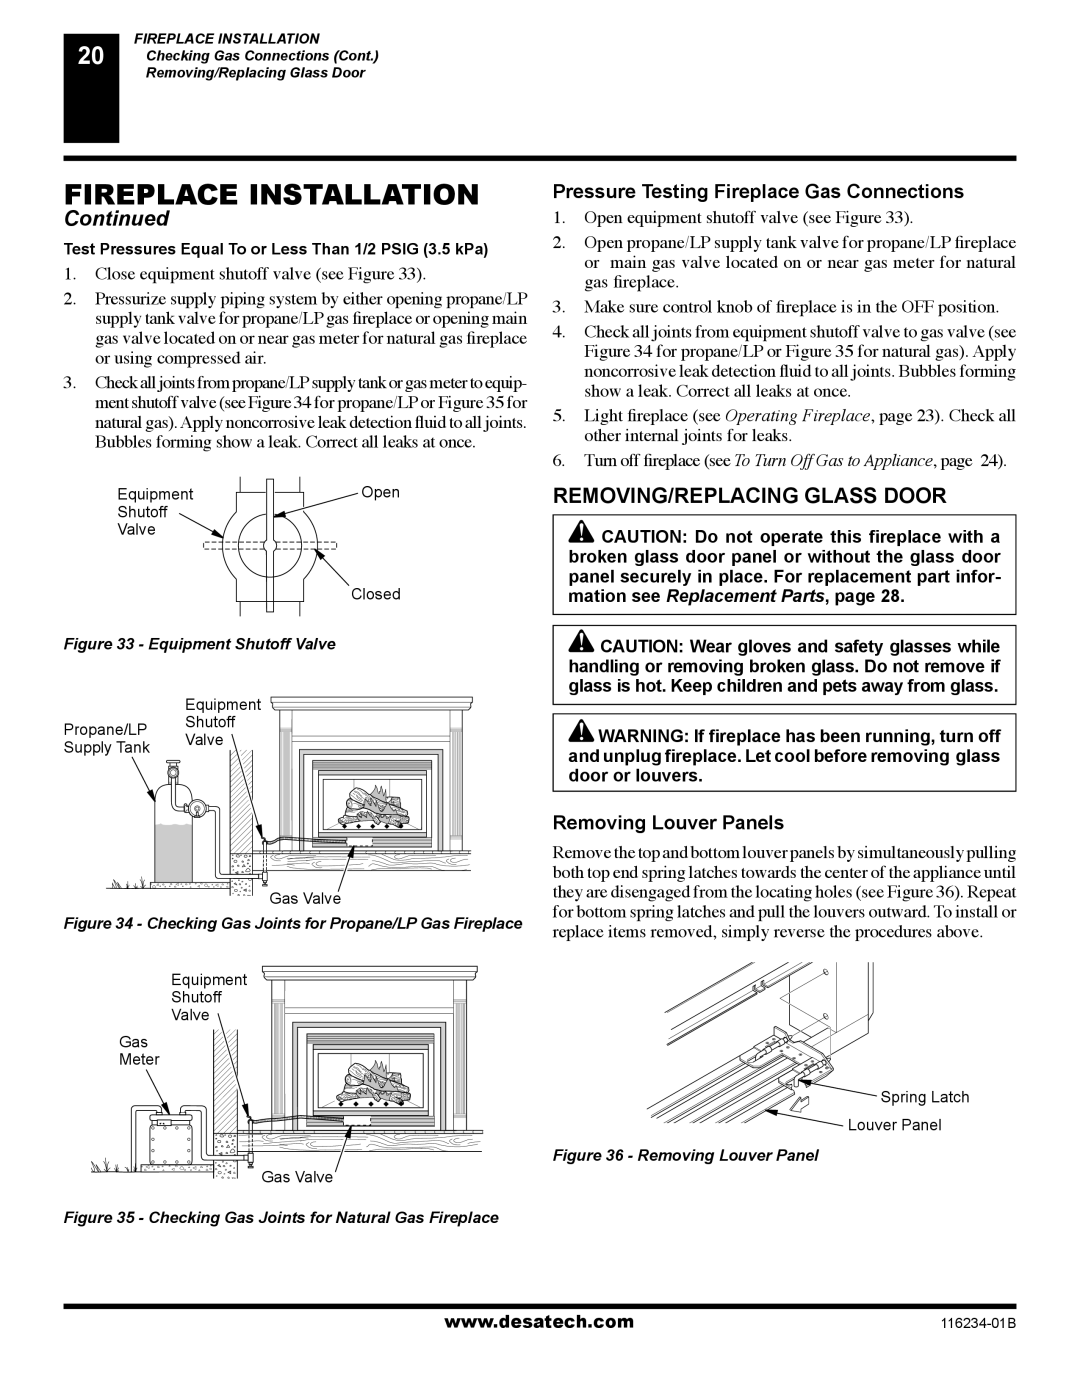
1.Close equipment shutoff valve (see Figure 33).

2.Pressurize supply piping system by either opening propane/LP supply tank valve for propane/LP gas fireplace or opening main gas valve located on or near gas meter for natural gas fireplace or using compressed air.

3.Check all joints from propane/LP supply tank or gas meter to equip- ment shutoff valve (see Figure 34 for propane/LP or Figure 35 for natural gas). Apply noncorrosive leak detection fluid to all joints.

Bubbles forming show a leak. Correct all leaks at once.

Equipment

Open

Shutoff


Valve


Closed

Figure 33 - Equipment Shutoff Valve


Equipment


Propane/LP

Shutoff


Valve


Supply Tank


Gas Valve


Figure 34 - Checking Gas Joints for Propane/LP Gas Fireplace

Pressure Testing Fireplace Gas Connections

1.Open equipment shutoff valve (see Figure 33).

2.Open propane/LP supply tank valve for propane/LP fireplace or main gas valve located on or near gas meter for natural gas fireplace.

3.Make sure control knob of fireplace is in the OFF position.

4.Check all joints from equipment shutoff valve to gas valve (see Figure 34 for propane/LP or Figure 35 for natural gas). Apply noncorrosive leak detection fluid to all joints. Bubbles forming show a leak. Correct all leaks at once.

5.Light fireplace (see Operating Fireplace, page 23). Check all other internal joints for leaks.

6.Turn off fireplace (see To Turn Off Gas to Appliance, page 24).

REMOVING/REPLACING GLASS DOOR

CAUTION: Do not operate this fireplace with a broken glass door panel or without the glass door panel securely in place. For replacement part infor- mation see Replacement Parts, page 28.

CAUTION: Wear gloves and safety glasses while handling or removing broken glass. Do not remove if glass is hot. Keep children and pets away from glass.

WARNING: If fireplace has been running, turn off and unplug fireplace. Let cool before removing glass door or louvers.

Removing Louver Panels

Remove the top and bottom louver panels by simultaneously pulling both top end spring latches towards the center of the appliance until they are disengaged from the locating holes (see Figure 36). Repeat for bottom spring latches and pull the louvers outward. To install or replace items removed, simply reverse the procedures above.

Equipment

Shutoff

Valve

Gas

Meter

Gas Valve Figure 35 - Checking Gas Joints for Natural Gas Fireplace

Spring Latch

Louver Panel

Figure 36 - Removing Louver Panel

www.desatech.com

116234-01B

Page 20
Image 20
Desa (V)TC36PE REMOVING/REPLACING Glass Door, Pressure Testing Fireplace Gas Connections, Removing Louver Panels

(V)TC36NE, (V)TC36PE specifications

Desa (V)TC36NE and (V)TC36PE are advanced heating solutions designed to provide both efficiency and comfort in residential and commercial settings. These two models stand out for their innovative engineering, modern design, and user-friendly features, making them ideal choices for individuals seeking reliable temperature control.

The central feature of both models is their high-efficiency combustion systems, which optimize fuel usage to reduce environmental impact while saving on heating costs. The (V)TC36NE and (V)TC36PE are equipped with state-of-the-art burners that ensure complete combustion, resulting in clean emissions and enhanced performance. With an exceptional energy rating, these units contribute to a greener environment by minimizing the carbon footprint.

Another notable characteristic is the versatile installation options these units offer. The (V)TC36NE, designed for natural gas use, can be seamlessly integrated into existing heating systems, while the (V)TC36PE operates with propane, catering to a broader range of installation scenarios. This flexibility enables homeowners and businesses to select the model that best fits their fuel supply and heating needs.

Both models come with advanced controls that grant users precise temperature regulation. With smart technology integration, users can operate these heating units remotely via smartphone applications, allowing for personalized heating schedules and real-time monitoring. This feature not only enhances user convenience but also promotes energy efficiency by preventing energy waste.

The design of the (V)TC36NE and (V)TC36PE models is another highlight, showcasing a sleek and contemporary aesthetic that complements various interior decors. The units are constructed with durable materials, ensuring longevity and reliability even under demanding conditions. Furthermore, their quiet operation enhances the overall comfort of the environment, making these units suitable for bedrooms, offices, and other noise-sensitive areas.

In summary, the Desa (V)TC36NE and (V)TC36PE models merge innovative technology with practical design and efficiency. With their advanced combustion systems, versatile installations, smart controls, and stylish appearance, they offer an ideal heating solution for modern living spaces. Homeowners and businesses looking to enhance their heating performance while maintaining environmental consciousness can find a compatible option in these exceptional models.