DW744 specifications
The DeWalt DW744 is a highly regarded portable table saw that stands out in the woodworking and construction industries, known for its robust design and user-friendly features. This saw is ideal for both professional contractors and DIY enthusiasts, making it a versatile addition to any toolkit.One of the main features of the DW744 is its powerful 15-amp motor, which delivers an impressive 4,800 RPM. This robust motor allows the saw to handle a variety of materials with ease, ensuring smooth cuts in both softwood and hardwood. The motor is coupled with a 10-inch carbide blade, providing a cutting capacity of up to 24 inches to the right and 12 inches to the left. This expansive cutting capacity makes it suitable for handling a wide range of projects, from framing to cabinetry.
The DW744 employs a rolling stand, which is designed for easy transport and setup. This feature is particularly valuable for contractors who frequently move from job site to job site. The stand is sturdy yet lightweight, allowing quick assembly and disassembly without compromising stability. Additionally, the saw's compact design offers an efficient footprint that can fit into tighter spaces without difficulty.
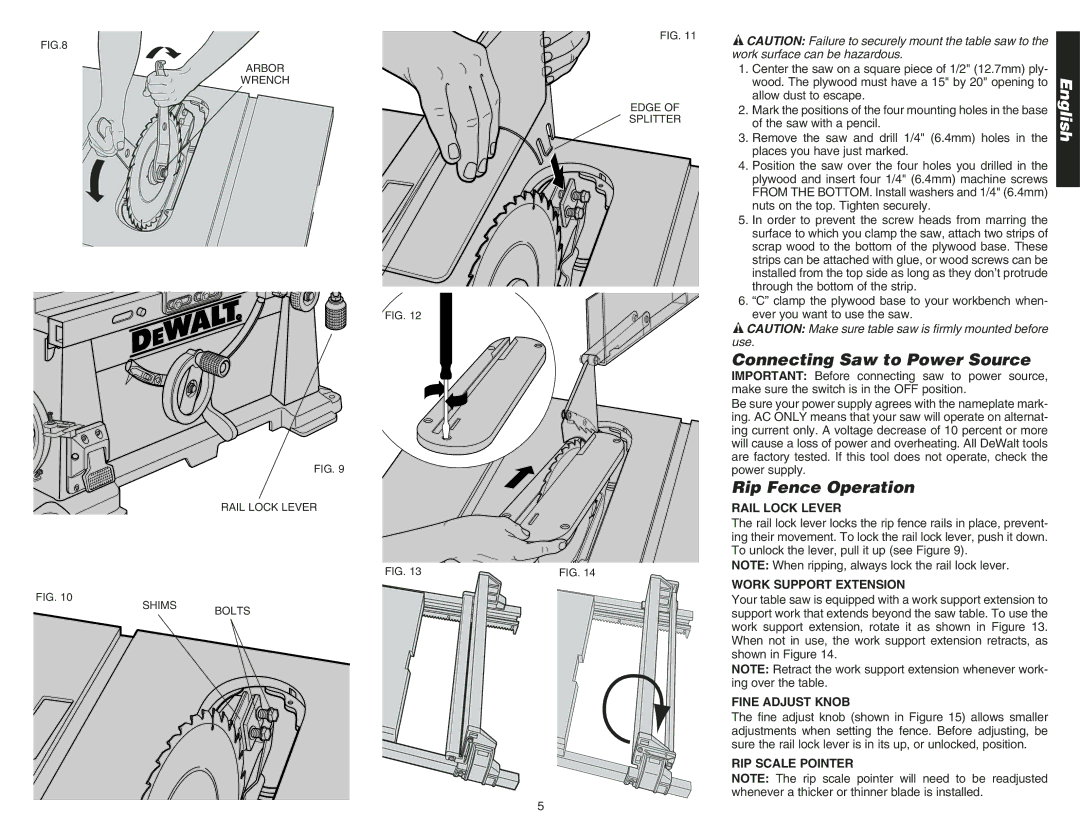
One of the standout technologies integrated into the DW744 is the Rack and Pinion Blade Positioning System. This innovative system enables precision adjustments of the blade height and angle, ensuring accurate cuts every time. Furthermore, the saw includes a dust collection port that helps maintain a cleaner workspace by connecting to a vacuum for efficient dust management. This feature not only enhances visibility during cutting but also contributes to a healthier working environment.
Safety is paramount in the design of the DW744, which includes several features aimed at protecting the user. The saw is equipped with a sturdy blade guard and anti-kickback pawls, reducing the risk of accidents. The power switch is conveniently positioned and designed to minimize accidental startup, enhancing the overall safety of the tool.
In summary, the DeWalt DW744 is distinguished by its powerful motor, extensive cutting capacity, portability, and user-friendly features. With innovations like the Rack and Pinion Blade Positioning System, robust safety features, and effective dust control, this portable table saw caters to the needs of a diverse range of users, making it a top choice in the market. Whether for professional use or home projects, the DW744 promises reliable performance and durability.

