392736-01,00,DW872 6/29/00 9:00 AM Page 8
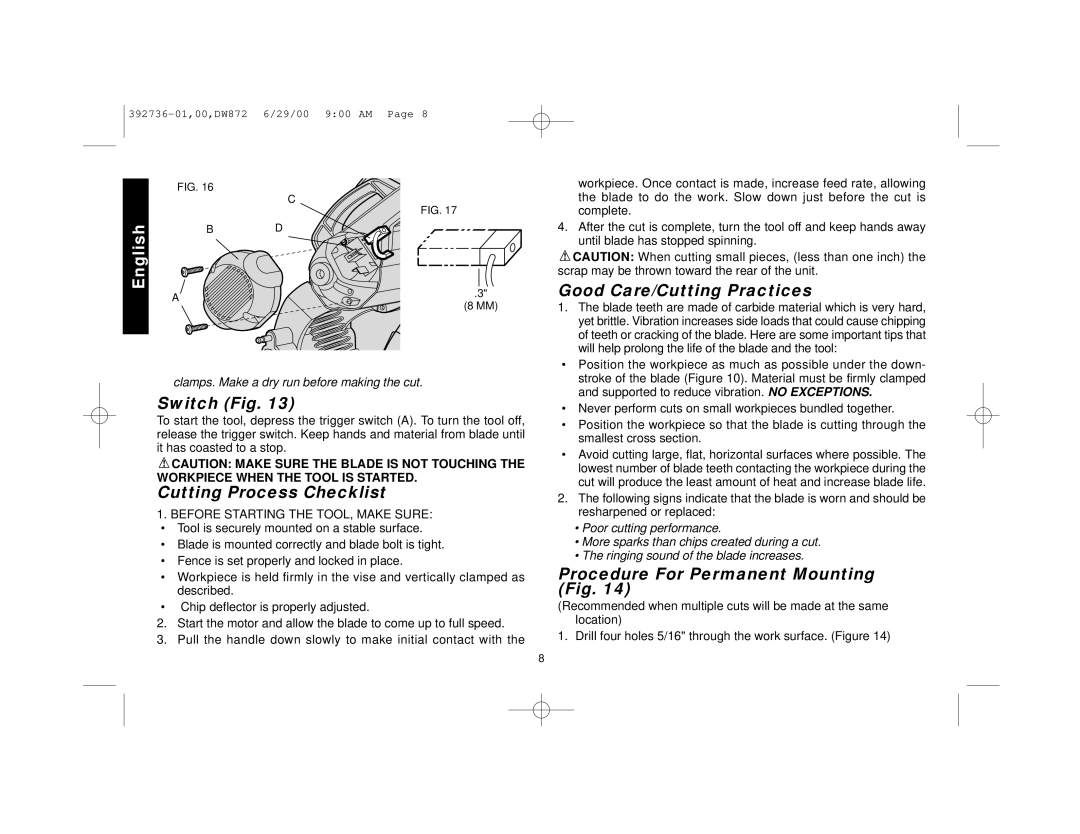
FIG. 16
C
FIG. 17
English | B | D |
|
A | .3" | |
(8 MM) | ||
|
clamps. Make a dry run before making the cut.
Switch (Fig. 13)
To start the tool, depress the trigger switch (A). To turn the tool off, release the trigger switch. Keep hands and material from blade until it has coasted to a stop.
![]() CAUTION: MAKE SURE THE BLADE IS NOT TOUCHING THE WORKPIECE WHEN THE TOOL IS STARTED.
CAUTION: MAKE SURE THE BLADE IS NOT TOUCHING THE WORKPIECE WHEN THE TOOL IS STARTED.
Cutting Process Checklist
1.BEFORE STARTING THE TOOL, MAKE SURE:
• Tool is securely mounted on a stable surface.
• Blade is mounted correctly and blade bolt is tight.
• Fence is set properly and locked in place.
•Workpiece is held firmly in the vise and vertically clamped as described.
•Chip deflector is properly adjusted.
2.Start the motor and allow the blade to come up to full speed.
3.Pull the handle down slowly to make initial contact with the
8
workpiece. Once contact is made, increase feed rate, allowing the blade to do the work. Slow down just before the cut is complete.
4.After the cut is complete, turn the tool off and keep hands away until blade has stopped spinning.
![]() CAUTION: When cutting small pieces, (less than one inch) the scrap may be thrown toward the rear of the unit.
CAUTION: When cutting small pieces, (less than one inch) the scrap may be thrown toward the rear of the unit.
Good Care/Cutting Practices
1.The blade teeth are made of carbide material which is very hard, yet brittle. Vibration increases side loads that could cause chipping of teeth or cracking of the blade. Here are some important tips that will help prolong the life of the blade and the tool:
•Position the workpiece as much as possible under the down- stroke of the blade (Figure 10). Material must be firmly clamped and supported to reduce vibration. NO EXCEPTIONS.
•Never perform cuts on small workpieces bundled together.
•Position the workpiece so that the blade is cutting through the smallest cross section.
•Avoid cutting large, flat, horizontal surfaces where possible. The lowest number of blade teeth contacting the workpiece during the cut will produce the least amount of heat and increase blade life.
2.The following signs indicate that the blade is worn and should be resharpened or replaced:
•Poor cutting performance.
•More sparks than chips created during a cut.
•The ringing sound of the blade increases.
Procedure For Permanent Mounting (Fig. 14)
(Recommended when multiple cuts will be made at the same location)
1. Drill four holes 5/16" through the work surface. (Figure 14)
