CAUTION: Do not operate your tool on a current on which the voltage is not within correct limits. Do not operate tools rated AC only on DC current. To do so may seriously damage the tool.
1.Place the machine with the front part of the saw base on the workpiece.
2.Press the on/off switch to turn the saw on.
3.Push the plunge trigger (A) forward, press the saw down to set cutting depth and push it forward into cutting direction.
Push the saw forward at a speed which allows the blade to cut without laboring. Hardness and toughness can vary even in the same piece of material, and knotty or damp sections can put a heavy load on the saw. When this happens, push the saw more slowly, but hard enough to keep it working without much decrease in speed. Forcing the saw can cause rough cuts, inaccuracy, kickback and
Should the cut begin to go off the line, DO NOT try to force it back. Release the switch and allow blade to come to a complete stop, then withdraw the saw, realign, and start a new cut slightly inside the wrong one.
In any event, withdraw the saw if you must shift the cut. Forcing a correction inside the cut can stall the saw and lead to kickback. IF SAW STALLS, RELEASE THE TRIGGER, ALLOW THE BLADE TO COME TO A COMPLETE STOP, AND BACK THE SAW UNTIL IT IS LOOSE. BE SURE BLADE IS STRAIGHT IN THE CUT AND CLEAR OF THE CUTTING EDGE BEFORE RESTARTING.
As you finish a cut, release the trigger and allow the blade to stop before lifting the saw from the work. As you lift the saw, the spring- tensioned guard will automatically close
around the blade. Remember the blade is exposed until this occurs, never reach under the work for any reason whatsoever.
Always use a track, fence or straight edge guide when ripping.
11
NOTE: When cutting thin strips, be careful to ensure that the narrow strips do not feed up into the inside of the blade enclosure. NOTE: The tracks, available in different lengths, allow for precise, clean cuts and simultaneously protect the workpiece surface against damage.
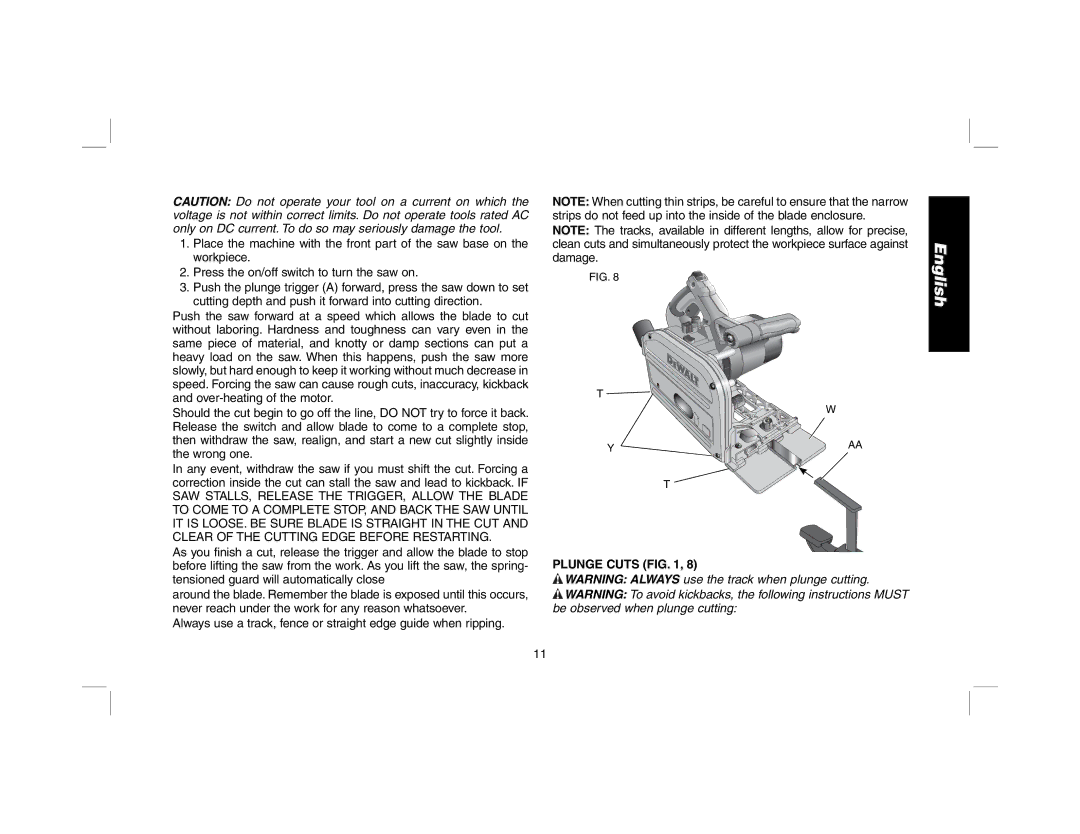
FIG. 8
T ![]()
W
Y | AA |
T
PLUNGE CUTS (FIG. 1, 8)
![]() WARNING: ALWAYS use the track when plunge cutting.
WARNING: ALWAYS use the track when plunge cutting. ![]() WARNING: To avoid kickbacks, the following instructions MUST
WARNING: To avoid kickbacks, the following instructions MUST
be observed when plunge cutting:
English