Water Valve and Supply Hose(s)
1.Connect the water source hose to the water supply fitting.
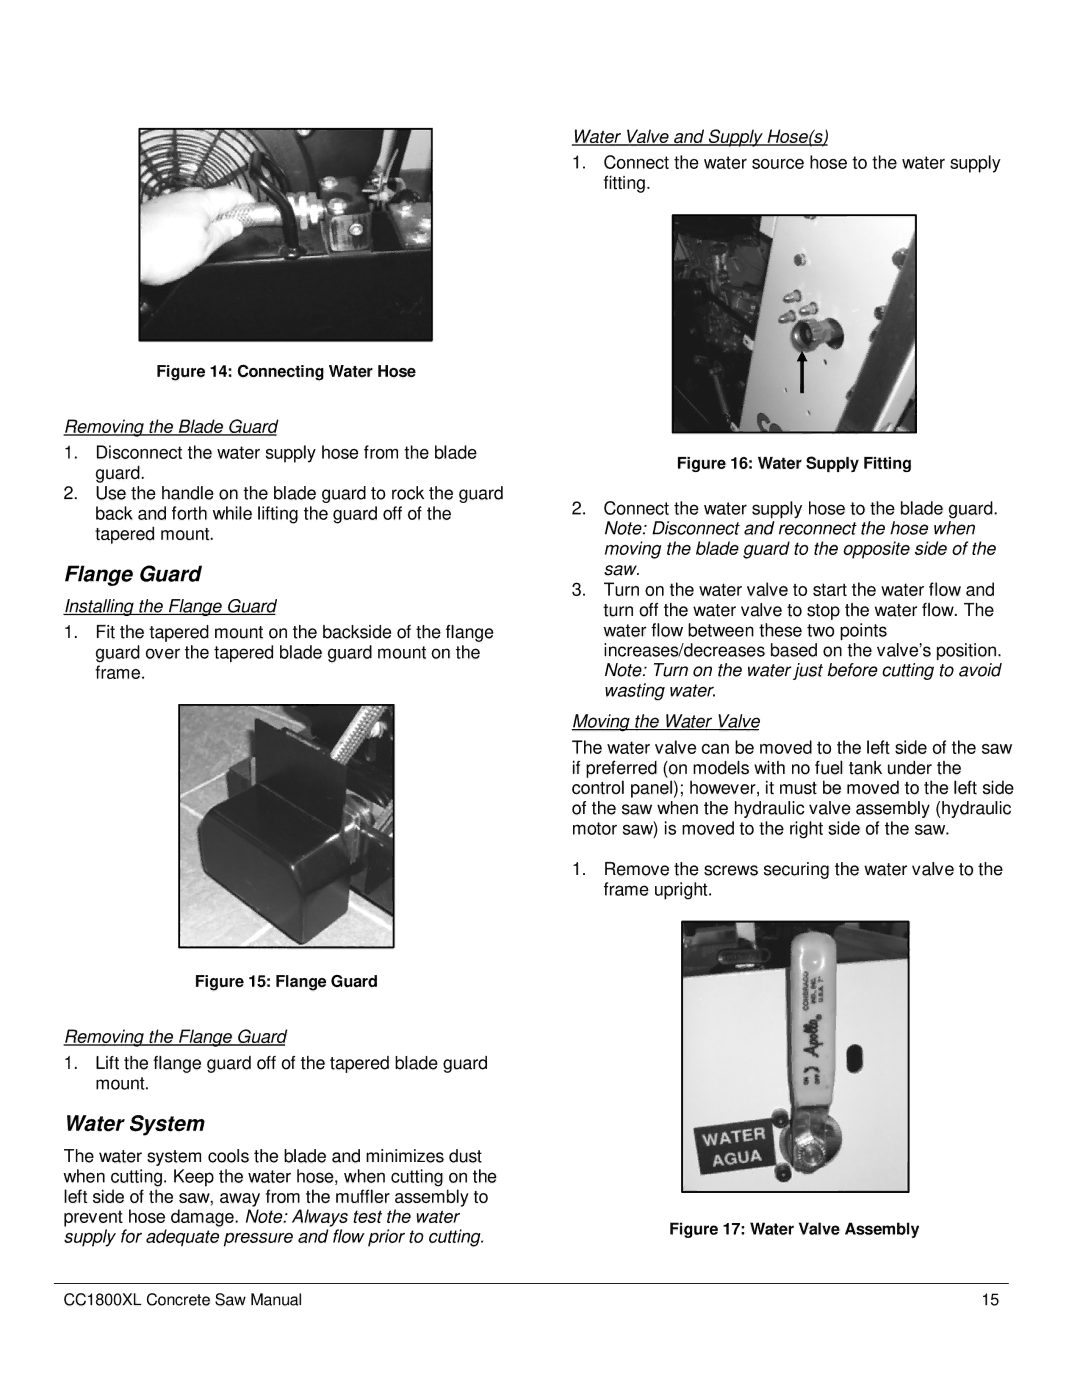
Figure 14: Connecting Water Hose
Removing the Blade Guard
1.Disconnect the water supply hose from the blade guard.
2.Use the handle on the blade guard to rock the guard back and forth while lifting the guard off of the tapered mount.
Flange Guard
Installing the Flange Guard
1.Fit the tapered mount on the backside of the flange guard over the tapered blade guard mount on the frame.
Figure 16: Water Supply Fitting
2.Connect the water supply hose to the blade guard. Note: Disconnect and reconnect the hose when moving the blade guard to the opposite side of the saw.
3.Turn on the water valve to start the water flow and turn off the water valve to stop the water flow. The water flow between these two points increases/decreases based on the valve’s position. Note: Turn on the water just before cutting to avoid wasting water.
Moving the Water Valve
The water valve can be moved to the left side of the saw if preferred (on models with no fuel tank under the control panel); however, it must be moved to the left side of the saw when the hydraulic valve assembly (hydraulic motor saw) is moved to the right side of the saw.
1.Remove the screws securing the water valve to the frame upright.
Figure 15: Flange Guard |
| |
Removing the Flange Guard |
| |
1. Lift the flange guard off of the tapered blade guard |
| |
mount. |
| |
Water System |
| |
The water system cools the blade and minimizes dust |
| |
when cutting. Keep the water hose, when cutting on the |
| |
left side of the saw, away from the muffler assembly to |
| |
prevent hose damage. Note: Always test the water | Figure 17: Water Valve Assembly | |
supply for adequate pressure and flow prior to cutting. | ||
|
CC1800XL Concrete Saw Manual | 15 |