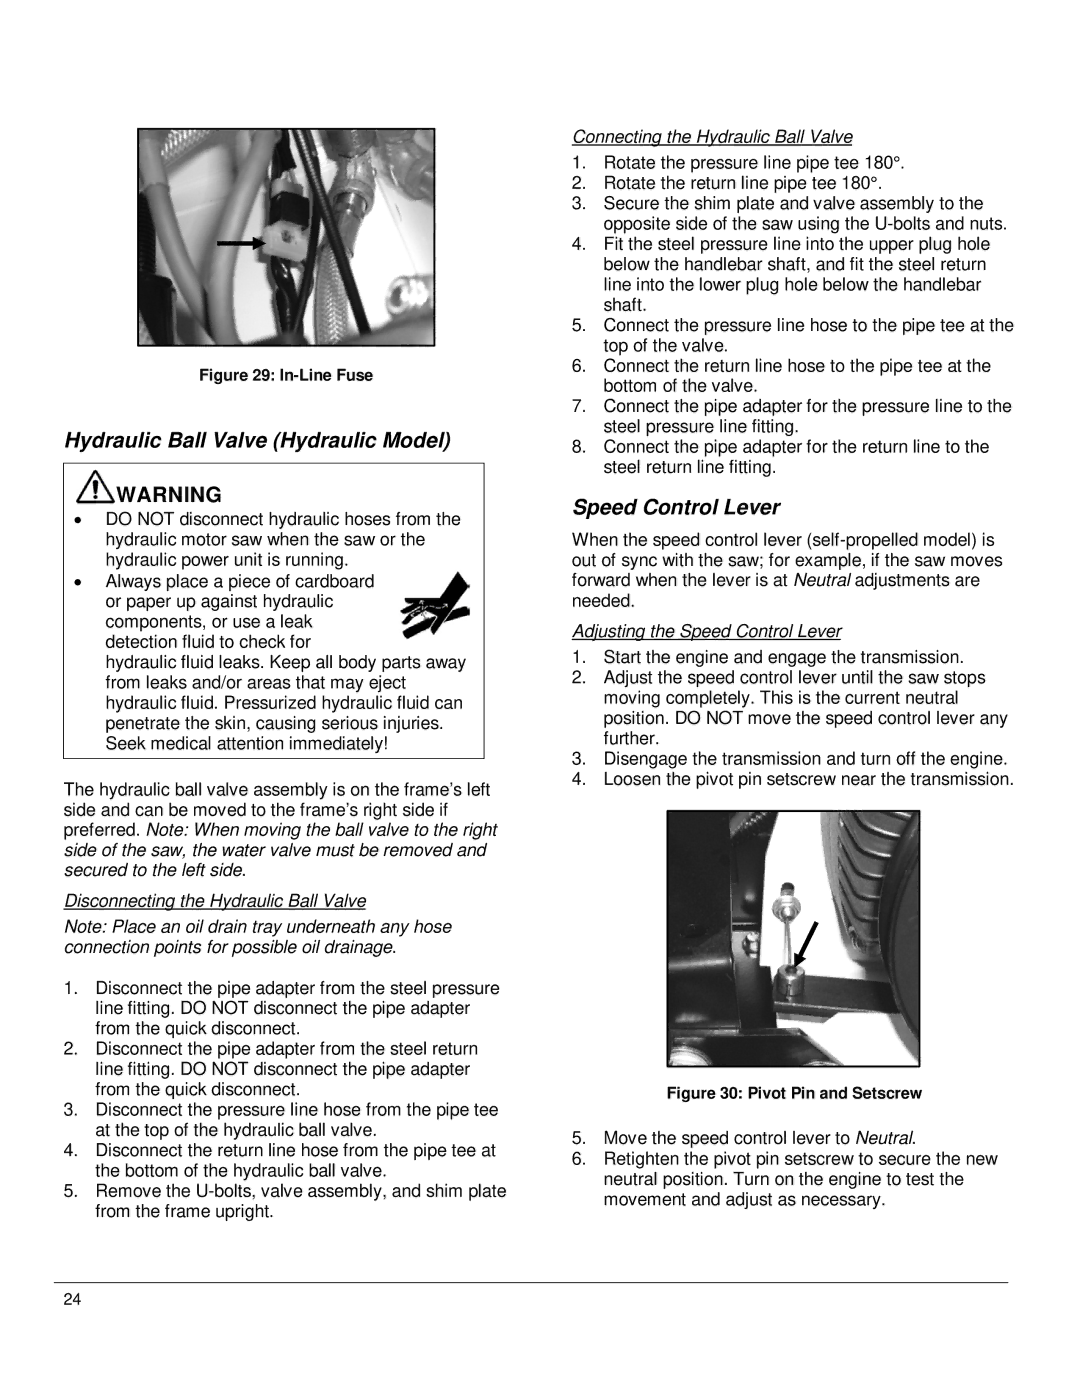
Figure 29: In-Line Fuse
Hydraulic Ball Valve (Hydraulic Model)
![]() WARNING
WARNING
•DO NOT disconnect hydraulic hoses from the hydraulic motor saw when the saw or the hydraulic power unit is running.
•Always place a piece of cardboard or paper up against hydraulic components, or use a leak detection fluid to check for
hydraulic fluid leaks. Keep all body parts away from leaks and/or areas that may eject hydraulic fluid. Pressurized hydraulic fluid can penetrate the skin, causing serious injuries. Seek medical attention immediately!
The hydraulic ball valve assembly is on the frame’s left side and can be moved to the frame’s right side if preferred. Note: When moving the ball valve to the right side of the saw, the water valve must be removed and secured to the left side.
Disconnecting the Hydraulic Ball Valve
Note: Place an oil drain tray underneath any hose connection points for possible oil drainage.
1.Disconnect the pipe adapter from the steel pressure line fitting. DO NOT disconnect the pipe adapter from the quick disconnect.
2.Disconnect the pipe adapter from the steel return line fitting. DO NOT disconnect the pipe adapter from the quick disconnect.
3.Disconnect the pressure line hose from the pipe tee at the top of the hydraulic ball valve.
4.Disconnect the return line hose from the pipe tee at the bottom of the hydraulic ball valve.
5.Remove the
Connecting the Hydraulic Ball Valve
1.Rotate the pressure line pipe tee 180°.
2.Rotate the return line pipe tee 180°.
3.Secure the shim plate and valve assembly to the opposite side of the saw using the
4.Fit the steel pressure line into the upper plug hole below the handlebar shaft, and fit the steel return line into the lower plug hole below the handlebar shaft.
5.Connect the pressure line hose to the pipe tee at the top of the valve.
6.Connect the return line hose to the pipe tee at the bottom of the valve.
7.Connect the pipe adapter for the pressure line to the steel pressure line fitting.
8.Connect the pipe adapter for the return line to the steel return line fitting.
Speed Control Lever
When the speed control lever
Adjusting the Speed Control Lever
1.Start the engine and engage the transmission.
2.Adjust the speed control lever until the saw stops moving completely. This is the current neutral position. DO NOT move the speed control lever any further.
3.Disengage the transmission and turn off the engine.
4.Loosen the pivot pin setscrew near the transmission.
Figure 30: Pivot Pin and Setscrew
5.Move the speed control lever to Neutral.
6.Retighten the pivot pin setscrew to secure the new neutral position. Turn on the engine to test the movement and adjust as necessary.
24
