Install Guide
5.Connect the power cord into the receptacle of the power supply.
6.Plug the power cord into the power outlet.
7.Check the Power LED of the unit. If lit, the unit is ready.
8.The Link LED is on when signal detect is sensed indicating the port is active. The partition LED for each port and the global collision LED should be off during normal operation.
The
Rack Mount Ear Installation
To install the optional rack mount ears, follow this procedure:
1.Starting with one side of the hub, remove the top screw, and the two bottom screws closest to the front of the hub with a Phillips head screwdriver
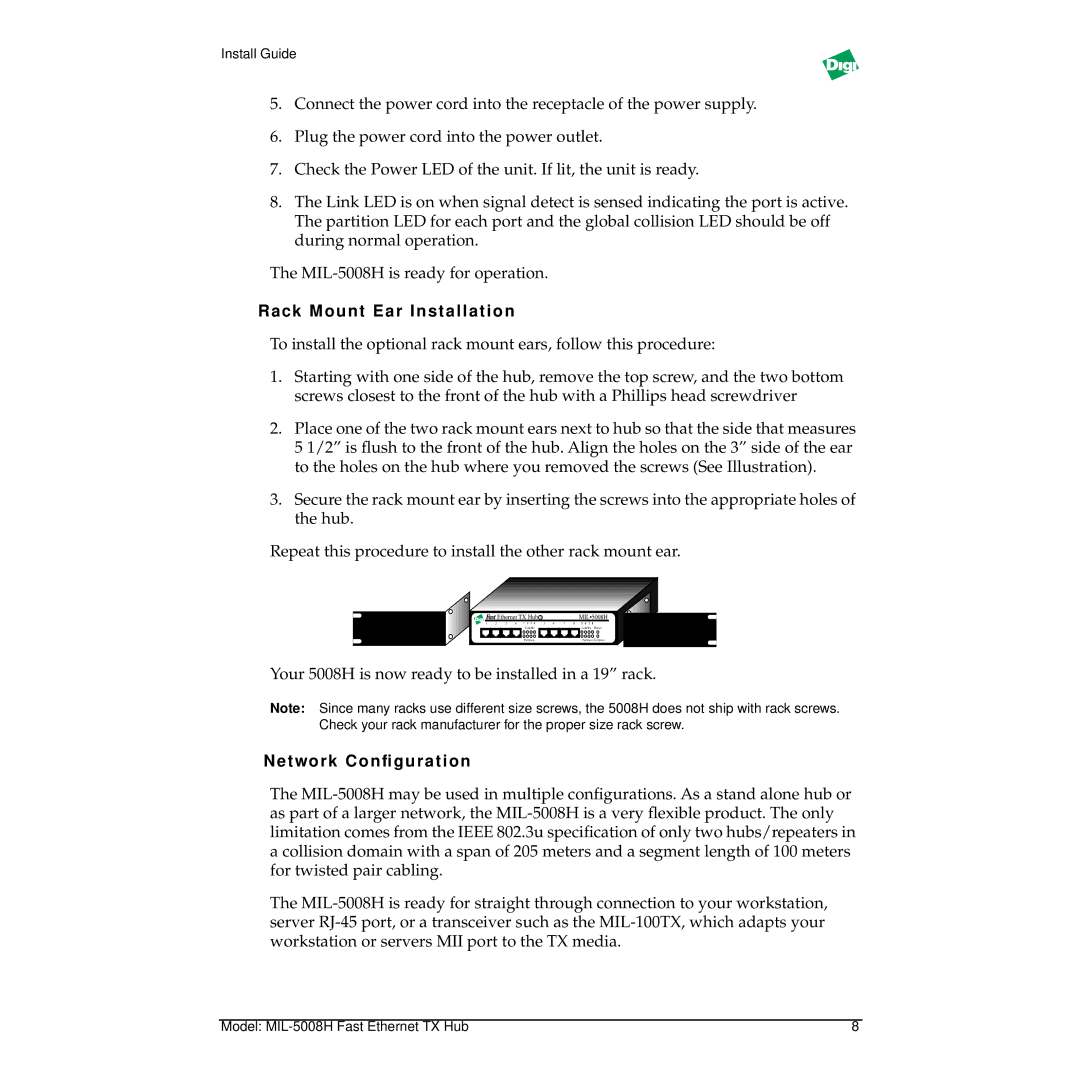
2.Place one of the two rack mount ears next to hub so that the side that measures 5 1/2” is flush to the front of the hub. Align the holes on the 3” side of the ear to the holes on the hub where you removed the screws (See Illustration).
3.Secure the rack mount ear by inserting the screws into the appropriate holes of the hub.
Repeat this procedure to install the other rack mount ear.
|
| Ethernet TX Hub II |
|
|
| MIL•5008H | |
1 | 2 | 3 | 4 | 5 | 6 | 7 | 8 |
|
|
| Link/Rx |
|
|
| Link/Rx Power |
| open 2.34 x .535 |
|
|
|
|
| |
|
|
| Partition |
|
|
| Partition Collision |
Your 5008H is now ready to be installed in a 19” rack.
Note: Since many racks use different size screws, the 5008H does not ship with rack screws. Check your rack manufacturer for the proper size rack screw.
Network Configuration
The
The
Model: | 8 |
