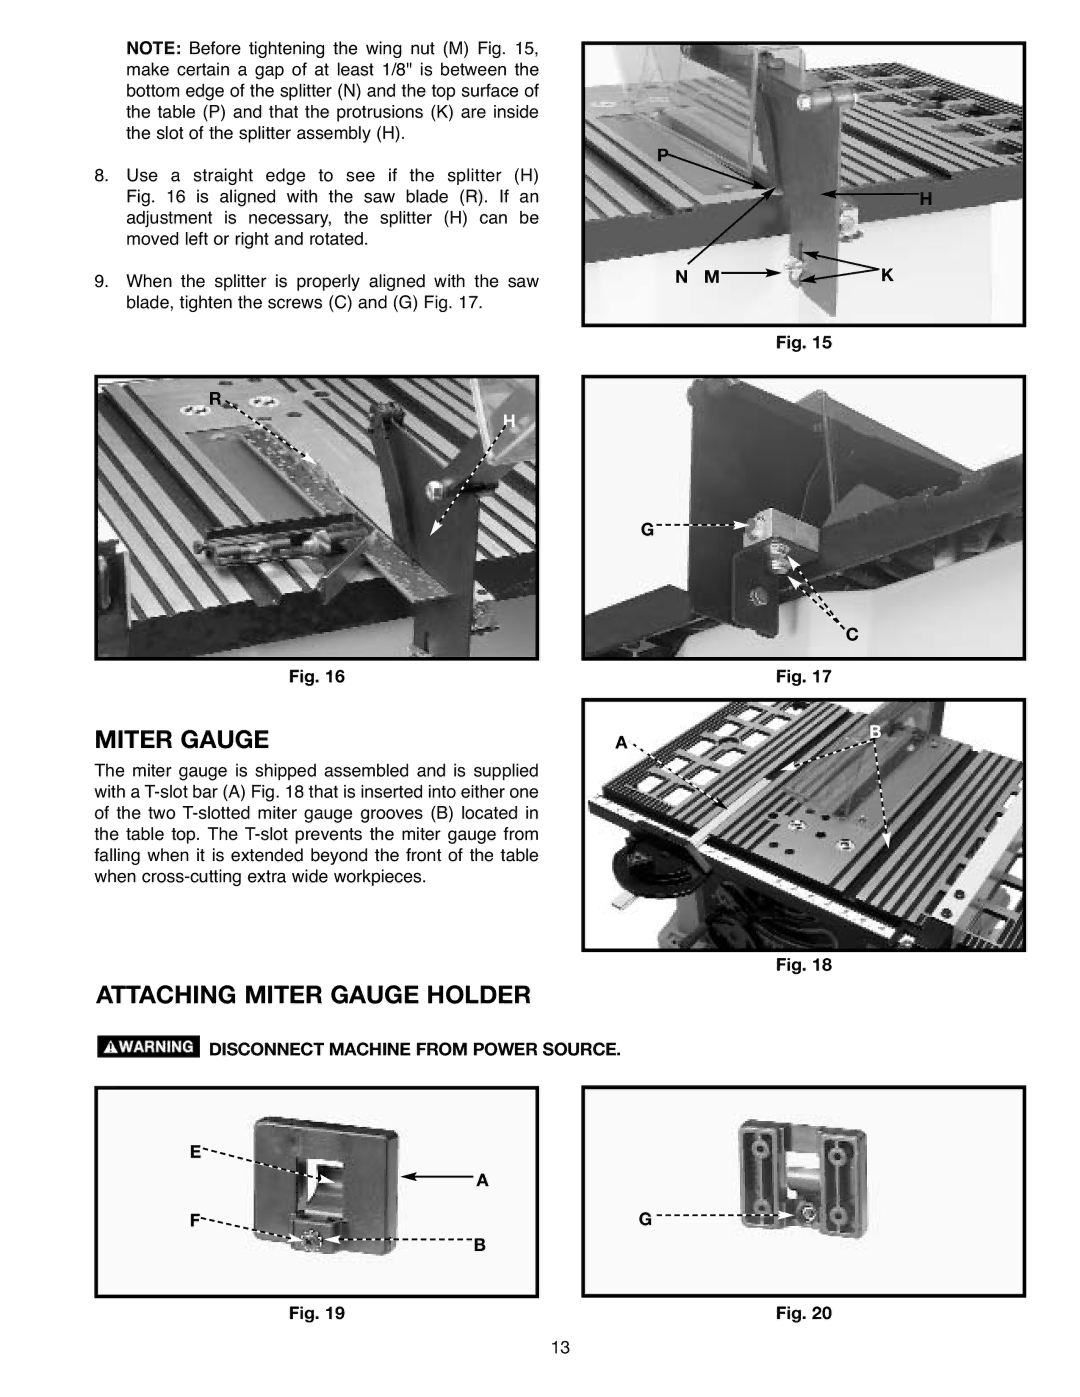
NOTE: Before tightening the wing nut (M) Fig. 15, make certain a gap of at least 1/8" is between the bottom edge of the splitter (N) and the top surface of the table (P) and that the protrusions (K) are inside the slot of the splitter assembly (H).
8.Use a straight edge to see if the splitter (H) Fig. 16 is aligned with the saw blade (R). If an adjustment is necessary, the splitter (H) can be moved left or right and rotated.
9.When the splitter is properly aligned with the saw blade, tighten the screws (C) and (G) Fig. 17.
R
H
Fig. 16
P![]()
![]() H
H
NM![]()
![]() K
K
Fig. 15
G ![]()
![]()
C
Fig. 17
MITER GAUGE
The miter gauge is shipped assembled and is supplied with a
A
B
Fig. 18
ATTACHING MITER GAUGE HOLDER
![]() DISCONNECT MACHINE FROM POWER SOURCE.
DISCONNECT MACHINE FROM POWER SOURCE.
E
F![]()
A
B
G ![]()
![]()
Fig. 19 | Fig. 20 |
13